easy kids bike shorts pattern

wardrobe refashion

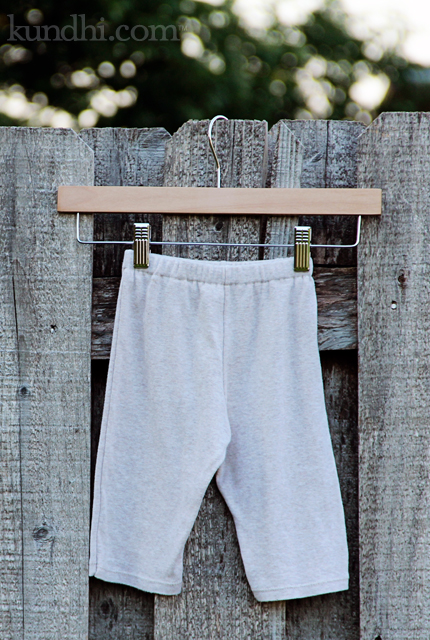
The bike shorts pattern is finished and ready for download! It’s been over two years since my original Easy Kids Shorts pattern and I do a few things differently now.

  • These days I sew the inseams first, then the rise.
  • I almost always use a 1/4 inch seam allowance instead of 1/2 or 5/8 inch, usually because I’m trying to squeeze as much as I can out of a piece of fabric or t-shirt.
  • 3/4 inch elastic seems to be more comfortable around the waist than the smaller widths.
  • Now that I have a serger, I finish my raw edges and just fold the waist over once. You can finish your edges with a zig zag/overlock edge or adjust the pattern to accommodate the double fold waist.

I recommend you pay attention to the type of knit fabric you use. The original piece I traced for this pattern was a tightly-knit jersey. The t-shirt I used was a loosely-knit jersey and the shorts turned out a little big. Not big enough to re-sew, but definitely roomier.

Finally, my daughter is long and lean: 20 inch waist and 14 inches from waist to knee. Adjust seam allowances and elastic size to get a better fit for your child. Want them shorter? Trim off the bottom of the pattern an inch or two.

Please leave any questions in the comments. Download the pattern here. Enjoy!
wardrobe refashion: t-shirt to bike shorts

wardrobe refashion

My daughter loves wearing dresses. She also loves to climb tall jungle gyms and roll around in the grass with her feet in the air. She understands the concept of modesty, but she’s too busy running, jumping and playing to be worried about such things right now. I get it. I want her to have fun and not be self conscious. So the new rule: bike shorts under dresses.

A few years ago, I posted a pattern for easy kids shorts. I followed the same basic steps to come up with the bike short pattern. I had also planned to share the template with you, but it’s gone missing. Whoops!

I have a few more to make, so I guess I’ll be redrawing the pattern. I’ll let you know when it’s posted. In the meantime, I’ll be outside teaching my daughter how to do cartwheels.

stash: One of my t-shirts rescued from the donation bag. Thrifted elastic.

A seriously fast, easy and inexpensive project. Plus, they go under a dress, so they don’t have to be perfect!

heading back into the closet

wardrobe refashion linen skirts

The Thrifting Fairies must have been on Easter vacation last weekend. I did a lot of trying on and left with a lot of nothing. It made me think that refashioning what’s in my closet might be a better way to spend my time. So, on a trip up to Omaha, I grabbed two skirts and my seam ripper.

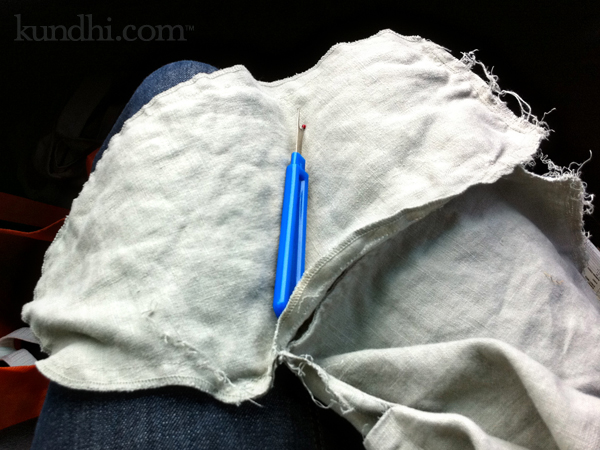
First to come out were the bulky pockets. Then I unpicked the waist and elastic casing. This week I’m going to take in the sides and insert a zipper (yikes!). Currently on the chopping block are these two linen skirts. Stay tuned!

the little engine that could : season three

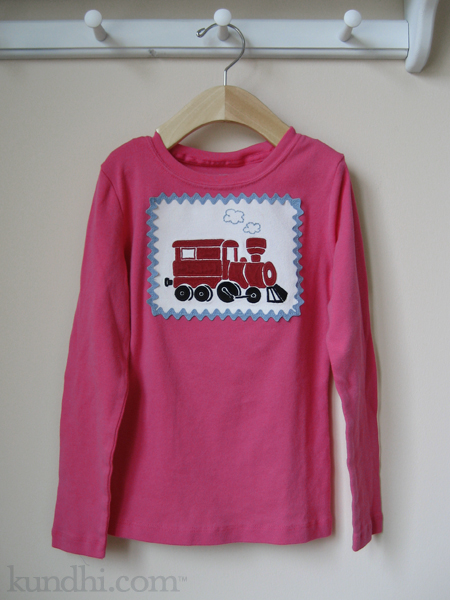
handmade train applique

I know I’ve complained about this before, but why do manufacturers make train, car and dinosaur shirts so gender specific? My daughter loves all three and she loves red, pink and purple. I hit the jackpot a few years ago when I found a white, new with tags, gender neutral train shirt at a garage sale. It was a size too big, but she wore it all the time with her sleeves rolled up. The next year it fit perfectly.

This year, it’s too small. I suggested maybe we pass it on to one of her friends who loves trains. “But Mama, can’t we just sew the train on to another shirt?”

I put this project off, but she kept bringing it up. I may be finished with it, but my daughter isn’t ready to give it up. In fact, she art directed the whole project, choosing the pink shirt and suggesting the border. After she got over her disappointment that I didn’t have any pink ric rac in my stash, she picked blue to match the puffs of steam.

She’s very proud of her new shirt. I’m happy that she’s happy. I think this might be the season finale for this little engine, though. After this, it’s going on a tote bag.

project details: I positioned the ric rac in place with a glue stick before stitching it on, which allowed me to fudge the corners so they matched. Worked like a charm! Also, I didn’t fold over the ends. Just lined them up and sealed them with a little bit of fray check.

almost two years ago: My tutorial on ruffling up a boy’s t-shirt. I wish this would have worked for the train shirt, but my daughter is growing too fast!

behind the scenes: I’m finally seaming the baby blanket. Can’t wait for the big reveal!

wardrobe refashion: puppy nightshirt

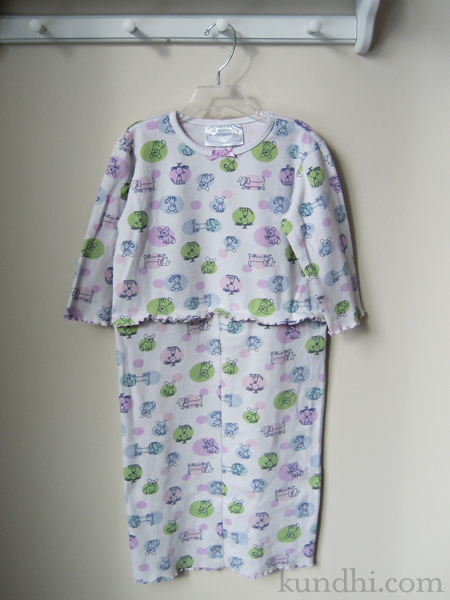
This nightshirt used to be a pair of pajamas. Repeated washings have caused them to shrink, but instead of getting smaller all over, they got shorter and wider. I tried to convince my daughter they were ready for the donate pile, but the “doggie pajamas are her most favorite.” She asked me if I could turn them into a nightshirt like her Mickey pajamas.

pajamas turned nightshirt

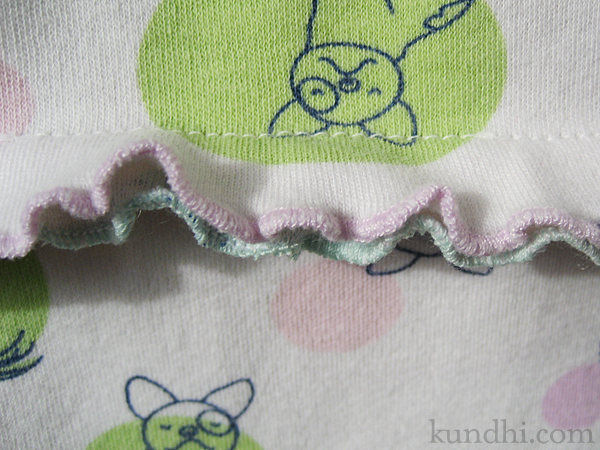
Since they were so wide, all I had to do was remove the elastic waistband, sew the pant legs into a tube, and attach them to the shirt. I added a rolled hem to the raw edge of the waist to match the shirt for a little more ruffle action: pink hem original, green hem mine.

pajamas turned nightshirt

technical note: I had a serious problem with skipping stitches on this project, no matter what my tension, regular or ball point needle, even different thread. When I switched to a muslin scrap the stitches were fine. I figured it must be the fabric so I tried putting a piece of paper tissue under the presser foot. It worked like a charm and the tissue tore away easily. I’m not sure where I first read this idea, but I’m glad I remembered it!

wardrobe refashion: I don’t think the life of these pajamas really need to be extended much longer. We’ve had them awhile and they are well loved. I’m curious how long they’ll last in their new form.

wardrobe refashion: simple knit jersey skirt hem

wardrobe refashion hem jersey skirt easy

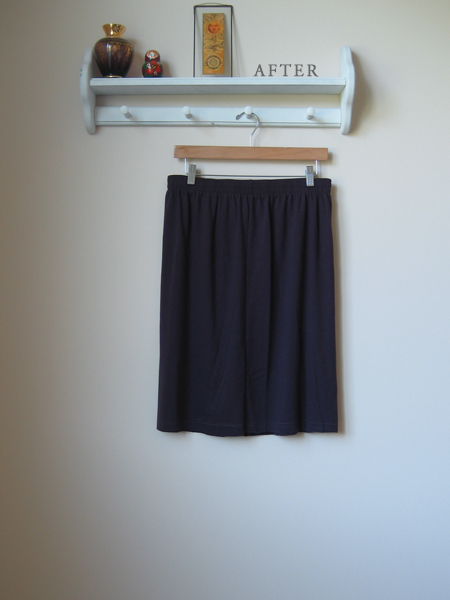
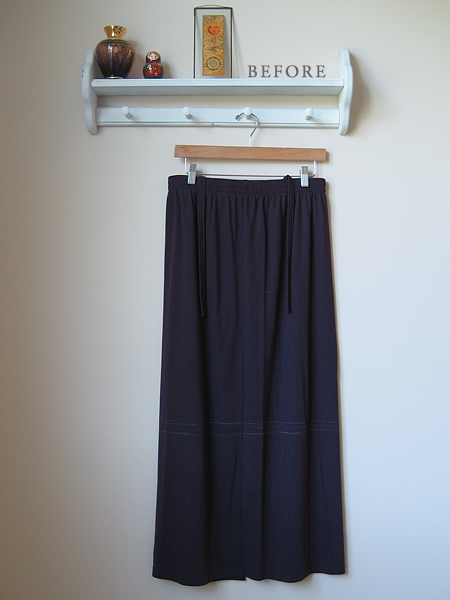
So far this has been the easiest refashion ever. The original skirt was ankle length and had these weird suspender-like ties sewn inside the waist. I’m leaving the bottom edge unfinished to see if it adds a little interest to the plainness of the solid, straight style.

wardrobe refashion hem jersey skirt easy

Just in case it doesn’t turn out as I hope, I left myself an inch at the bottom to clean up and hem. So the top chalk line is where I want it to hit my leg and the bottom chalk line is my cut line. I simply cut at the bottom line and put it on to wear. That’s it. Oh, and I snipped those silly suspender things off.

I’ll keep you posted how the edge turns out after a few washes and if I decide to do a clean hem instead.

thrifted: another 99 cent sale skirt transformation

wardrobe refashion: beach dress blahs

wardrobe refashion: beach dress

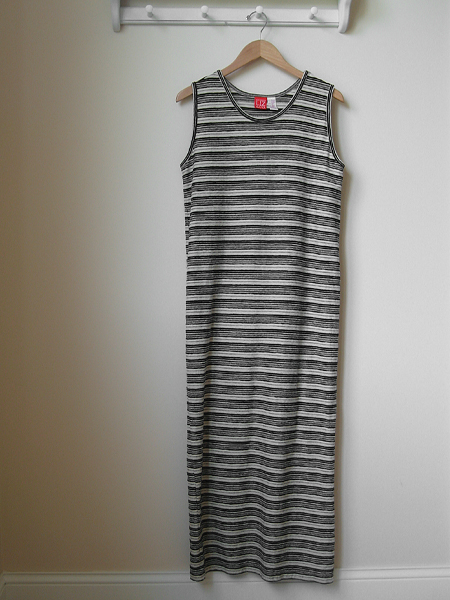
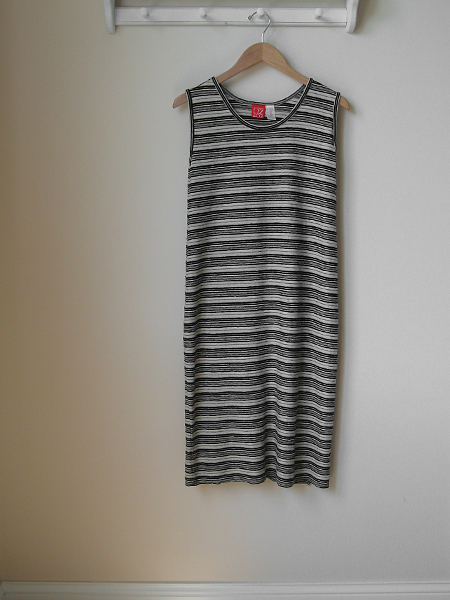
I bought this dress because I thought it would be nice for the beach. After taking it in at the waist (sorry, you can’t really tell in the photos) and shortening the hem to knee length, it’s not really doing anything for me.

wardrobe refashion: beach dress

My husband says it looks good, but it makes me feel kind of blah. I’m still keeping it for vacation, but it will probably get donated after that!

wardrobe refashion: re-sized pajama pants

wardrobe refashion: resized pajama pants

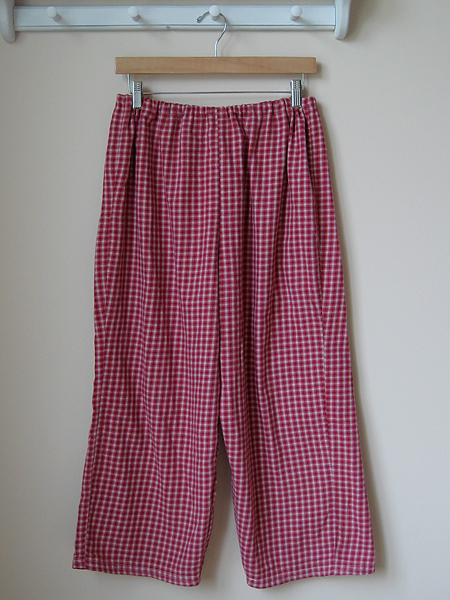
Just quickie refashion today: some Eddie Bauer flannel pajama pants. Are you already bored with pants? I’ve only got a few left, don’t worry. I did do something fun with these, though.

wardrobe refashion: resized pajama pants

I fell in love with the super soft flannel and didn’t realize until I got home that they were a size petite. I figured because they were lightweight that I could do capri-style jammies and they’d be good until the temps got really cold.

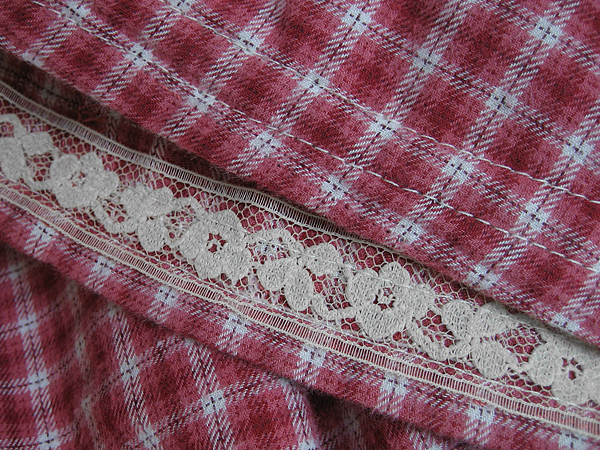
To keep them as long as possible, I serged the bottoms and turned the hem under just 1/2 inch. I used a little lacy seam binding to hide the serged edge. I totally cheated and sewed the lace on while hemming them.

thrifted: Another 99 cent sale transformation using Butterick 5044.

wardrobe refashion: re-sized capri pants

wardrobe refashion: resized capri pants

The summer of skirts has been a success. I’ve been wearing my red, white, linen and denim skirts regularly all season. But ever since I found that perfect pattern for lounge pants, I’ve been thinking about capris. How easy would it be to refashion a pair of existing pants?

I found a couple pairs at the last 99 cent sale (hey, I told you I had good luck that day!) and decided give it a try. Here’s how I did it:

  • Wash and dried them on hot to preshrink.
  • Removed the elastic waistband with a seam ripper.
  • Cut the inner leg seams open. My pattern is only one piece, so I left the outer leg seams intact.
  • Pressed the pants pieces with an iron and laid my pattern on top. I had to fudge a little, but they were pretty close.
  • There was a lot of waist fabric that had to be removed and the new waist ran right over the pockets. I sewed them shut and cut them out.
  • Traced the pattern and sewed the pants back together.
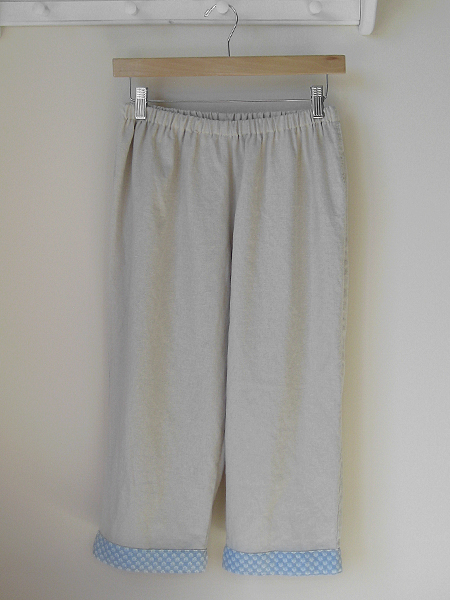
  • Cut off the ugly fringe cuff and added a fabric trim.

The whole process was fast and easy. Most of my shirts come down past the waistband, so they actually look pretty good. I’m sorry I forgot to take a before picture. I had a few free hours for this project and just dove in!

refashion: This pants thing is really increasing my options for clothes. After a few more tries, I might tackle a fitted waist!