thrifty find: zig zag quilt

I can’t believe it took so long for me to write about my daughter’s new quilt. I think it’s because I had a hard time getting a nice picture of it. Usually it’s covered in stuffed animals and books. I just recently took this pic while she was in school.
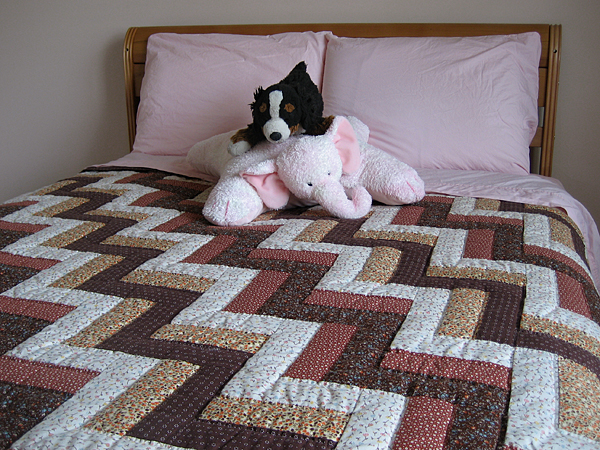
thrifted quilt

I’m not exactly sure when I found this, but it was still cold out. I remember having a conversation with my husband about our daughter’s new bed needing a comforter. I had looked for one that week, but nothing had seemed quite right. Once you eliminated licensed characters, it was slim pickings.

I also remember sharing this story with my friend. Less than two hours later we had discovered this brand new, handmade quilt. The lady said there’s a group of women in a Small Nebraska Town (I can’t remember the name) who make quilts and donate them to the store. Isn’t it beautiful?
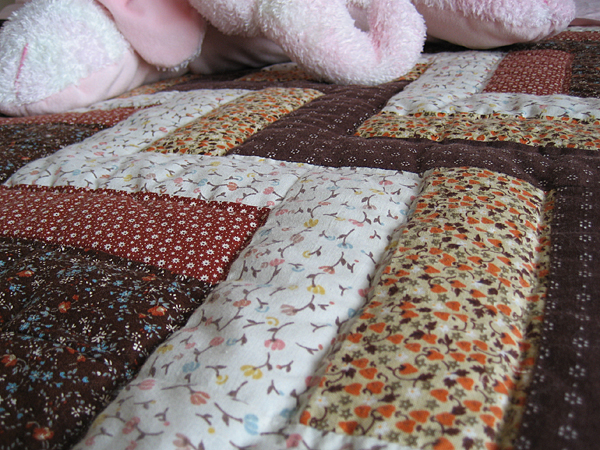
thrifted quilt

thrifting: Sometimes all you have to do let the universe — and a friend with a good eye — know what you need. The rest takes care of itself.
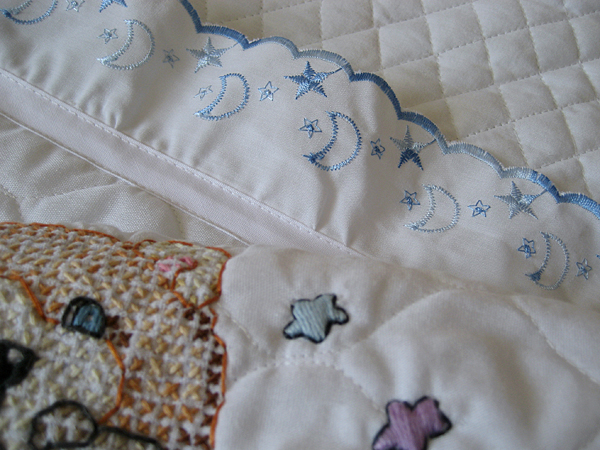
blanket finished!

cross stitch baby blanket

I spent more time thinking about this project than actually sewing it. I guess I was being extra careful with it because of all of the handwork. It’s not like I could go out and buy new fabric if I messed something up.

Here were my concerns:

  • The cross stitch had caused the top piece to pucker. I needed it to lay flat. Pressing it with an iron didn’t help much.
  • Both the front and back pieces were quilted and together were too thick to easily fit into the ruffle trim.
  • The ruffle trim was in two pieces and one was wider than the other.

Here were my solutions:

  • I tied the top and bottom like a quilt, working from the center outward. I didn’t want the ties to be visible, so I started and finished inside, sandwiching the ends between the two pieces of fabric.
  • I serged the two fabrics together to create a nice even edge for the trim.
  • I took the trim apart a few inches on each end sewed them back together on a slight diagonal. There are places were the ruffle is shorter than others, but the transition from shorter to longer is a smooth one. I am probably the only one who will notice this.

I learned a lot putting this project together. I’m glad I took the time to think things through. I’m also happy that I had my serger to make things easier!

embroidered baby quilt

There is something in Nebraska’s water. The past few months and the next few months seem to be filled with babies, babies, babies! So, expect to see lots of cute things for my friends’ wee ones here on the blog.

embroidered eyelet baby quilt

This is a really basic blanket, but the eyelet fabric makes it extra special. Bonus: the eyelet fabric was already quilted, so no need for batting!

embroidered eyelet baby quilt

I added an embroidered monogram to make it a little bit more fancy. I love the contrast of the dark pink on light pink!

stash: Eyelet fabric was from someone who was selling her grandmother’s fabric stash. Pink check fabric was the very first fabric I purchased when I got my sewing machine. Monogram letters from Sublime Stitching.

how to sew a baby quilt in five easy steps

snoopy baby quilt

So you’d like to make a quilt, but you’re intimidated by all of those little pieces, right? I am, too. But you can make a quilt without blocks. It’s easy and looks just as nice! Here’s how I did it:

Materials
1 – 36×36″ piece of top fabric
1 – 36×36″ piece of bottom fabric
1 – 36×36″ piece of batting
1 – 38×8″ piece for making the trim*
matching thread
bias tape tool
rotary cutter and ruler
walking foot (optional)

*even easier: use 4 yards (plus a few inches) of pre-made bias tape

Step 1
Lay your fabric on the floor wrong sides together with the batting in the middle. Pin baste from the center outward.

Step 2
Starting from the center and working your way outward, draw parallel lines every four inches with sewing chalk, water soluble pen or light pencil.

Step 3
Starting from the center, sew along these lines working your way outward, taking out the basting pins as you go. Here’s where a walking foot is helpful, but if your batting isn’t too thick, you should be fine without it. Square up your edges with a rotary cutter and ruler.

Step 4
Cut your trim fabric according to the measurements for your bias tape tool and make the trim. Even easier: open the package of pre-made bias tape.

Step 5
Fold the trim over the edge and attach with a zig zag stitch. Fold the ends over at the corners to enclose the raw edges.

snoopy baby quilt

I hope I didn’t oversimplify this, but it’s really easy. The zig zag trim takes a little practice. This was my first time, and I’m sure it will get a lot neater the more I do it.

resource: I was inspired by Soule Mama’s Beach Blanket To-go for this blanket. One day I hope to make something as beautiful as her daughter’s quilt, but for now, I’m going to stick with single pieces of fabric until I’ve got more free time.

sleeping snoopy baby quilt

sleeping snoopy baby quilt

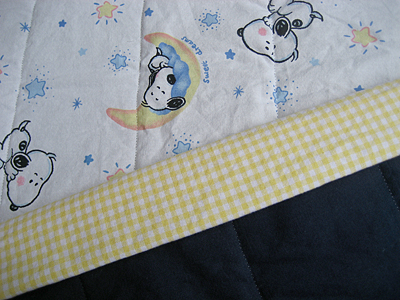
Every time I turn around it seems like someone else is having a baby. I love crafting for babies. This quilt is almost finished. All I need to do is attach the binding. I bought a lot of this fabric off of ebay awhile ago. You might be thinking, “That looks familiar!” The first quilt I made was backed with fleece. This one is backed with navy cotton. (It’s really not that dark, but I don’t have much sun for taking pictures today.) I only have a little bit of the binding fabric, but it should be just enough.

Update on birthday crafting: The knitted gift is finished. The embroidery tea towels are almost done. These are going much better than my experiment with cross stitch. I’m using a simple split stitch and loving it. I can’t wait until I can post pictures!

stash: So far I’ve used stash yarn, embroidery thread, fabric and batting for all of my projects. Having everything at my fingertips really makes all of the thrifting and garage sale-ing I did earlier in the year worth it!

patchwork scarves :: wool and denim

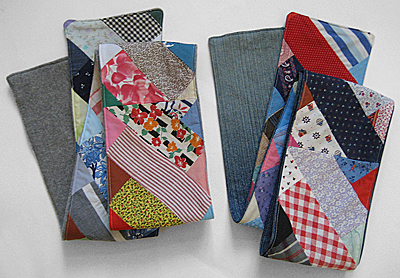
Last summer I bought a cute little patchwork quilt that I’ve been planning to make into a tote bag. When I started deconstructing it, I realized it was made up of long, skinny rectangles. Perfect for scarves! Two scarves, actually: one backed with wool, the other backed with denim.

I think I am officially addicted to making scarves this season. If you are on my holiday gift list, you should probably expect to receive one!