the little engine that could : season three

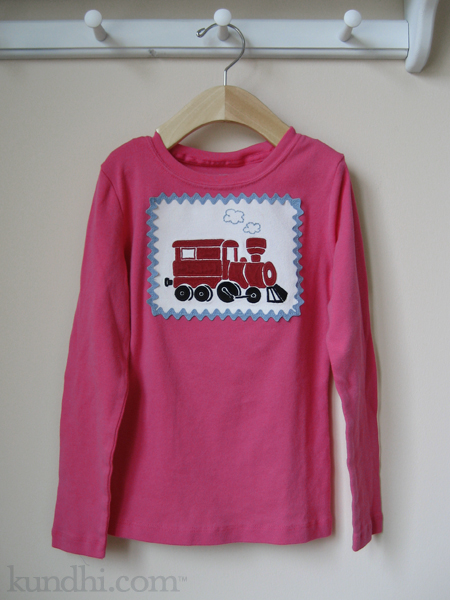
handmade train applique

I know I’ve complained about this before, but why do manufacturers make train, car and dinosaur shirts so gender specific? My daughter loves all three and she loves red, pink and purple. I hit the jackpot a few years ago when I found a white, new with tags, gender neutral train shirt at a garage sale. It was a size too big, but she wore it all the time with her sleeves rolled up. The next year it fit perfectly.

This year, it’s too small. I suggested maybe we pass it on to one of her friends who loves trains. “But Mama, can’t we just sew the train on to another shirt?”

I put this project off, but she kept bringing it up. I may be finished with it, but my daughter isn’t ready to give it up. In fact, she art directed the whole project, choosing the pink shirt and suggesting the border. After she got over her disappointment that I didn’t have any pink ric rac in my stash, she picked blue to match the puffs of steam.

She’s very proud of her new shirt. I’m happy that she’s happy. I think this might be the season finale for this little engine, though. After this, it’s going on a tote bag.

project details: I positioned the ric rac in place with a glue stick before stitching it on, which allowed me to fudge the corners so they matched. Worked like a charm! Also, I didn’t fold over the ends. Just lined them up and sealed them with a little bit of fray check.

almost two years ago: My tutorial on ruffling up a boy’s t-shirt. I wish this would have worked for the train shirt, but my daughter is growing too fast!

behind the scenes: I’m finally seaming the baby blanket. Can’t wait for the big reveal!
favecrafts blog hop: st. patrick’s day outfit

summer twirly skirt

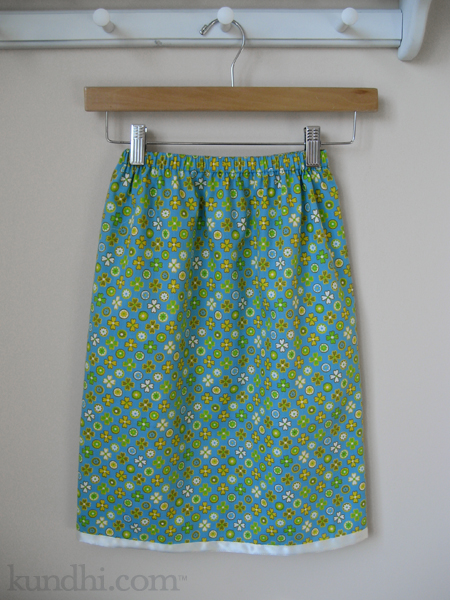
Tomorrow my daughter’s preschool class is having a St. Patrick’s Day party and everyone has to wear a green shirt. Over the past week, we’ve gone from her insisting on wearing her only green (too small) gumdrop shirt to her requesting an entirely new outfit. She rarely asks me to make her clothes, so of course I jumped at the opportunity.

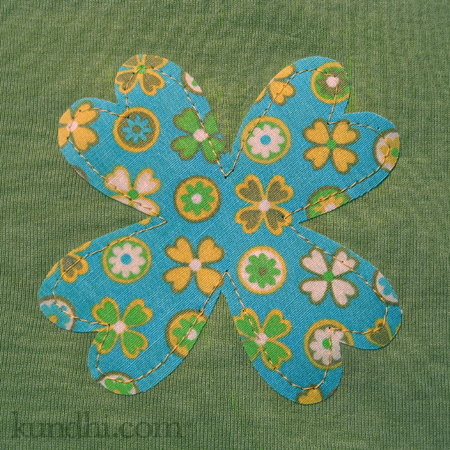
four leaf clover shirt

She really wanted a green shirt and legging combo, but when I found this cute clover/flower fabric in my stash, she agreed that a coordinating skirt might be better. (Phew!) I’ll try to get a better photo of the top tomorrow, as I didn’t finish it until after the sun went down. I think both of these will get lots of wear over the summer, hopefully not always together.

The FaveCrafts Blog wants to know what you have finished on the 15th. Check out other finished projects and post one of your own!

project details: Green shirt from Target, thrifted fabric and ribbon from my stash. Lazy Days Skirt pattern from oliver + s.

tiny four-leaf clover pattern: Don’t forget to crochet up a little luck for yourself and friends. They work up super quick! My pattern here.

how to fix a stuffed animal’s nose in 4 easy steps

stuffed animal new nose tutorial

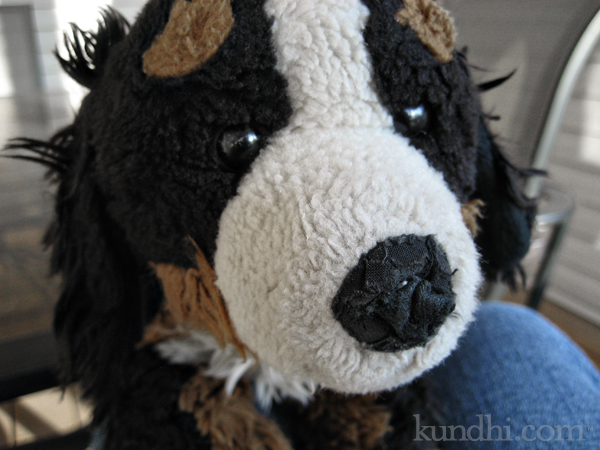
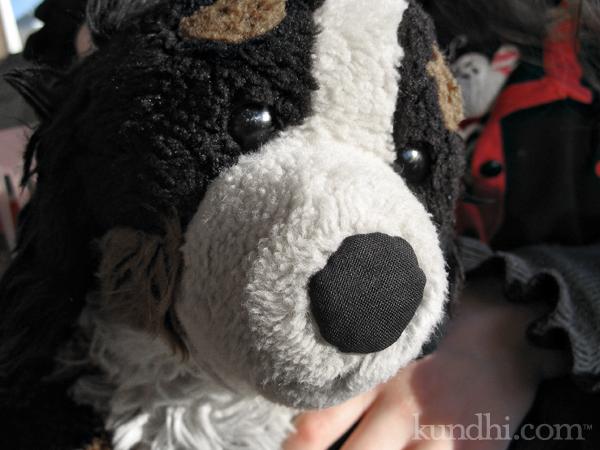
What is it with the noses on stuffed animals? I know my daughter isn’t chewing on them, so how does something like this happen? If you look closely, you can see the original torn nose and the remains of my first patch. I’m becoming an expert on fixing these, so I’m sharing my little trick with you.

Materials
fabric that matches the original nose (I doubled up for extra durability)
thin cardboard (check your recycle bin for a cereal box or similar)
iron
aluminum foil
sewing notions

Step 1
Measure the nose (I used one of these circle templates) and cut a piece of cardboard the same size and shape. Cut your fabric a little bit larger than the cardboard.

Step 2
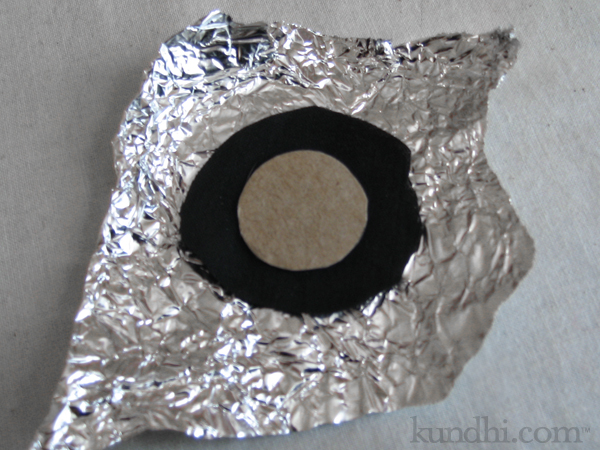
Lay down your aluminum foil, then the fabric and finally the cardboard. Fold the foil around the cardboard so the fabric is sandwiched nicely in between.

stuffed animal new nose tutorial

Step 3
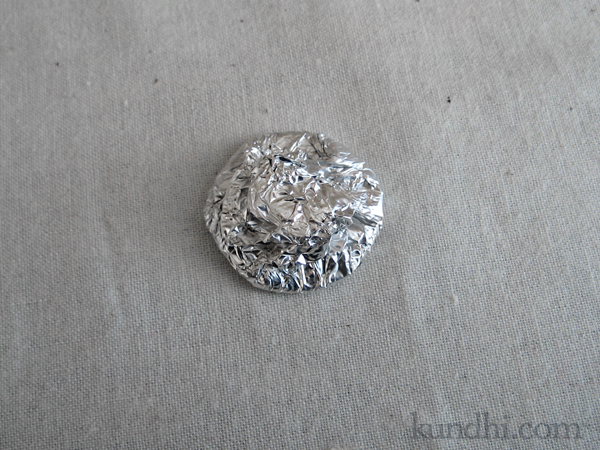
Iron the foil on the top and bottom. Press really well around the edges. Let it cool before opening it up. It will be hot!

stuffed animal new nose tutorial

Step 4
Remove your perfectly pressed nose and hand stitch it in place.

stuffed animal new nose tutorial

He looks much happier now, doesn’t he? Hopefully the two layers of fabric will hold up a little longer this time.

bee’s knees denim knee patch

denim flower patch applique

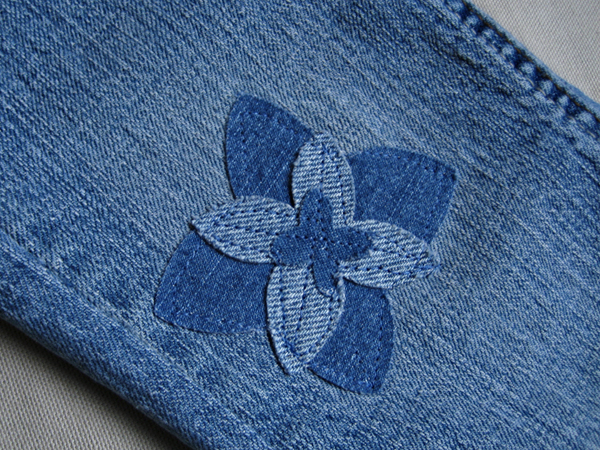
A few weeks ago, my daughter fell and skinned her knee. Her knee healed fine, but her pants not so much. We love these jeans. They fit her really well, which is rare. She asked me to fix them, so I put them in the pile for the craft retreat. I was planning a boring patch, but the collection of creative minds turned it into something special and cute.

me: I’m just going to do a patch with some denim and heat-n-bond.
crafty friend #1: Why not cut some cute shapes with the BIGkick?
me: Hmm… that would be cool.
crafty friend #2: Are you going to stitch around the edges?
me: I don’t think so. How would I get it under the presser foot?
crafty friend #3: Open up the side seam and it will fit easily over your sewing arm. Then re-stitch and re-serge the seam.
me: Y’all are brilliant!

refashion: Mended clothes don’t have to look boring. This patch turned out most excellent! I’ll definitely be saving my denim scraps for future repairs.

mother’s day idea: how to make a photo frame applique in 3 easy steps

photo frame applique tutorial

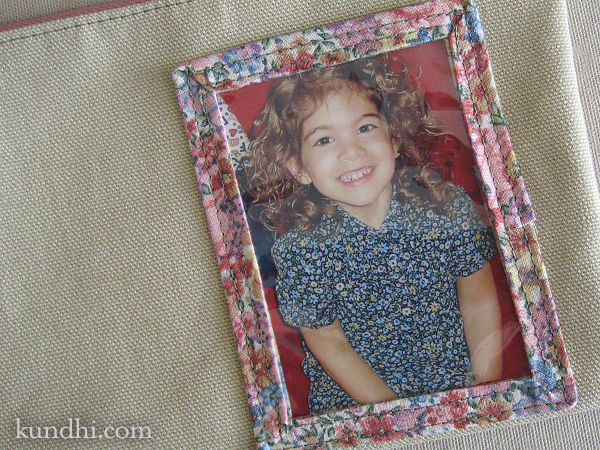
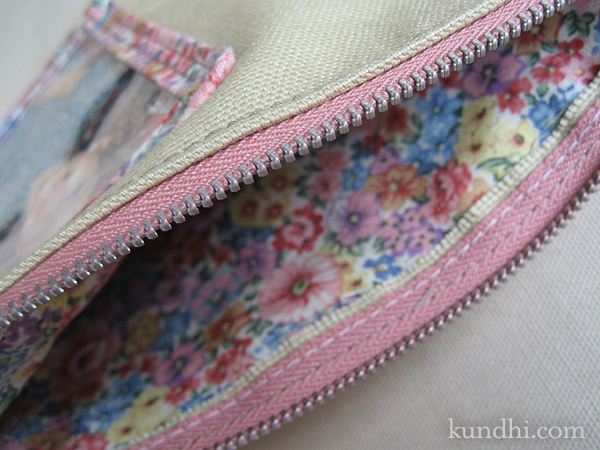
A few years ago, my mother gave me a little photo frame change purse. I had been using it for knitting bits and bobs, but it’s kind of small. I decided to make a bigger one for myself.

This applique will add a great touch to any Mother’s Day gift. I love mine!

Materials
photo: 2 1/2 x 3 1/2 inches
plastic: 3 x 4 inches
bias tape (or make your own)
heavy duty sewing needle

photo frame applique tutorial

I used the packaging from a set of sheets for my plastic. The same kind of packaging is used for blankets, comforters, tablecloths and shower curtains. (Don’t forget to save the zipper, too!)

photo frame applique tutorial

Step 1
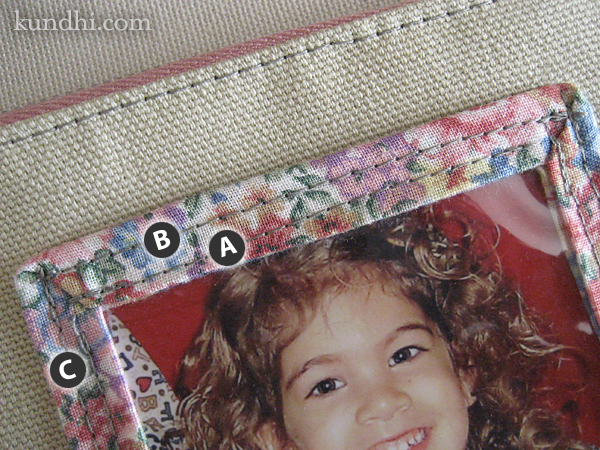
Stitch the bias trim to your plastic (A). Here’s a great video on how to miter your corners.

Step 2
You’ll only be stitching three sides of the applique to your fabric because you need an opening to slip in the photo. Top stitch the fourth side so it will match the others when you are finished (B).

Step 3
Position your applique on the fabric and stitch the remaining three sides in place (C). Make sure you don’t pin it through the plastic! Pin through the fabric trim instead.

Obviously it’s easier to add this to a work in progress while your piece is still flat, but you can stitch this to already made items, too.

Try other sizes like a 5×7 on a small bag or even a 8×10 on a large tote. Simply add the width of your bias tape to your photo dimensions to get the size for your plastic. Make sure you adjust the length of your trim and add 1-2 inches for overlap.

photo frame applique tutorial

project details: Zipper, upholstery and lining fabric all thrifted. Sheet packaging from my linen closet. I always save the ones with zippers because they make great storage for yarn and fabric.

another successful flower appliqué

flower for spring hat

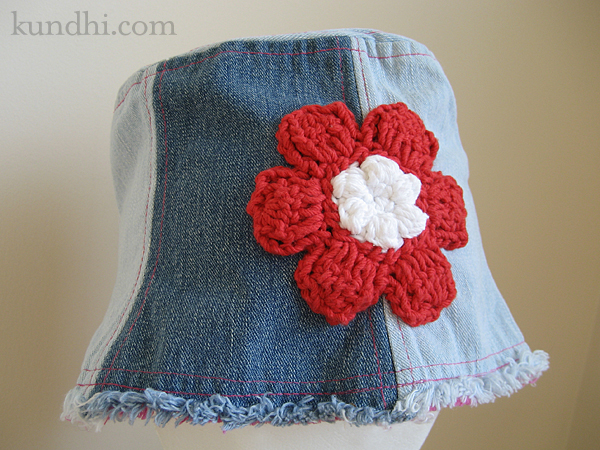
My daughter doesn’t really like wearing hats, unless it’s her Nebraska Husker hat. I bought this little bucket hat at Neat Repeatz, long before it would ever fit her. I just fell in love with the denim and unfinished edges. It finally fits, but I knew I’d have to come up with something special to get her to wear it.

I asked her if she’d like me to crochet a flower for it. Yes! What colors would she like? Red and white! (Husker colors, of course.) Would she like to pick out the flower pattern? Yes! Yes!

I whipped this up Sunday morning and she wore it to the zoo on Monday. I’d say she had it on about 95% of the time — a definite success!

wardrobe refashion, stash and pattern: Cotton yarn from my stash, left over from knitting baby bibs. Pattern from Crochet Adorned, which I received via Swaptree.com.

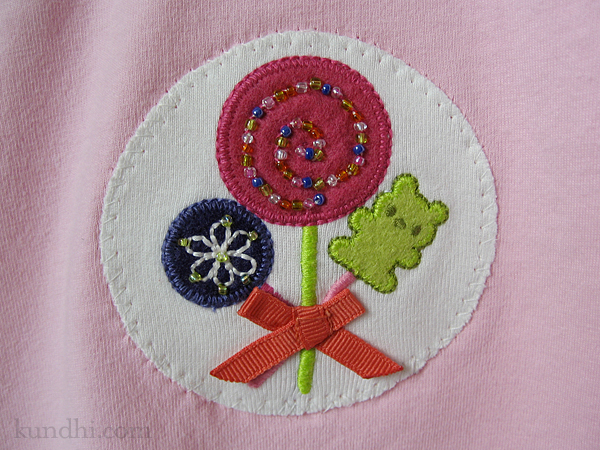
wardrobe refashion: lollipop shirt

applique t-shirt

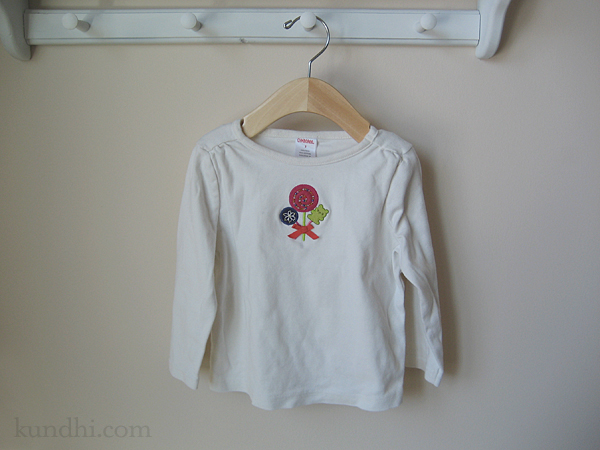
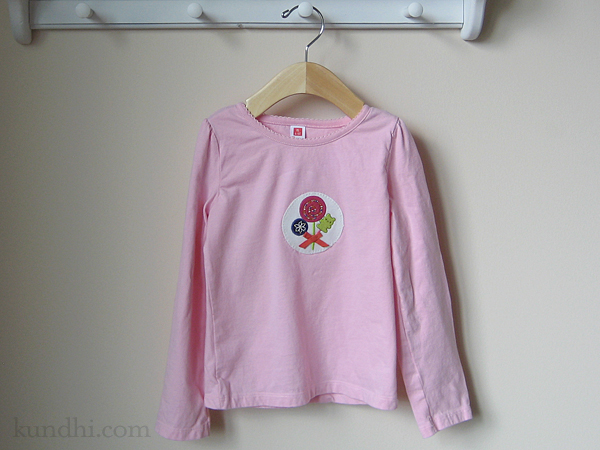
My daughter was absolutely devastated that her lollipop shirt had gotten too small. (Yes, devastated—three-year-old drama is so… dramatic!) So I did what any sewing mama would do: appliqué.

applique t-shirt

I used heat-n-bond and reinforced it with a zig zag stitch. My only mistake was leaving the extra heavy duty needle in the machine. I hope these holes don’t get any bigger!

applique t-shirt

refashion: Appliqué is a great way to give an old shirt new life. I can’t believe the new shirt is a size 5/6. My baby is getting so big!

tiny four-leaf clover pattern

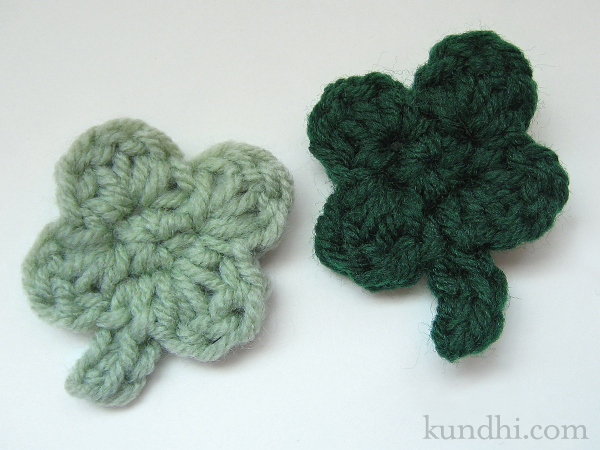
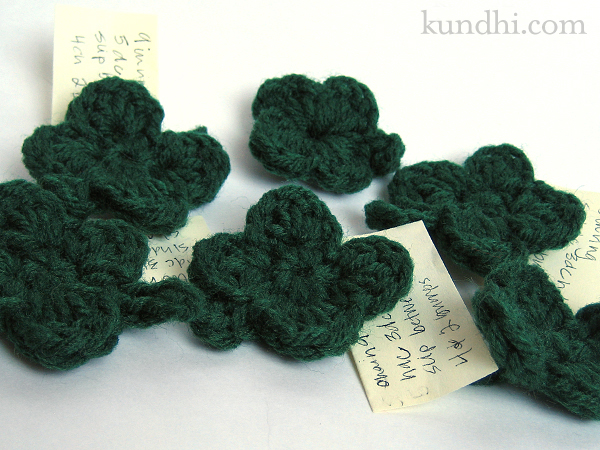
tiny crochet shamrock

I had this idea. The top of my tiny crochet hearts kind of look like half of a four-leaf clover. What if I added two more leaves and a stem?

tiny crochet shamrock

After a few tries, I finally got it. Hope they bring you some good luck!

Tiny Four-Leaf Clover Pattern
worsted weight yarn
size G/5 (4.25mm) crochet hook
tapestry needle for weaving ends

dc: double crochet
hdc: half double crochet
sc: single crochet
sl st: slip stitch

gauge: not important, but mine are about 1 1/2 inches across

Make a magic ring.
R1: chain 1, sc into loop 5 times, pull loop closed, join with sl st (5 stitches)
R2: It might be easier to take this stitch by stitch:
— chain 1, hdc, 3dc, hdc in first stitch
— sl st into second stitch, hdc, 3dc, hdc in that same stitch
— sl st into third stitch, chain 4, sc in second and third bump from hook,
    sl st into third st again*
— hdc, 3dc, hdc in fourth stitch
— sl st into fifth stitch, hdc, 3dc, hdc in that same stitch
— sl st into first chain 1

*You’re going into the bumps on the back of the chain, not the stitches on the front of the chain.

Some folks were having trouble getting the V shape on the top of the heart, so I hope adding this chain 1 helps. I take the end, weave it in on the back toward the tail and then tie them tightly together.

tiny crochet heart pattern

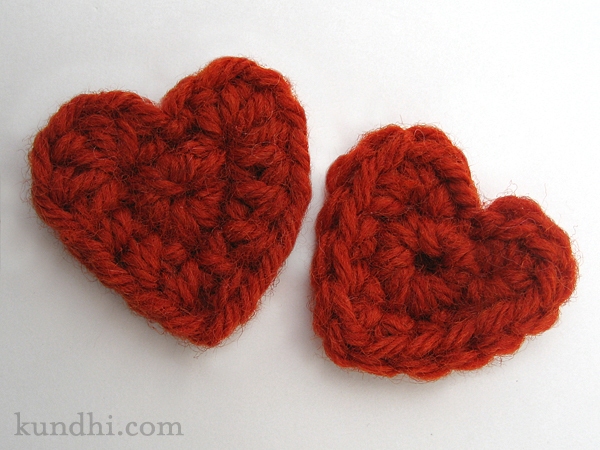
I wanted to make some really small hearts for Valentine’s Day crafts, but couldn’t find any patterns online that I liked. After a few tries, I came up with these little cuties.

tiny crochet hearts

Tiny Crochet Heart Pattern
worsted weight yarn
size F/5 (3.75mm) crochet hook
tapestry needle for weaving ends

hdc: half double crochet
sc: single crochet
sl st: slip stitch

gauge: not important, but mine are about 1 1/2 – 1 1/4 inches across

“Big” Tiny Heart (the one on the left)
Make a magic ring.
R1: chain 1, sc into loop 7 times, pull loop closed, join with sl st to chain 1
R2: sl st into 1st stitch, 5 hdc into second stitch, hdc in next two stitches, hdc then chain 1 and hdc again in the bottom stitch, hdc in next two stitches, 5 hdc into next stitch, sl st in original sl st.

Give the tail a little tug to help form the heart V at the top, tie knot, weave ends.

Give the bottom stitches a little tug to make the V point at the bottom.

“Small” Tiny Heart (the one on the right)
Repeat pattern, but replace sc for hdc.

the flower appliqué experiment

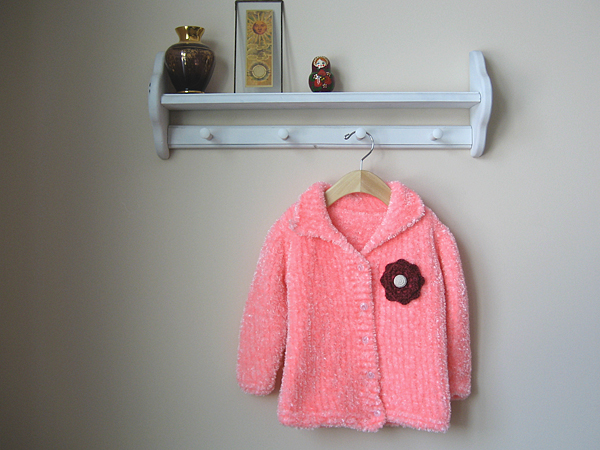
My daughter is a little heater. She takes after her father, who wears shorts in the winter. She’s never cold. She just wants one small blanket when she sleeps and she refuses to wear sweaters.

hand knit sweater with crochet flower applique

Her Grandmom loves to knit her sweaters, the warmer the better. Every time we talk, she expresses concern over my daughter not wearing her sweaters. I’m not sure if it’s because she’s afraid our child is really cold or she’s disappointed that all of her hard work isn’t getting worn.

hand knit sweater with crochet flower applique

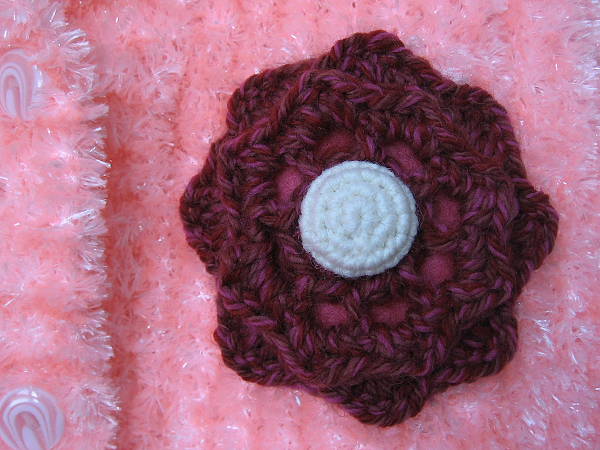
I decided to do a little experiment and crocheted a flower appliqué for her pink fuzzy sweater. My daughter LOVES the flower, but when I asked her if she wanted to wear the sweater, she said no. Meanwhile, I’m wearing a sweater and bundled up in a blanket by the fireplace. Just looking at her makes me cold! I’m going to keep trying, though.

hand knit sweater with crochet flower applique

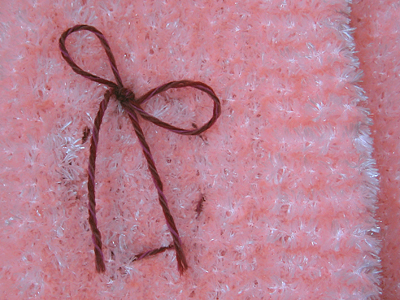
The only pink yarn in my stash was wool, so I had to make the applique easy to remove for washing. I stitched the petals on with a large piece of yarn and tied a bow in the back. It will also be easy to move to other sweaters in the future.

flower details: Flower is an Irish rose and the middle is a vintage button.