loving this little zippy wallet

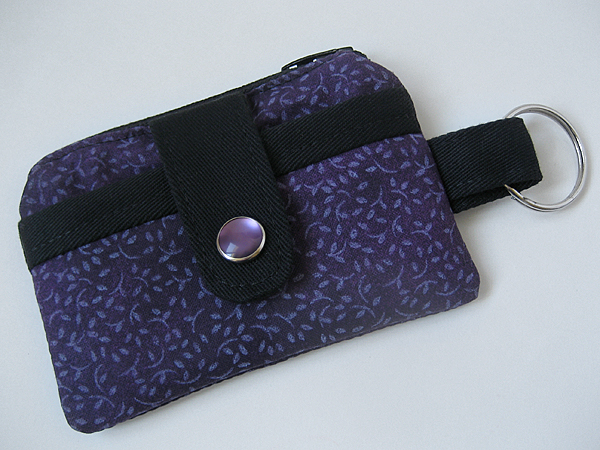
purple zipper wallet

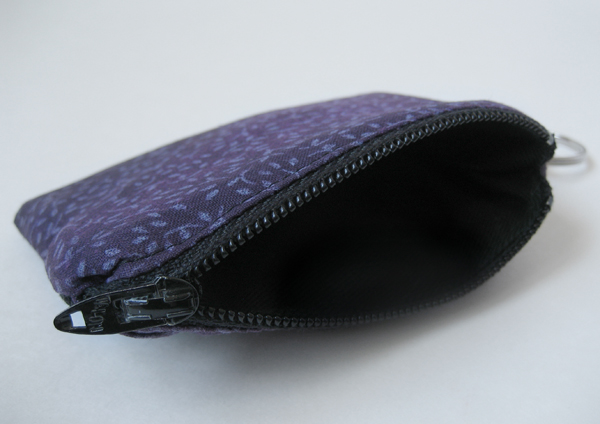
Making this super cute wallet was lots of fun. I tucked in a gift card to Starbucks and sent it off to a friend for her birthday. If you’re thinking this fabric looks familiar, you’re right! I had some bits left over from this bag. It’s the perfect project for those who can’t part with their scraps!

purple zipper wallet

reuse and recycle: Purple fabric from my scrap box. Black fabric from a pair of cotton twill pants. Ring from keyring I never used. Zipper was thrifted.

pattern review: I used Anna’s Zippy Wallet Tutorial and found it very easy to follow. My only modification was to add a keyring. These would make great holiday gifts, don’t you think?

my creative space

pumpkin pie

Today my creative space is filled with food. It’s Thanksgiving in the United States and we’re spending it at home — just the three of us. I made stuffing and sweet potatoes earlier in the week. All that’s left to do is the turkey and the pumpkin pie.

Ever since we moved to Nebraska, I’ve made homemade pumpkin pie for the holiday. I’ve always wanted to make pie from an actual pumpkin, but could never find one at the grocery store. I figured if canned was good enough for Martha, it was good enough for me.

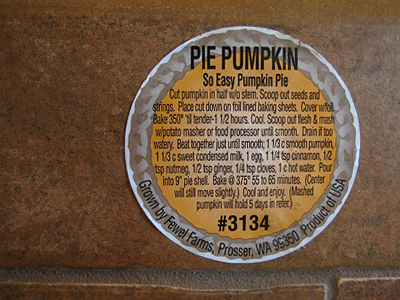
This year I saw a pie pumpkin in the produce department and knew I had to try it! It was easy to bake and puree, just like any other squash. I’m using the recipe that came with the pumpkin. I hope it turns out as good as Martha’s!

pumpkin pie

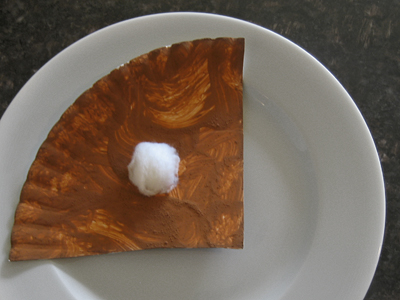
My daughter is super excited to have some pumpkin pie because she made one this week, too. Don’t you just love preschool crafts? It even has whipped cream!

For more yummy creative spaces, visit Kirsty’s blog. (I can’t guarantee that they’ll be as yummy as pie, but they are always beautiful!)

holiday blur

It’s interesting to view the Fall and Winter holidays through the eyes of a three-year old. There’s all this build up to Halloween and then after one night, it’s all over. After weeks of talking about pumpkins, witches and ghosts, we immediately move into Thanksgiving mode. There are still colored leaves and pumpkins, but now we’re all about Pilgrims and turkeys.

Then, to make things really confusing, people start decorating for Christmas before Thanksgiving. There is a house on our street with pumpkins all along the entryway and snowflakes hanging from the roof.

Even more proof that all of this is confusing to a three-year old: today my daughter asked me if we missed Thanksgiving. I told her no, Thanksgiving is tomorrow. Why on earth would she ask if we missed it? Look at all of the Christmas lights, Mom. Are you sure?

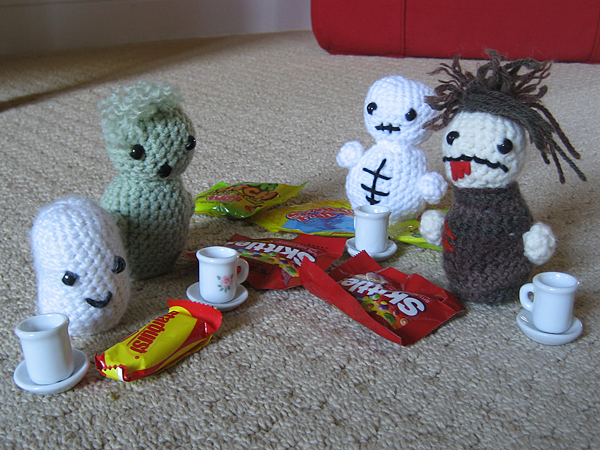
I’m really trying to keep our house Christmas-free until after tomorrow, but my daughter is already asking for her little tree. In the meantime, though, she’s serving tea and candy to her Halloween friends.

undead tea party

Maybe I need to crochet a little turkey for her?

pattern: undead gang from Needle Noodles

how to add adjustable elastic to kids’ pants in 5 easy steps

adjustable elastic kids pants

My daughter is growing like a weed, except she’s only growing up, not out. She’s got 4-5T legs and a 3T waist. That means that most of the pants we find that are long enough won’t stay up.

I try to only buy pants with an adjustable waist, but sometimes I come across a great deal or something super cute that I just can’t pass up. I decided to try adding elastic myself, and you know what? It’s super easy!

You can even do this without a sewing machine as long as you don’t mind a little hand stitching.

Materials
button hole elastic
small, sharp pair of scissors
two buttons that fit through your elastic
Fray Check
needle and thread

Step 1
Starting on the right inside of the waist, snip two holes to create a casing for the elastic. Make sure your scissors don’t go through to the other side! Apply Fray Check to the raw edges.
adjustable elastic kids pants

Step 2
Cut a piece of elastic that’s about one inch longer than between your holes. Fold one edge over and sew. This is the edge you’ll be using to adjust the pants.
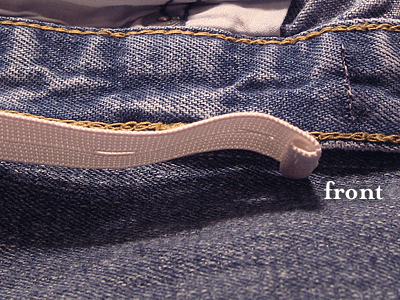
adjustable elastic kids jeans

Step 3
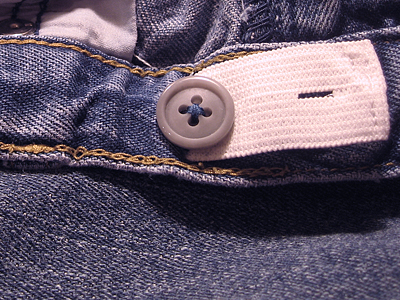
Sew a button in front of the casing you’ve created.
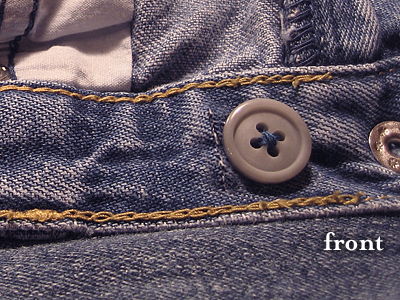
button hole elastic

Step 4
Thread the elastic through the waist casing with the finished edge going through the front. You can tuck the unfinished edge into the back.
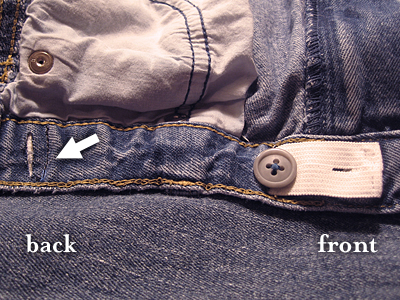
adjustable elastic kids jeans

Step 5
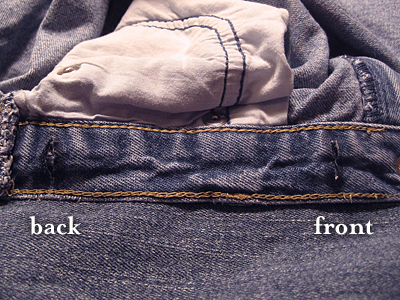
Sew a line of stitches to secure the elastic. See arrow.

adjustable elastic kids pants

Here’s what you’ll see on the outside of the pants.

Repeat on left inside of the waist.

refashion: The only thing worse than sizing for women’s pants is sizing for kids’ clothes. At least with this little trick, I can just make sure pants look long enough when I buy them. It’s nice knowing how easy it is to adjust the waist. Maybe I should try this on my jeans!
hat + mittens finished!

handknit hat and mittens

handknit hat and mittens

handknit hat and mittens

After many attempts, we finally have a set of hat and mittens for the winter season. My daughter loves them, which makes all of the work worth it. I just need to sew name labels in everything for preschool tomorrow and they’ll be ready for action!

project notes: Yarn is Cascade 220, which holds up well after a lot of ripping and re-knitting. Mitten pattern from p2designs.com. No pattern for the hat—I just kind of winged it.

granny stars!

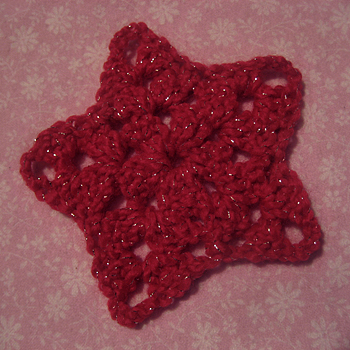
Once I decided to crochet some stars for a garland, I started seeing stars everywhere. Isn’t it funny how that happens? My favorites are these totally adorable granny stars.

crochet granny star

I’ve ditched my Chromium Blanket stars for these. They work up a lot faster and are so much fun! If you crochet, you should really give one a try.

inspiration: tutorial from The Royal Sisters, multi-colored stars by Lucy over at Attic24, Sarah London’s garland, and Emma Lamb’s wee flowers and stars.