setting the tree free

setting up the tree

She told her dad she’d need help cutting the top of the tree net open. Just barely, though. Not pictured: how short her pajama bottoms are. Last Christmas they were too long. The next size up is huge around the waist. I foresee some tailoring in my future.

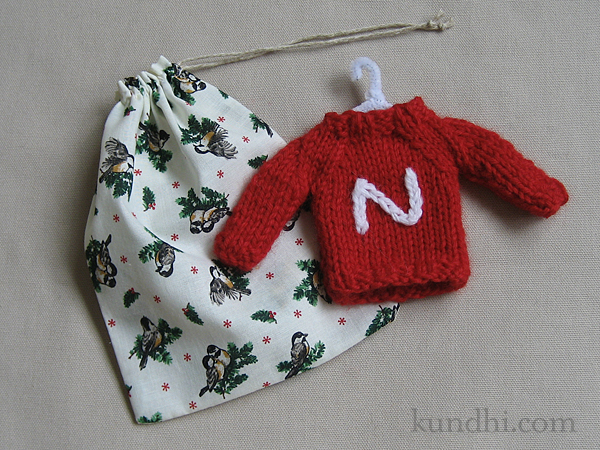
little sweater ornaments

sweater ornament

I’ve wanted to make these ornaments for a long time. The pattern is from Last-Minute Knitted Gifts. The inspiration for the Husker “N” came from my friend Christy, who has made a gazillion of these. The pattern suggests making a hanger out of a pipe cleaner and I think it’s absolutely adorable.

I’m having a hard time blogging because a lot of what I’ve been making hasn’t been gifted yet. I don’t think the recipients read my blog, but if you get one of these from me, just act surprised, ok?

stash: Red wool from the 2010 East Campus garage sale. White wool from the 2009 East Campus garage sale. Fabric for gift bag from here. Crazy that I remember all of that!

p.s. Congratulations to giveaway winner Shana Putnam!

what’s better than giving handmade gifts?

Receiving them!

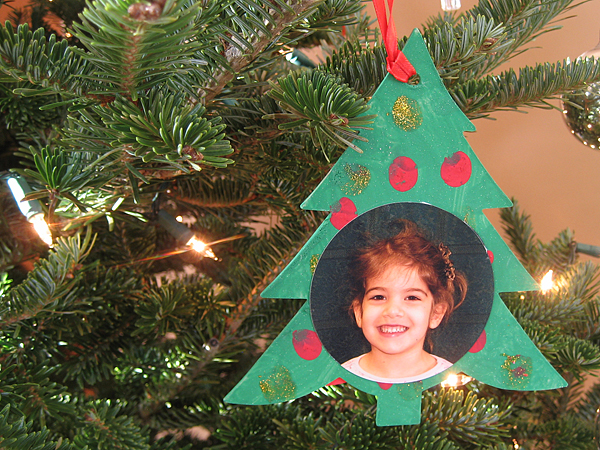
When I pick up my daughter from preschool I always ask about her day. Did you learn a new song? Did you paint? Color? Draw? Did you sit still for story time? For the past few weeks she’s been telling me about her tree. “Today we painted our tree.” “Today we put ornaments on our tree.” “Today we put sparkles on our tree.”

handmade tree ornament

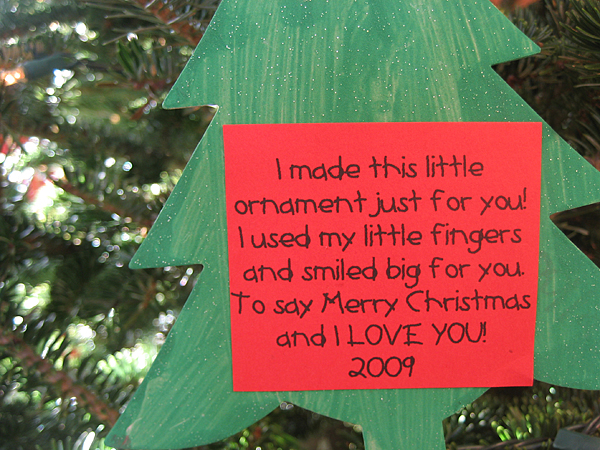
I honestly thought she was making some kind of giant tree painting the way she described it. Imagine my surprise when she came home with this little tree ornament! It was wrapped in a paper bag (or sack as they say in Nebraska)* decorated with holiday stickers. I waited for my husband to come home so we could open it together. It is the most beautiful ornament on our tree.

handmade tree ornament

*When I called it a paper bag, my daughter said, “NO MOM! Mrs. Tisdale said it’s a SACK!”

how to keep kids away from tree ornaments

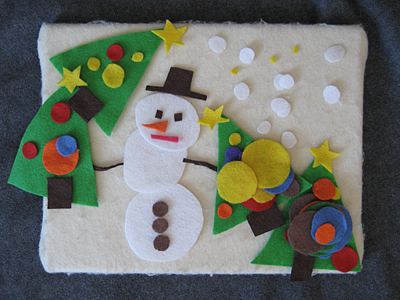
felt snowman and christmas trees

Give them felt shapes!

It’s getting more and more difficult to keep my three-year-old away from the ornaments on the tree. Being cooped up inside with no preschool or swimming lesson this week has not helped. This morning I decided she needed her own trees. I grabbed a big pile of felt and cut lots of circles and triangles.

Check out that strong snowman. He’s carrying all four trees with his stick arms!

past project: Here’s my original felt board post.

mini santa hat pattern!

from the julie-bird.com archives

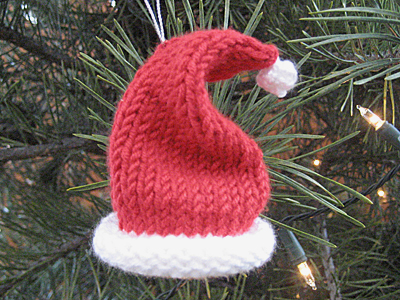
Last year I tried knitting a little stocking for our knitting group’s ornament exchange and it turned out really wonky. The night before the exchange, I whipped up this little Santa hat instead.
santa hat

For this year’s exchange, I knit the stocking from Last Minute Knitted Gifts and it turned out MUCH better. Tana, who picked my Santa hat from last year, picked the stocking this year. I knit them both out of the same yarn. Too funny! I should see if I can complete her set with a mini sweater next season.

I’ve been thinking a lot about the little Santa hat ornament. It was so cute and easy! So the other night I decided to knit another one for our tree. I love it so much! Here’s the pattern so you can knit up some cuteness for your tree.

Knitted Santa Hat Ornament

Yarn: Lion Brand Micro Spun colors red and white
Needles: I used size 3 dpns
Gauge: 6 stitches = 1 inch
Time to complete: Less than two episodes of the Sopranos.

Hat

Using white yarn, cast on 30 stitches and divide evenly over 3 dpns.
Join and knit 8 rows in white (add rows if you need to so it forms a nice roll brim).
Change to red yarn and knit 12 rows.

Begin decreases:
Knit the first two stitches on each needle together.
Knit a plain round.

Repeat these two rows until you only have 3 stitches left. Tie them off.

Pom Pom

Start with a slip knot of white yarn on a single needle.
Knit in the front and back of the stitch, increasing to 2 stitches.
Knit in the front and back of both stitches, increasing to 4 stitches.
Repeat once more for a total of 8 stitches.

Begin decreases:
Knit two together across, decreasing to 4 stitches.
Repeat, decreasing to 2 stitches.
Repeat once more and tie off.

Pull the two ends together and shape a little ball. With a darning needle, thread the ends through the top of the hat and tie a knot.

If you want your hat to hang straight, string it up from the top. If you want it to have a little curl, like mine, string it up from the middle.

Hang on the tree and admire your craftiness. Merry Christmas!

reuse: Don’t let all of those tiny balls of leftover yarn go to waste. Use them for small projects like tree ornaments.