liberty of target tote hack

Confession time: my daughter’s dress wasn’t the only Liberty of Target item I bought last month. I fell in love with this tote on the website and was disappointed when I got to the store and realized it was oil cloth. I almost put it back a few times while I was shopping, but in the end, the print won me over.
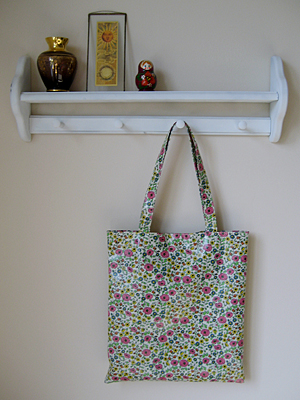
liberty of london target tote bag

After using it a few times as a knitting tote, I wished I hadn’t bought it. The cloth was so stiff that even a small ball of yarn gave it a goofy bump in the middle. Then I thought, I make tote bags. Why don’t I stop complaining and just fix the darn thing?
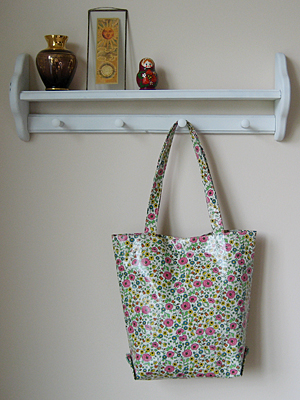
liberty of london target tote bag

So I added a four inch gusset and prettied it up with some vintage buttons on the side. It’s still stiff, but much more functional.
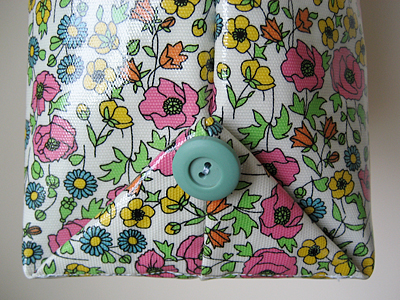
liberty of london target tote bag

I’ve actually started using it for my daily purse, even though it’s kind of big. I still wish it was fabric, but I really do love those little flowers.

future thrifting?
I’m wondering if others were as frustrated with this bag. Maybe they’ll start showing up at the thrift stores?
once and awhile i buy something new

liberty of london target dress

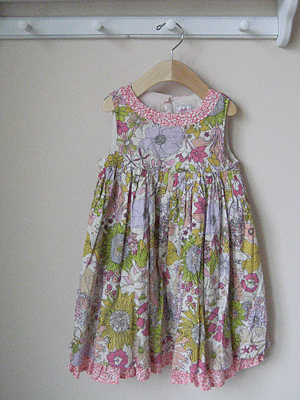
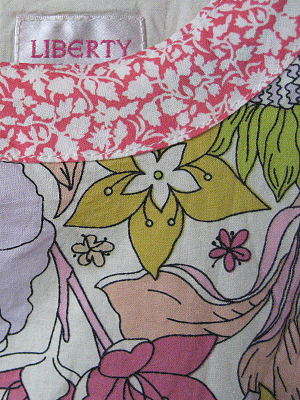
I know it might be shocking to some, but this weekend I actually bought a brand new piece of clothing. Yesterday was Liberty of London’s Target debut. I have to admit that I was a little underwhelmed at the selection. Until I saw this cute dress for my daughter, that is.

liberty of london target dress

I really love this print. I’ve even set it as my desktop wallpaper (click on “pattern your world”). I’m a little disappointed in the fabric, though. In fact, a lot of the items didn’t even seem up to Target’s usual quality. But those flowers are so very pretty. I couldn’t resist.

Did you shop at Liberty of Target this weekend? What did you get?

refashion: After this season, I can easily turn this dress into a skirt for next year, don’t you think?

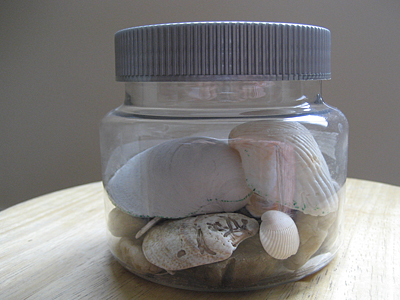
reuse: plastic sea shell container

super target archer farm almond container

I am just in love with the shape of Archer Farm’s almond containers. They’re nice and durable and have this great silver/gray lid. I held a few back from the recycle bin because I thought I’d be able to make something cute with them.

When we came back from the beach, my daughter had lots of pretty shells and rocks. We couldn’t figure out where to store them. They were too pretty to put away, but I didn’t want them laying around, either. Then I remembered these containers. Perfect!

reuse: I still have two more containers and I’m thinking of decoupage with gray and silver paper scraps. What do you think? Any other ideas?

how to sew a placemat zipper pouch with only four seams

zipper pouch tutorial

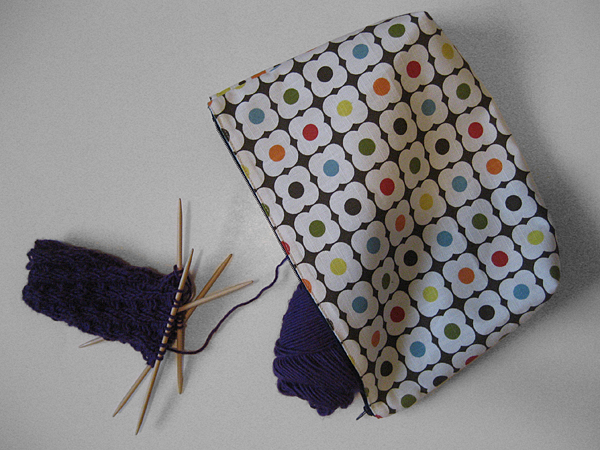
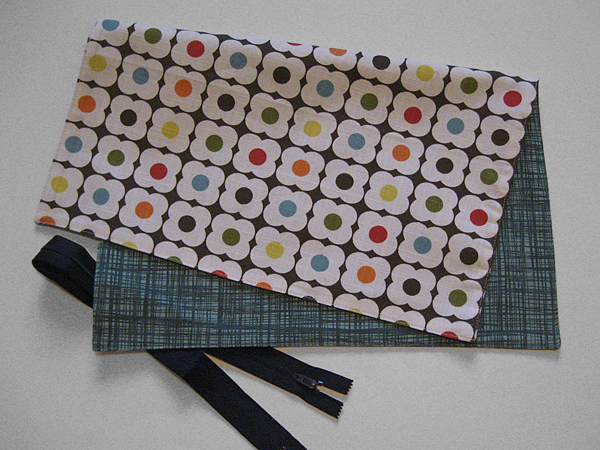
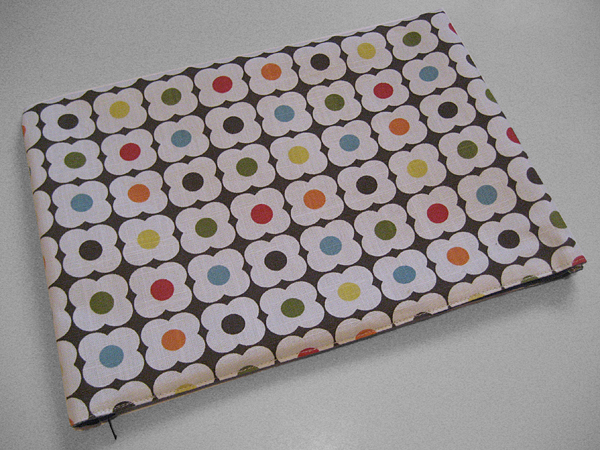
I found this cute Orla Kiely placemat at Target a few weeks ago and wanted to make something quick and easy for my knitting. Because the edges are already finished, I only needed to sew four seams. If you want a gusseted pouch, you can sew two more seams. Either way, it’s a very fast and easy project.

zipper pouch tutorial

Materials
a placemat (mine was 14 x 17 inches)
a zipper that’s at least 14 inches
coordinating thread
heavy duty sewing needle
zipper foot

zipper pouch tutorial

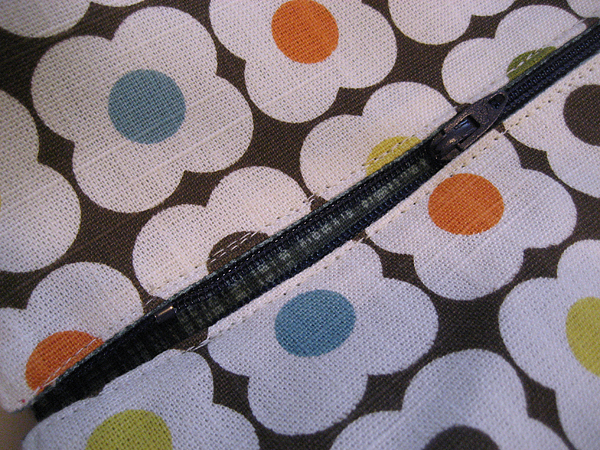
Using your zipper foot, stitch each 14 inch side to the zipper, beginning and ending 1/2 inch from each side.

zipper pouch tutorial

With the zipper halfway open, turn the placemat inside out. Sew your side seams while holding the zipper out of the way. (This is why you left 1/2 inch unsewn on each side.)

zipper pouch tutorial

Turn the placemat right side out and you’re done! If your zipper was longer than 14 inches, you can trim the extra.

Optional Gussets

zipper pouch tutorial

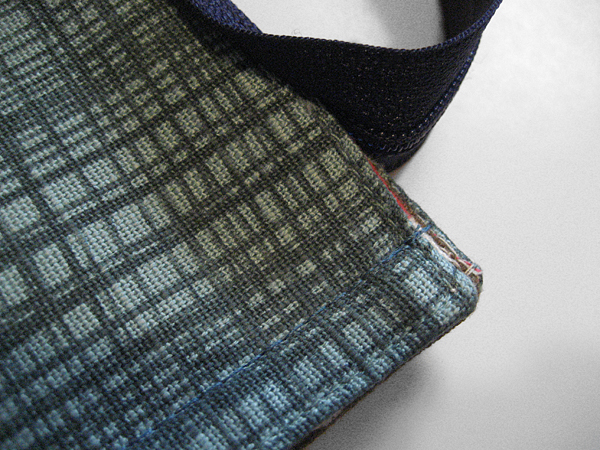
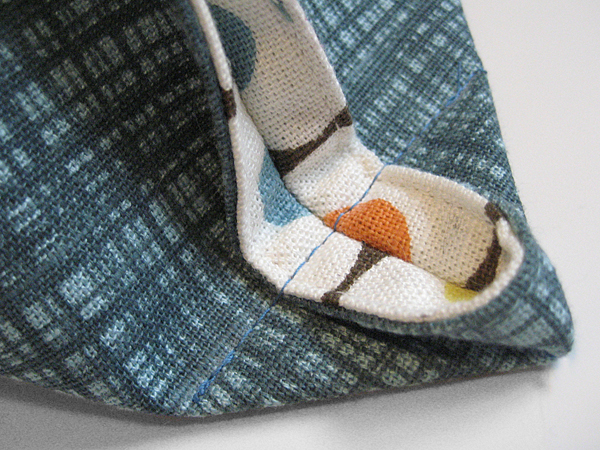
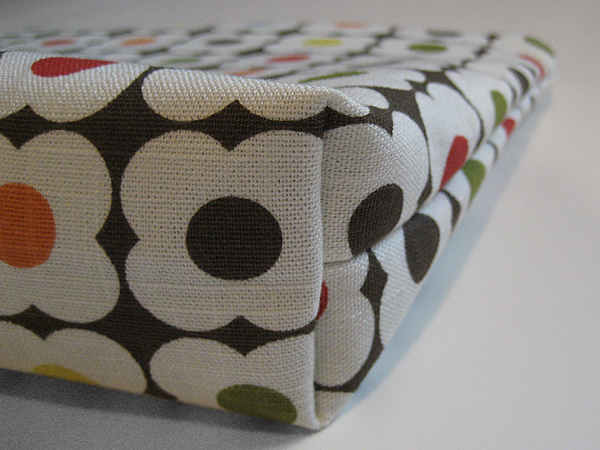
Box your corners, but don’t trim. The triangles are small and won’t take up much room. Plus, you’ll have no raw edges that might unravel.

zipper pouch tutorial

Want to see more projects using Orla Kiely placemats? Thimbly Things made a cute purse with hers and linked to a bunch more adorable bags.

refashion: Using finished items like placemats make your projects fast and easy because your edges are already finished.

Thanks to Whip Up, Craft Gossip and One Pretty Thing for linking to my tutorial. Subscribe to my RSS for more crafty goodness!