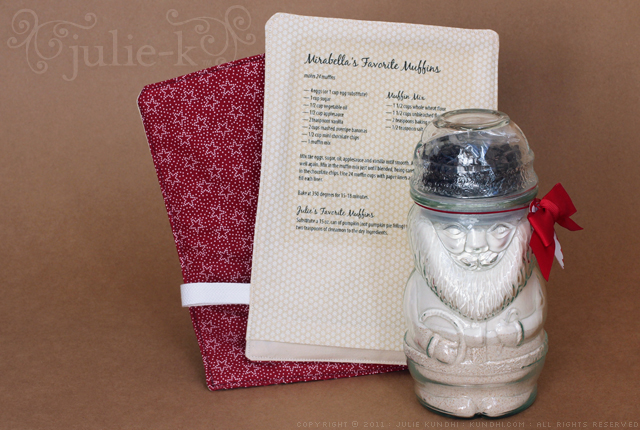
muffins in a jar + recipe potholder

muffin in a jar gift

Wow. I first posted about these muffins over three years ago. They have really stood the test of time. If my daughter had her way, we’d make a batch every week. With a seal of approval like that, I figured they would make good “in-a-jar” gifts.

Originally, I had planned to give each mix with the recipe printed on a little card. But after attending a local craft retreat, I was inspired to print the recipe on a potholder instead. (Thanks for the idea, Kaitlyn!) A few things:

  • I bought the Santa jars on clearance the year before. They were the perfect size for the muffin mix and a little bag of mini chips.
  • I made an oven-mitt style potholder using fabric and thermal batting from my stash.
  • I ordered special transfer paper for this project. Because it will be used near an oven, I chose a kind that can withstand the heat of an iron after it’s been transferred to fabric.

This was a fun gift to make and give. If you ever do in-a-jar gifts that go in the oven, a potholder is a great way to share the recipe.

project notes: Insul-Bright insulated lining, SuperSoft inket transfer paper, original muffin post, in-a-jar gift ideas
thanksgiving thumbkin pumpkins

It never fails. Whenever I make pumpkin pie, I always have a little bit of squash and pie crust dough left over. I save the squash for muffins, but there’s not much I can do with the dough.

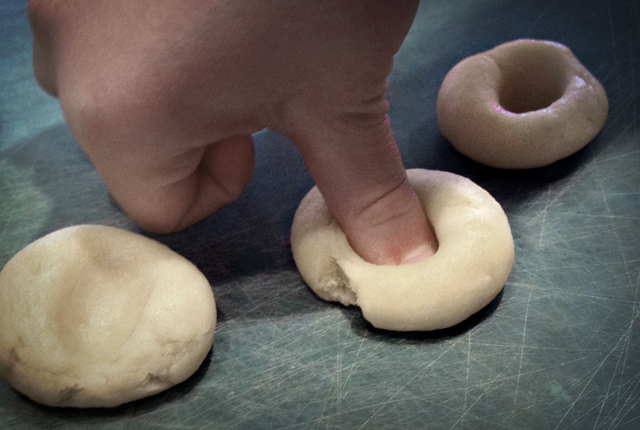
This year my daughter suggested we make thumbkin pumpkins with the leftover ingredients. She made them in school earlier this week and thinks they’re the perfect excuse for eating lots of whipped cream.

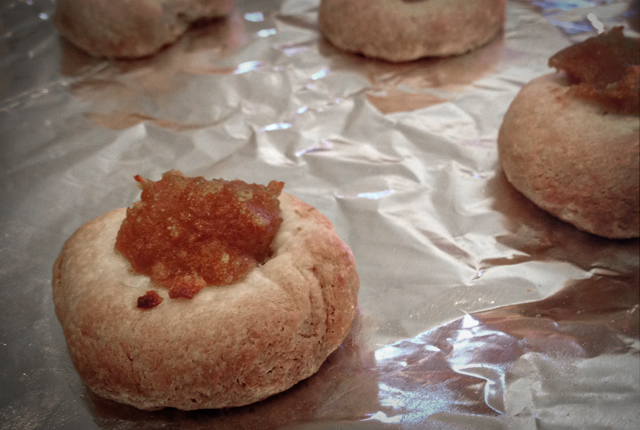
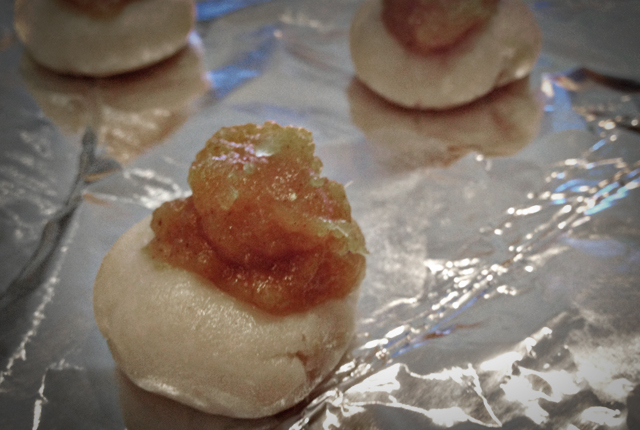
We rolled up the leftover dough and divided it into several 1-inch-sized balls. Then she took her thumb and made a little well in the middle.

thumpkin pumpkin recipe

Since I start with plain pumpkin and not pumpkin pie filling, I had to add some sugar and spice to my squash:

1/2 cup pureed pumpkin
2 1/2 T brown sugar
1/4 t ground cinnamon
1/4 t ground ginger
small pinch of ground cloves

thumpkin pumpkin recipe

We spooned a small amount of squash into the thumb imprints. Then we baked these on a foil-lined cookie sheet along with the pie.

thumpkin pumpkin recipe

They turned out great. Personally, I’d add more pumpkin, but I’ve got a whole pie. These are really for my daughter, so as long as she’s happy, I’m happy. She ate them with a very generous dollop of whipped cream.

recipe: how to make drop scones with yogurt

lemon cranberry yogurt scone recipe

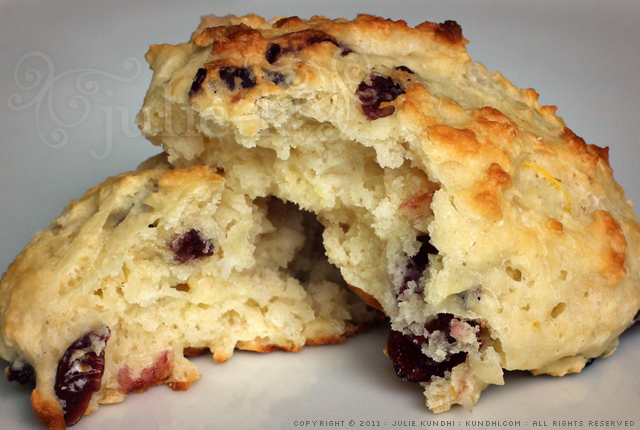
A few months ago, I wrote about my success at making soft and fluffy scones. At first, I thought their texture was because of the yogurt. Turns out, it’s because of the flour.

I have tried many variations of this recipe and the only scone that stays soft and moist is made with a mix of unbleached white flour and cake flour. I’ve had tasty success with whole wheat pastry flour, but the texture just isn’t the same. I’m posting the white flour version, but I encourage you to try different, healthier flours to see what you like best.

I’ve also tried different kinds of plain yogurt and found that a drippy consistency is best. Regular store-bought and homemade yogurt* work fine as is. I recommend thinning Greek yogurt with milk to get the right consistency.

This recipe is loosely based on the one found in Alice Water’s The Art of Simple Food. I almost always make them with lemon and cranberries. Try substituting orange for the lemon and play around with the dried fruit.

Lemon Cranberry Yogurt Drop Scones

Preheat oven to 400 degrees.

Mix together:
1 cup unbleached white flour
1 cup cake flour
2 1/2 t baking powder
1/2 t salt
1/4 c sugar
1/2 c chopped dried cranberries
grated zest from one small lemon

Stir in:
1 1/3 c yogurt or yogurt/milk mixture
juice from one small lemon (about 4 T)

Mix until the dough just starts to come together.

Drop 12 heaping spoonfuls on a baking sheet lined with parchment paper.

Bake for 15-17 minutes.

*I make my yogurt with 2% milk. I promise you won’t miss the butter or cream in this healthy treat. Enjoy!

homemade granola recipe

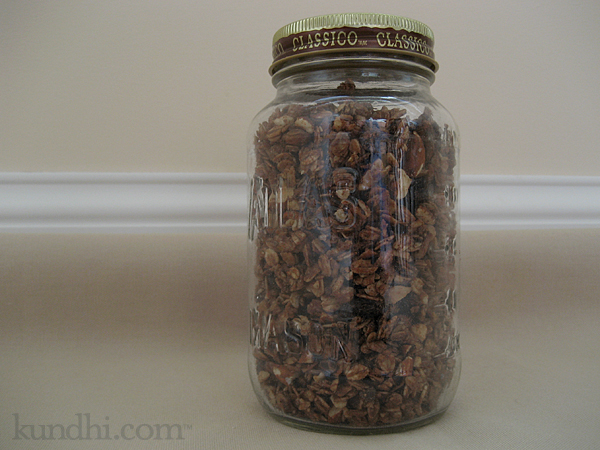
homemade granola

If you’ve been waiting for me to post this recipe, thank you for being patient! I took a granola break for awhile. I got frustrated because you really can’t make a totally healthy version of this stuff. I’ve done the best I can, but it’s still packed with calories. Luckily, it tastes good enough that I only need a little sprinkle to jazz up my plain yogurt.

Preheat oven to 325 degrees F.

Mix in one bowl:
2 cups old fashioned oats
1 teaspoon cinnamon
1 teaspoon kosher salt

Mix in a second bowl:
2 tablespoons oil (I use light olive for baking)
1/4 cup blue agave (or honey)
1/4 cup light brown sugar
1 teaspoon vanilla extract

Combine the wet and dry ingredients. Pour onto a baking sheet with edges, like a jelly roll pan.

Bake for 10 minutes. Remove pan and stir.

Add 1/2 cup chopped nuts. I’ve used almonds and pecans.

Bake for another 5 minutes. Remove pan and stir. Bake for a final 5 minutes. Take it out sooner if it starts to get too brown.

Keep stirring so the granola doesn’t stick. (I skipped this the first time. You get a giant block of granola! If this happens, warm it up a little in the oven until you can stir it again.)

When cool, add 1/4 cup dried fruit. I’ve used raisins and cranberries. If you are feeling really decadent, sprinkle in a few mini chocolate chips, too.

recipe credits: This is an adaptation of the recipe my daughter brought home from Cooking Camp last year, which was an adaptation of the granola recipe in Baked: New Frontiers in Baking. I’ve never seen the original recipe.

my creative space

pumpkin pie

Today my creative space is filled with food. It’s Thanksgiving in the United States and we’re spending it at home — just the three of us. I made stuffing and sweet potatoes earlier in the week. All that’s left to do is the turkey and the pumpkin pie.

Ever since we moved to Nebraska, I’ve made homemade pumpkin pie for the holiday. I’ve always wanted to make pie from an actual pumpkin, but could never find one at the grocery store. I figured if canned was good enough for Martha, it was good enough for me.

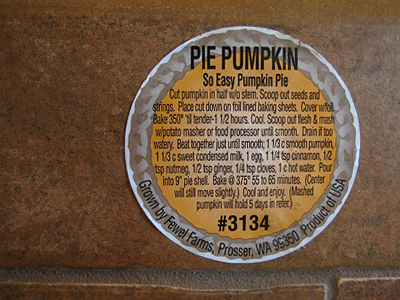
This year I saw a pie pumpkin in the produce department and knew I had to try it! It was easy to bake and puree, just like any other squash. I’m using the recipe that came with the pumpkin. I hope it turns out as good as Martha’s!

pumpkin pie

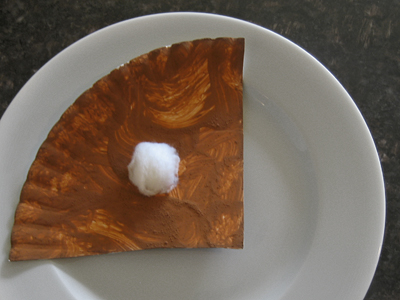
My daughter is super excited to have some pumpkin pie because she made one this week, too. Don’t you just love preschool crafts? It even has whipped cream!

For more yummy creative spaces, visit Kirsty’s blog. (I can’t guarantee that they’ll be as yummy as pie, but they are always beautiful!)

a healthier amish friendship bread recipe

mini loaves

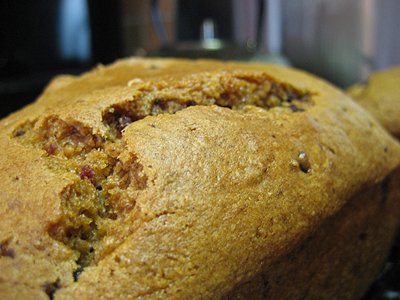
A few months ago, a friend gave me some Amish Friendship Bread starter with this recipe. I made a few loaves for us, then I kept the next batch of starter and made a bunch of loaves as Christmas presents for friends. I really like this bread and have been storing the extra starter in the freezer so I can make more. Now it’s becoming an every day snack instead of a treat, so I had to adjust the recipe to make it a little bit healthier. The result is definitely not as sinful as the original, but it’s still pretty darn tasty!

1 cup amish friendship bread starter
3/4 cup egg substitute
1/2 cup applesauce
1/2 cup pumpkin puree
1/2 cup skim milk
1 cup sugar
2 tsp cinnamon
1/2 tsp vanilla
1 1/2 tsp baking powder
1/2 tsp baking soda
1/2 tsp (kosher) salt
1 cup unbleached white flour
1 cup whole wheat flour
1/2 cup chopped craisins
1/2 cup mini chocolate chips (optional)

• Preheat oven to 325 degrees.
• Spray 2 medium loaf pans or 4 mini loaf pans with light olive oil.
• Combine ingredients.
• Pour the batter evenly into the pans.
• Bake for 45-60 minutes until wooden toothpick comes out clean.
• Cool for 5 minutes and turn onto a backing rack to finish cooling.

What I changed: Swapped real eggs with egg substitute to cut out some cholesterol. Swapped oil for pumpkin puree (pumpkin is a super food!) Used skim milk and swapped 1 cup of white flour for whole wheat. Skipped the instant pudding. My original recipe had you dust the greased pan with sugar. Skipped that step, as well. I also ignored the “Don’t use anything metal” warning in the recipe and threw all of these ingredients in my big blender. It really speeds up the whole process, plus it’s easy to pour and clean up.

Some other starter tips: If you are using a ziploc bag, it’s ok to let the air out after a few days to avoid a starter explosion. (Yes, this really happened to a friend of mine!) It’s not the end of the world if you can’t mix ingredients or bake on the exact day. I’ve kept starter in the refrigerator after day 10 for a few weeks and it turned out fine. I’ve even put it in the freezer for future use. As long as it doesn’t turn weird colors, it will be fine. And speaking of the freezer, the bread freezes very well. I usually make the mini loaves and freeze the extra ones as soon as they have cooled.