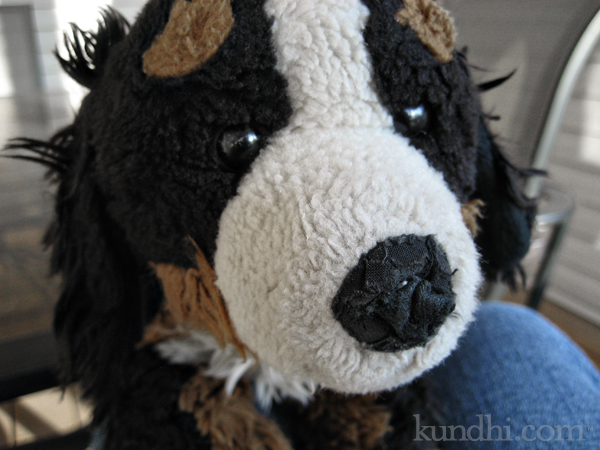
What is it with the noses on stuffed animals? I know my daughter isn’t chewing on them, so how does something like this happen? If you look closely, you can see the original torn nose and the remains of my first patch. I’m becoming an expert on fixing these, so I’m sharing my little trick with you.
Materials
fabric that matches the original nose (I doubled up for extra durability)
thin cardboard (check your recycle bin for a cereal box or similar)
iron
aluminum foil
sewing notions
Step 1
Measure the nose (I used one of these circle templates) and cut a piece of cardboard the same size and shape. Cut your fabric a little bit larger than the cardboard.
Step 2
Lay down your aluminum foil, then the fabric and finally the cardboard. Fold the foil around the cardboard so the fabric is sandwiched nicely in between.
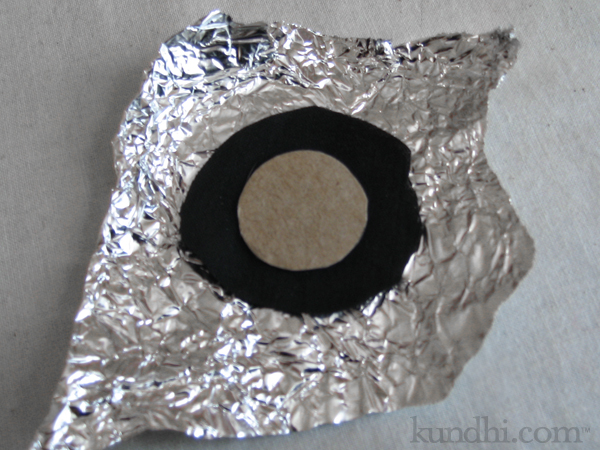
Step 3
Iron the foil on the top and bottom. Press really well around the edges. Let it cool before opening it up. It will be hot!

Step 4
Remove your perfectly pressed nose and hand stitch it in place.
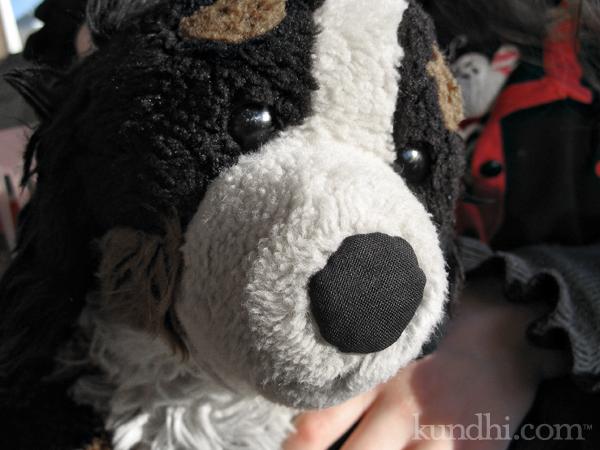
He looks much happier now, doesn’t he? Hopefully the two layers of fabric will hold up a little longer this time.