adventures in sewing with faux leather

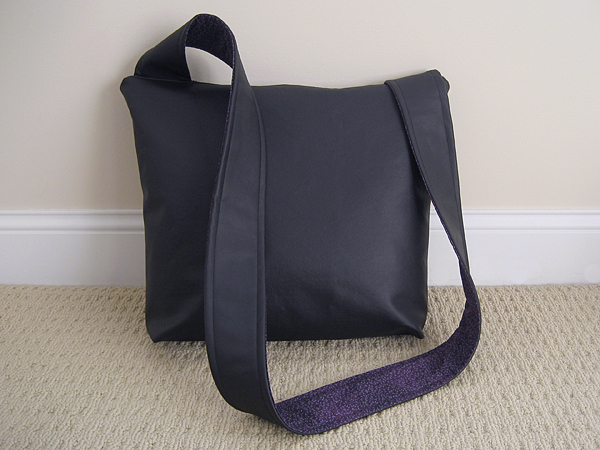
custom handmade faux leather bag

I know I say I’ll sew anything if it fits under my presser foot, but I’ll admit I was a little anxious when my friend asked me to make a zippered messenger bag out of faux leather. It was soft and thick and had a woven polyester backing. I decided to make small zipper pouch first to test it out. Here’s what I learned:

  • Folded faux leather creases and you can’t iron it. You can try using a press cloth, but it will warp.
  • Faux leather sews up nicely. I used a heavy duty needle that went through it like butter.
  • Corners are kind of tricky, especially the zipper corners. It was hard to get them square.
  • If you need to pin your pieces, do so in the seam allowance or you’ll have holes in your finished bag. Same goes for ripping seams. You’ll need to stitch exactly over the little holes to hide them.

The first thing I did was unfold the fabric and roll it up. When it was time for me to sew, most of the creases had disappeared.

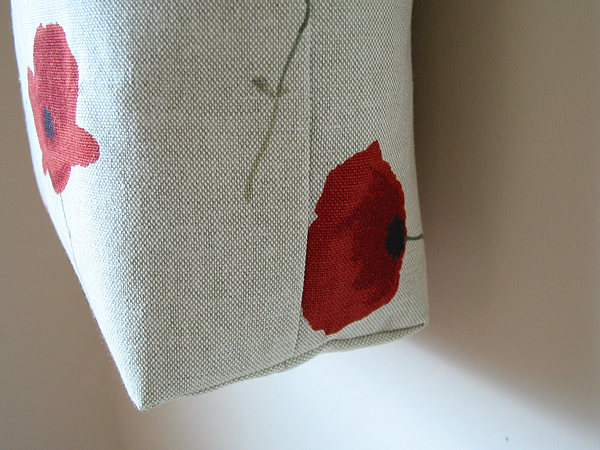
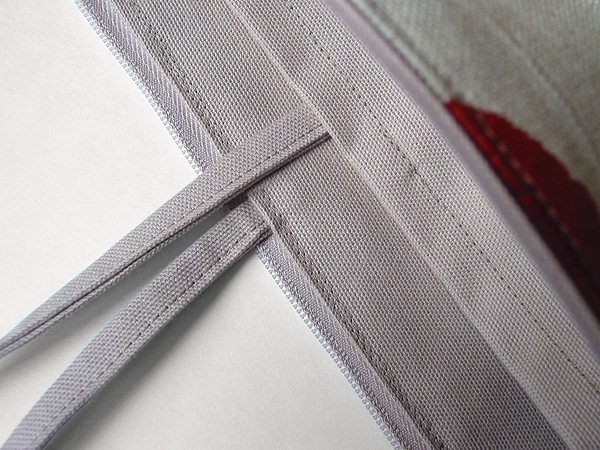
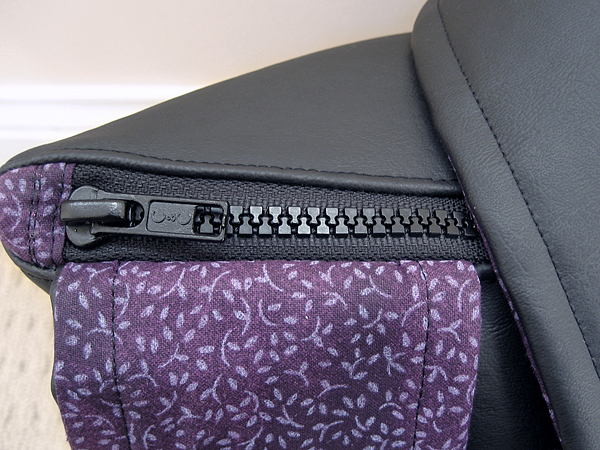
Next I adjusted my usual messenger bag pattern to avoid some of the corner trickery. Instead of lining up the strap with the side seam, I moved it over about an inch on each side and sandwiched it between the outside fabric and the zipper.
custom handmade faux leather bag

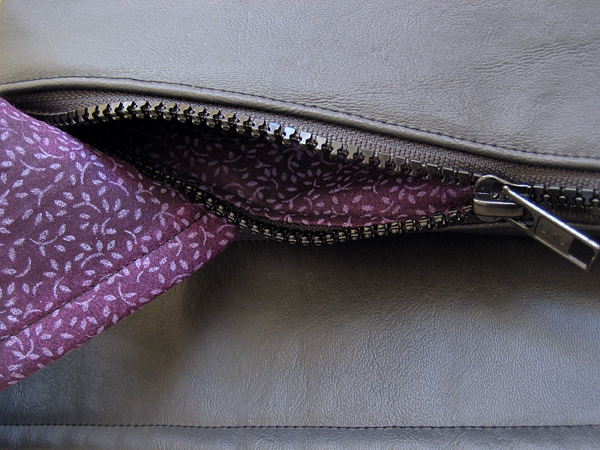
The zipper was also a challenge. Usually I just sew right over zippers, but this one was too thick. I covered the ends with some extra fabric, so when I went turned my corners right side out, they weren’t bulky.

Mostly importantly, I went slow and used paper clips to hold my pieces together. I did have to rip in two places, but managed to stitch over the little holes. I’m really pleased with how this sewed up. It was a cumbersome project to get through my presser foot, but the finished result looked fabulous. I especially love the top stitching detail.
custom handmade faux leather bag

review: This project has got me thinking about faux leather in general. I know that animal rights organizations prefer it, but what about our earth? Here’s what I’ve found so far:

Polyurethane is much more environmentally friendly in both production and after-care. PVC contains chloride and does not biodegrade. In landfills, it leaches toxic additives and when incinerated, it emits carcinogenic dioxin. Leather production is a chemical-laden process that uses heavy metals. Polyurethane is biodegradable and is designed to deteriorate after usage.

Read more at Brentano Fabrics
my new laptop bag…and all the details

laptop bag

During the past week, this bag has carried my laptop through the airport, been my purse to a wedding, and toted stuff to the beach. That’s a lot of jobs for one bag. I’m happy to say it performed all of its required duties wonderfully. And it looked pretty darn cute, too. Here’s how I planned the design:

Size
Most importantly, this bag needed to be large enough to fit my laptop, but small enough to meet airline carry-on luggage guidelines. I checked the FAA and NWA website and both set my limit at 45 linear inches. Mine turned out to be 13.5 x 16.5 x 4 inches, or 34 linear inches. Part of me wished I had made it a little bigger, but there’s less room for your bag under an aisle seat, so in the end, this size worked great.

laptop bag

Inside
I wanted a separate sections for my laptop and my other things. I created two pockets and added a tie to the laptop side. When I used this as a purse, the laptop side was filled with fun things for distracting my daughter, like coloring books, story books, stickers, etc. At the beach, it held my book and knitting project.

laptop bag

Outside
A zipper closure was essential. I didn’t want anything to fall out during airport screening and I didn’t want any sand getting inside. Durability was important, also. The outside is an upholstery fabric and the inside is a cotton canvas.

How-to
This bag is basically an oversized zipper pouch with handles and two inside large pockets. It seems silly to write up a tutorial when there are so many great ones already out there. For this project, I referenced the following:

Adding the handles was easy. I just sandwiched them between the outside fabric and zipper when I was sewing it all together. I reinforced the handles with a few rows of extra stitching.

stash: Fabric came from this remnant sale. Zipper was thrifted.

my new laptop sleeve

I knew I’d have to do some work on our trip to the beach and I had given my Timbuk2 bag to my husband when he got his new computer. He has made it clear that my Timbuk2 belongs to him now, so I had to come up with something else. I decided to sew my own laptop sleeve and bag. First, I started with the sleeve:

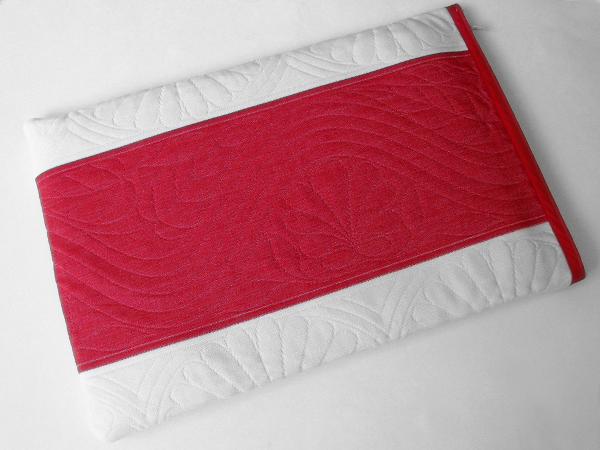
quilted laptop case

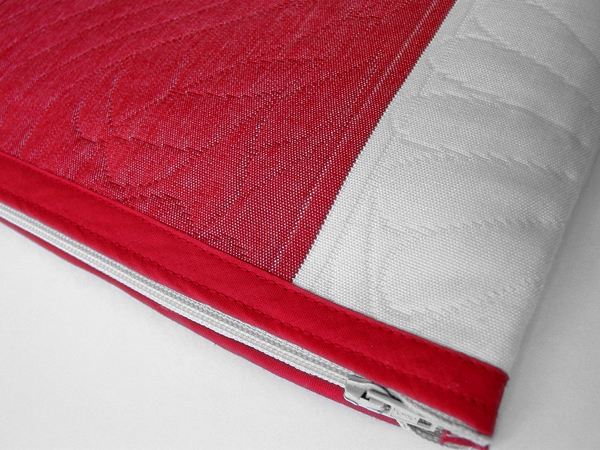
The fabric was an upholstery remnant that was already striped and quilted. I used some bias tape to enclose the raw edges before I sewed on the zipper and I serged the inside seams.

quilted laptop case

I love fabric that comes with the hard stuff already finished. No patchwork or quilting was needed for this project, but it looks kind of fancy, don’t you think?

stash: The remnant came from the east campus textile sale. Zipper and bias tape from the thrift store.

my creative space

laptop bag purse

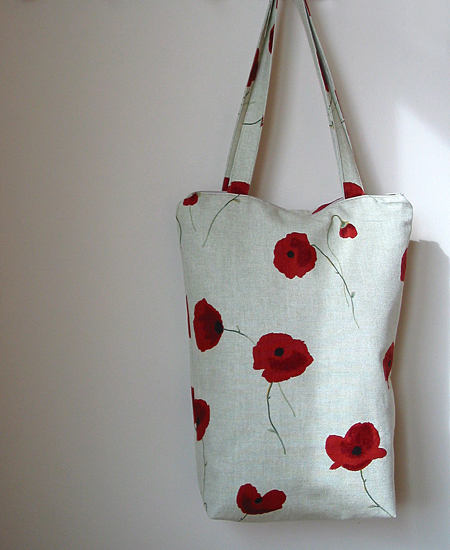
Today my creative space is filled with finishing. I just finished this laptop bag/purse for myself. Hopefully, we’ll get a little sun today so I can get some more pics. I’m also finishing up another tote for an etsy order. Plus, I’ve got to whip up two gift bags for these projects and I’m going to try and fit in a little mending in the evening.

What’s in your creative space today?

Visit more creative spaces over at Kirsty’s blog.