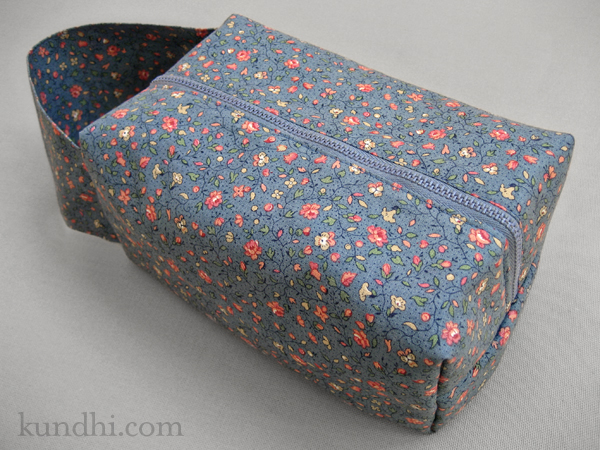
little blue box bag

blue box bag

Just a quick post today because I’m spending all of my free time working on the little baby sweater. (It’s about half finished. Completing it for Saturday just might be a realistic goal!)

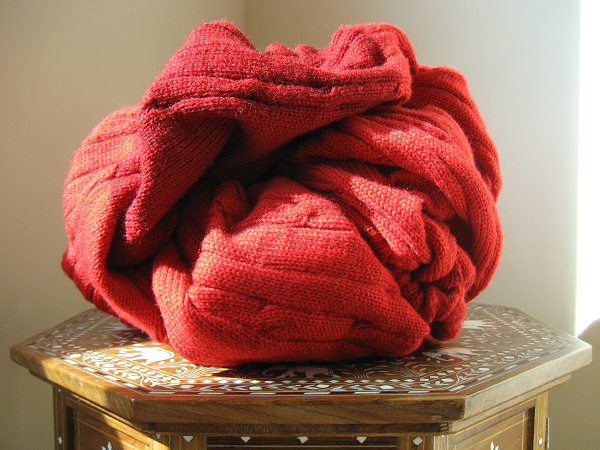
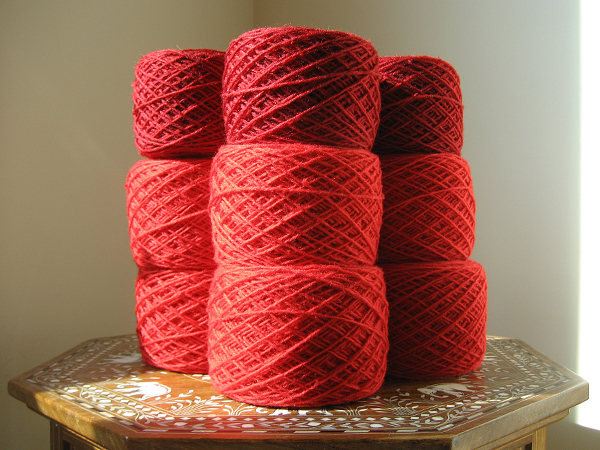
A few months ago when my friend asked me if I wanted her odds and ends of yarn, I told her I’d make her a box bag in return. Of course, now that I’ve received the very large tote of goodies, I think I need to make something else for her, too. Maybe a matching tote bag? Hmmm…

stash: fabric, denim lining and zipper all from my thrifted stash.

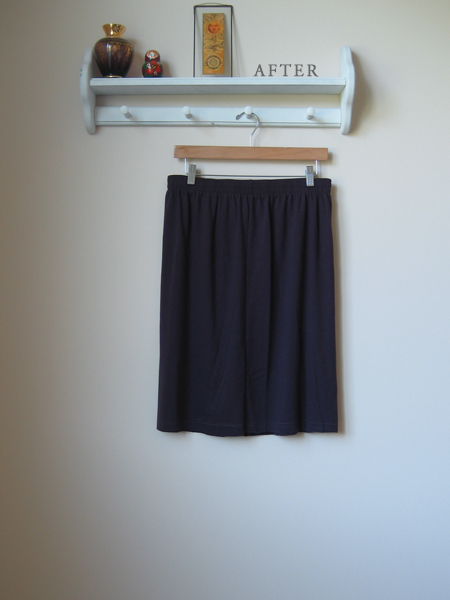
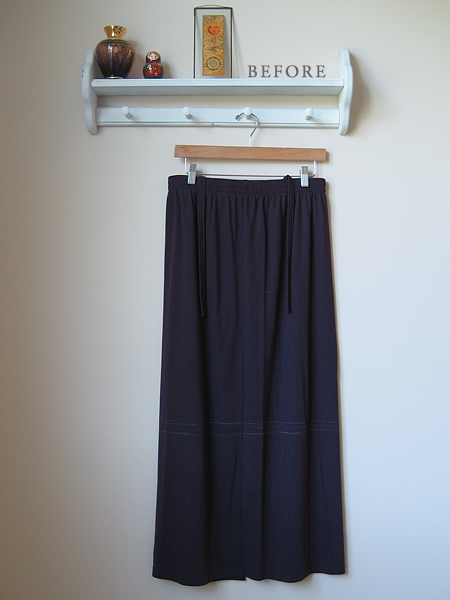
wardrobe refashion: simple knit jersey skirt hem

wardrobe refashion hem jersey skirt easy

So far this has been the easiest refashion ever. The original skirt was ankle length and had these weird suspender-like ties sewn inside the waist. I’m leaving the bottom edge unfinished to see if it adds a little interest to the plainness of the solid, straight style.

wardrobe refashion hem jersey skirt easy

Just in case it doesn’t turn out as I hope, I left myself an inch at the bottom to clean up and hem. So the top chalk line is where I want it to hit my leg and the bottom chalk line is my cut line. I simply cut at the bottom line and put it on to wear. That’s it. Oh, and I snipped those silly suspender things off.

I’ll keep you posted how the edge turns out after a few washes and if I decide to do a clean hem instead.

thrifted: another 99 cent sale skirt transformation

thrifty thursday: needlework books

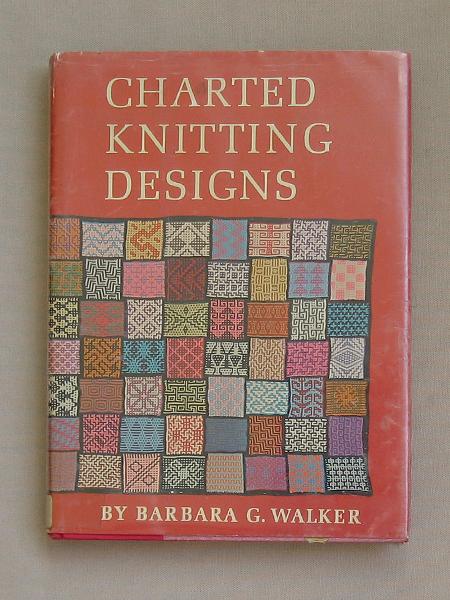
Last Saturday was the annual textile sale and you’d all be impressed at the amount of fabric I did not buy. I did get some for an upcoming project, a few balls of wool and this lovely book.

barbara walker charted knitting designs

It was originally a library book with the last hand-stamped date being June 6, 1988. Her two previous books A Treasury of Knitting Patterns and A Second Treasure of Knitting Patterns are mostly collections of traditional patterns. The majority of patterns in Charted Knitting Designs are her original work. Every single one of them is absolutely beautiful.

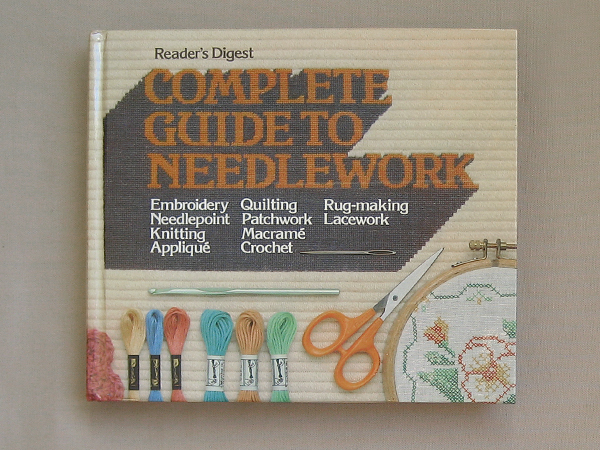
reader's digest complete guide to needlework

After the textile sale, I checked out some of the nearby east campus sales and found Reader Digest’s Complete Guide to Needlework. I knew this had to come home and live on my shelf with the Reader Digest’s Complete Guide to Sewing. I am amazed at how one book can cover all of these topics in such detail. What an awesome resource.

thrifting: Can you believe I paid only $1 each for these? I’m still pinching myself! I also scored some knitting magazines that I’ll be giving away to one lucky reader. Stay tuned!

how to: turtleneck sweater turns cardigan in
5 easy steps

So many knitters are scared of the s-word.* It’s really not that terrible. In fact, I’ve been cutting into sweaters for years to make pillows, scarves and tote bags. You just need to get over the fear that all of the stitches will immediately unravel. Take it from someone who unravels sweaters a lot. It’s not that easy for a sweater to fall apart.
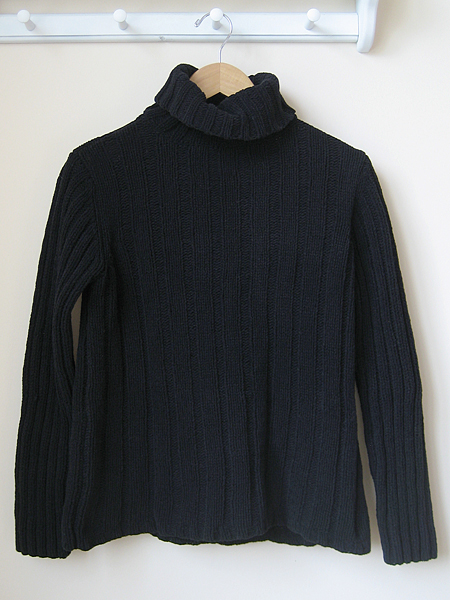
how to: turtleneck sweater turns cardigan in 5 easy steps
original turtleneck

I’ve been cleaning out my closet and have a lot of beautiful pullover sweaters that I don’t wear anymore. I keep them because the wool is so nice. Sometimes I think I will knit them into something else. I don’t know where I think I’m going to find the time. After my Fair Isle class at knitting retreat, I decided to turn my pullovers into cardigans.
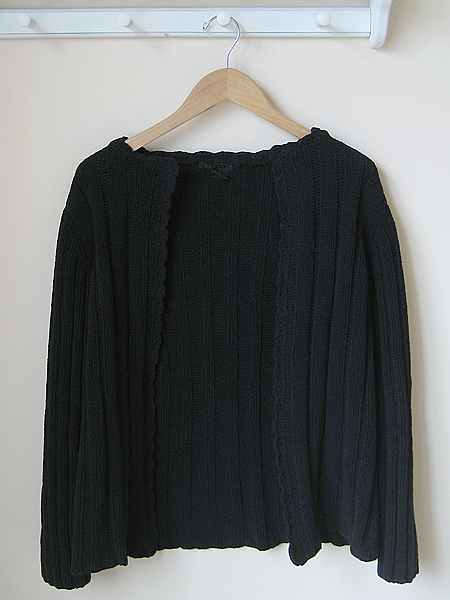
how to: turtleneck sweater turns cardigan in 5 easy steps
new cardigan

I decided to practice on a thrifted sweater first. I picked a cotton/acrylic blend that was in the donation pile. It had a weird texture — kind of like chenille. Man, was that collar hard to unravel. If you want to practice first, I recommend trying a sweater made out of a nice, simple, plain yarn.

This is a short and sweet tutorial. I assume you understand the anatomy of a knit stitch, know how to pick up stitches and crochet a decorative trim.

Materials:
seam ripper
sharp scissors
sewing machine
crochet hook

Step 1
Remove the seam that attaches the collar to the sweater. Unravel collar yarn and save for later.

Step 2
Find the middle column of stitches. Using a sewing machine, sew a line of stitches two columns to the right and two columns to the left.

Step 3
Carefully cut up the middle column of stitches.
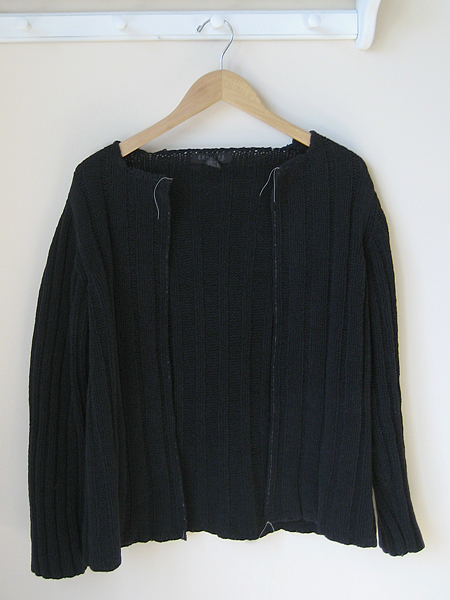
how to: turtleneck sweater turns cardigan in 5 easy steps
collar removed, stitches sewn and cut
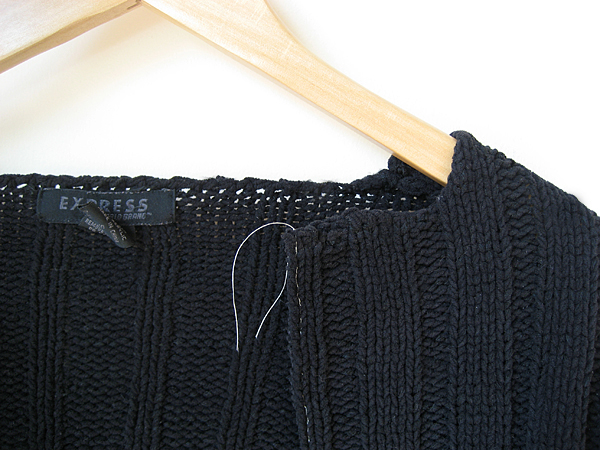
how to: turtleneck sweater turns cardigan in 5 easy steps
close up of sewn stitches

Step 4
Using the unraveled collar yarn, pick up and single crochet a stitch for each row of stitches. I started at the bottom, worked my way up and around the neck and back down the other side. (Some will tell you to pick up three stitches for every four rows. I say do what feels right, looks good and doesn’t pucker.)

Step 5
Depending on how much yarn you have left, crochet a decorative border. I chose a simple shell edging.
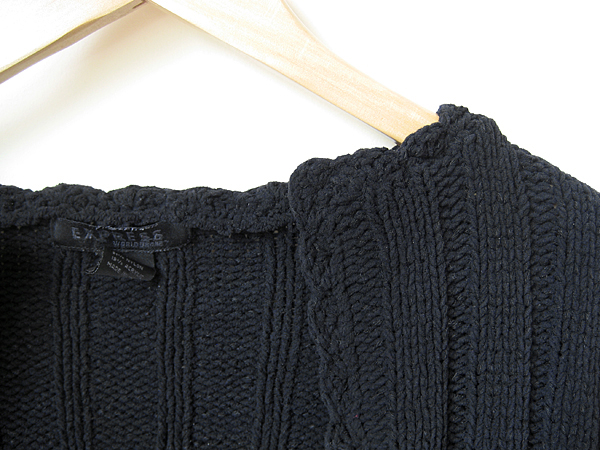
how to: turtleneck sweater turns cardigan in 5 easy steps
close up of crochet edge

Options
If you want to try this with a crew neck and don’t have enough matching yarn, use a different color or texture to jazz things up. You could also add buttons using chain stitch button holes.

This project is easy once you get over the fear of cutting into knitted stitches. I finished this in two afternoons.

refashion: I’m excited to start wearing some of my favorite wool sweaters again. I’ll be posting my progress as I go. A special thanks to Lynn Anne for giving me the courage to cut!

*s-word is steek!
how to: crochet or knit single row stripes

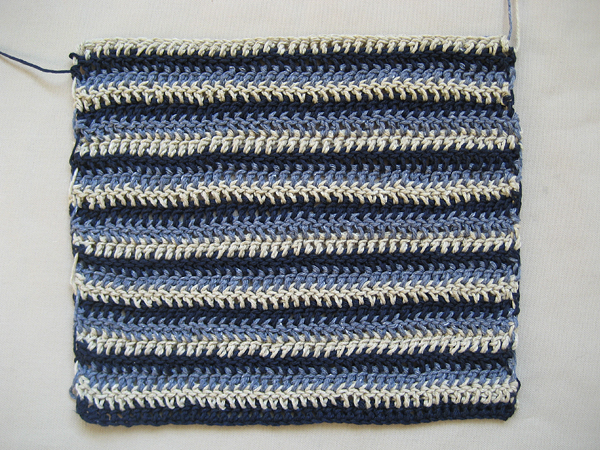
I first heard about this at knitting retreat. It’s a really simple idea and I can’t believe it has never occurred to me on my own. I love skinny stripes, but breaking yarn at each row leaves too many ends to weave. I always figured that I’d have to do two rows of each color in order to carry the yarn. But, if you do three colors, there’s yarn at the end of every row just waiting to be carried up. So simple! So cool!

how to: crochet or knit single row stripes

This works for both knitting and crochet. I’ll show you what I mean on my dishcloth in progress, which happens to be crochet. (Knitters, ignore the chain row and cast on with Color A. Row 1 begins with Color B, etc.)

how to: crochet or knit single row stripes

Chain your number of stitches in Color A (navy).
R1: DC across in Color A (navy).
R2: Join in Color B (tan) and DC across.
R3: Join in Color C (light blue) and DC across.
R4: Carry up Color A and DC across.
R5: Carry up Color B and DC across.
R6: Carry up Color C and DC across.
repeat rows 4-6 until finished.

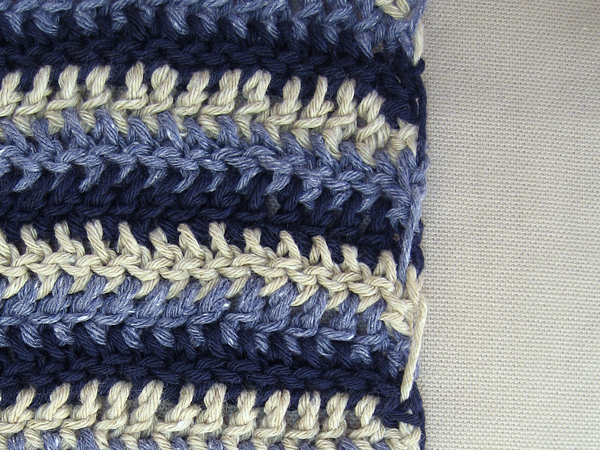
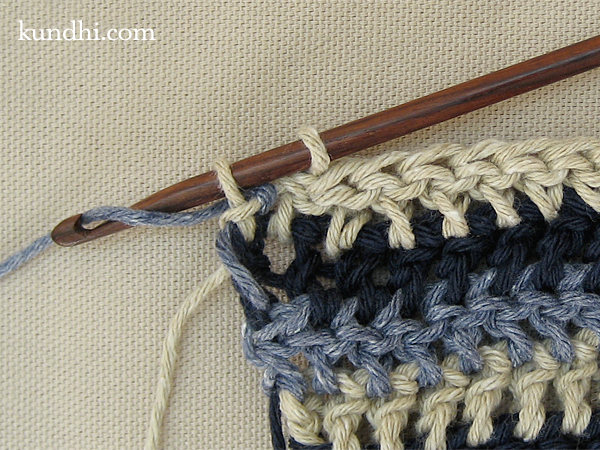
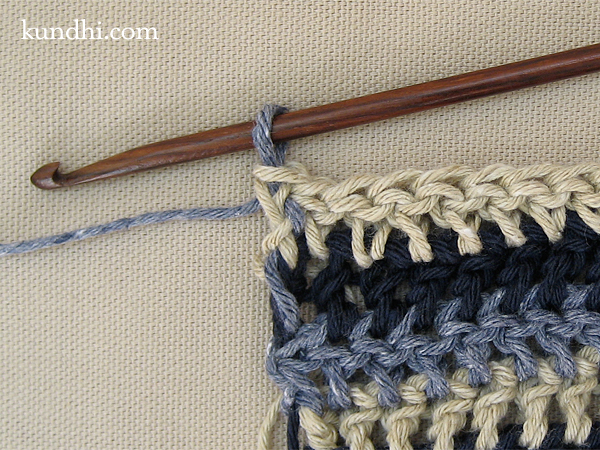
When you carry up the yarn, your edges will look like this.

how to: crochet or knit single row stripes

I know some crocheters like to incorporate the transition from one yarn to the other in their chain stitches, but I prefer to start my rows with the faux double crochet, so here’s how I catch the yarn on the way up. I assume you know how to do a double crochet, so I’m not including pics of all the stitch steps, just the ones that are different.

how to: crochet or knit single row stripes

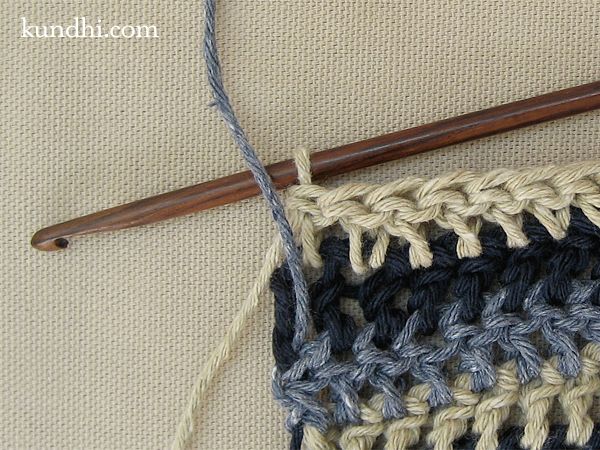
Work across until you have one stitch left. Bring the next yarn up and over your working yarn.

how to: crochet or knit single row stripes

Continue on as usual with the working yarn. See how the carried yarn is getting tucked neatly in the work?

how to: crochet or knit single row stripes

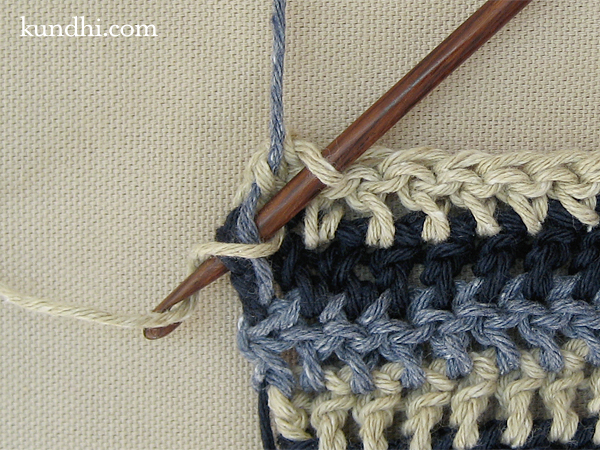
When you have two loops left on your hook, drop the working yarn and pick up the new yarn. Yarn over and pull through the last too loops.

how to: crochet or knit single row stripes

Look at that! Now you are ready to turn your work and start the next row with the new yarn!

stash: This is an awesome stash busting idea. Imagine how many more odds and ends you can use up with this method!

retreat recap: contemplative knitting

contemplative knitting anne ginn

Our Sunday class at retreat wasn’t really a class, but more of an exercise. Anne led us in a morning of meditation and contemplative knitting. I wasn’t sure how this was going to work for me. I’ve never been good at meditation. Things are always popping into my head — what’s for dinner, need to email that file, got to finish the laundry. When Anne suggested we try for 10 minutes I didn’t think I would make it, but she offered a tip that really worked for me. You pick a word — something with no emotional attachment — and when a random thought enters your mind, you say that word to bring yourself back to meditation. It worked. I was really surprised. I went the whole 10 minutes.

Then we tried contemplative knitting. It’s the same type of meditation, but this time with a few balls of yarn and needles in hand. We knit for 15 minutes: any amount of stitches, any stitch pattern. The key is to be aware of the yarn in your hands making each stitch. This time something amazing happened. The random thoughts that went through my mind were no longer about mundane things. They were creative ideas about patterns, designs, projects, color and texture. I still used my word to shake them away, but I was excited that they were there and that I remembered them afterward.

I’m so glad Anne came and shared this with us. I’m hoping to incorporate contemplative knitting into my daily life and creative process. Now I just need find a quiet time in which to practice it.

knitting and planting

planting seeds

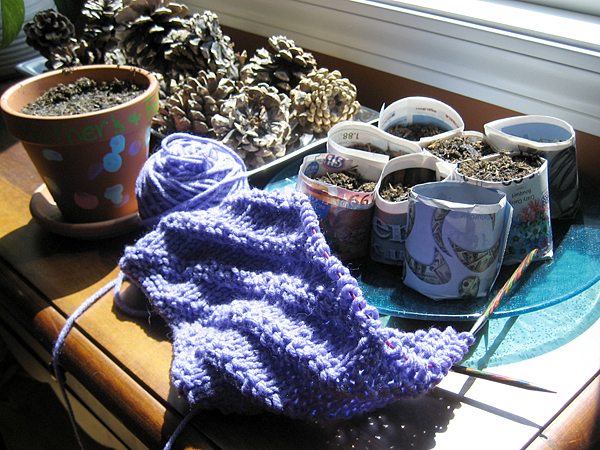
Today was another slow day. I feel bad for my daughter. She’s getting bored with this mama-isn’t-feeling-well business. I tried to make today all about her. Most of the morning we hung out on the living room floor. She did her thing and I worked on another charity blanket square.

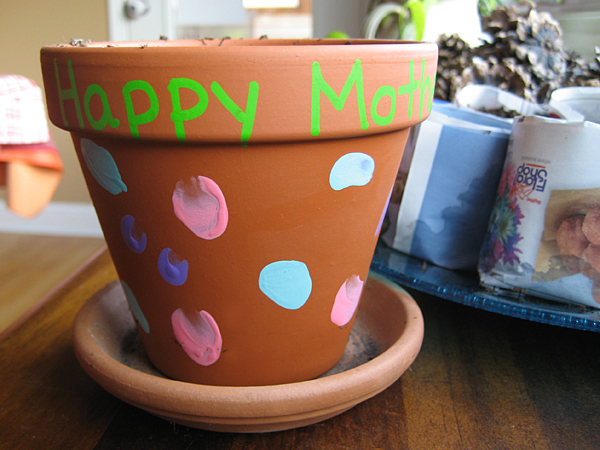
After lunch, the sun came out, and we spent some time on the deck planting seeds. She painted this little flower pot in school for Mother’s/Father’s day and her teacher put a packet of marigold seeds in it.

planting seeds

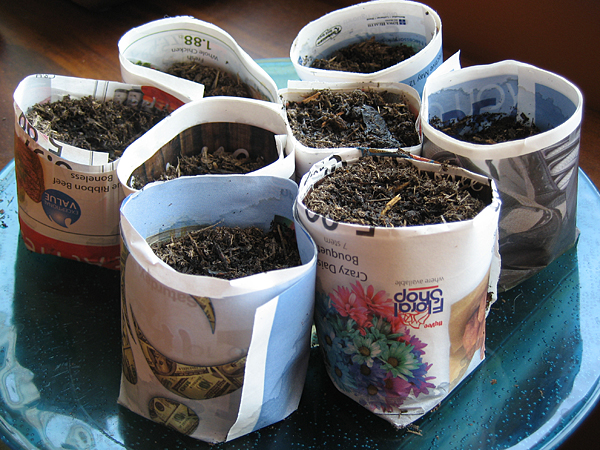
We planted a few in the pot and some other small containers I found in the garage. She was having so much fun that I decided to make some paper pots so she could keep on planting. Toilet paper rolls cut in half also work well. You can just drop the whole thing in the ground when it’s ready!

planting seeds

It was a good, but tiring day. I am ready to be feeling better and back at my sewing machine. Those upholstery sample totes are calling my name!

stash: Acrylic yarn from my stash. I don’t remember where I got my PotMaker. I’ve had it a long time. It’s just like this one.

my creative space

I am becoming known as the Master Unraveler. A friend of mine had two knit tablecloths, but didn’t know how to take them apart. They were seamed together, ruffled and hemmed with elastic. I took the first one from this:

unraveled tablecloth yarn

to this:

unraveled tablecloth yarn

In my creative space today, I’ll be tackling tablecloth number two. Did I mention that I get to keep some yarn for myself? Score!

Check out more creative spaces over at Kirsty’s blog.

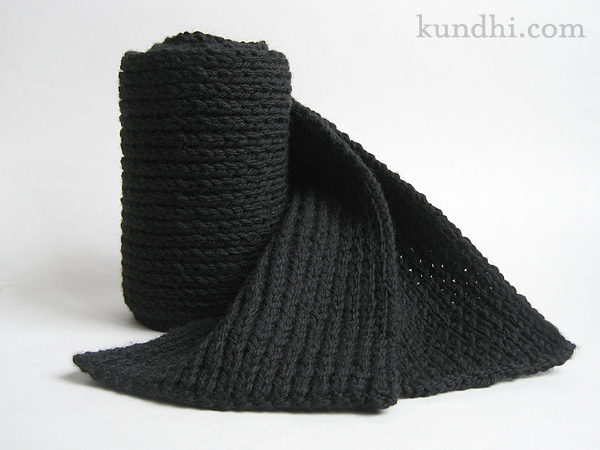
twisted rib scarf technique

twisted rib scarf

My poor, patient husband’s Christmas gift is finally finished. It’s a scarf to match his birthday hat, which was knit with a twisted rib in the round. I wanted to do something similar for his scarf, but had trouble matching the look of the hat while knitting flat. Here’s what I came up with:

K1 western style, P1 combination style

The result: every other row has twisted knit stitches.

I’ve been a big fan of Annie Modesitt’s combination knitting method for some time. Honestly, it’s because of the purl stitches. I love them because they are so easy. Blending western knits and combination purls got me pretty close to matching the hat.

combination notes: Annie’s website is a wealth of combination knitting knowledge and it’s how I learned her method. Grumperina has a nice history and videos, as well.

stash: This was knit from my never-ending stash of black Cascade 220. I’d like to make matching gloves or wrist warmers, but I’d be pushing my luck on what my husband might wear.

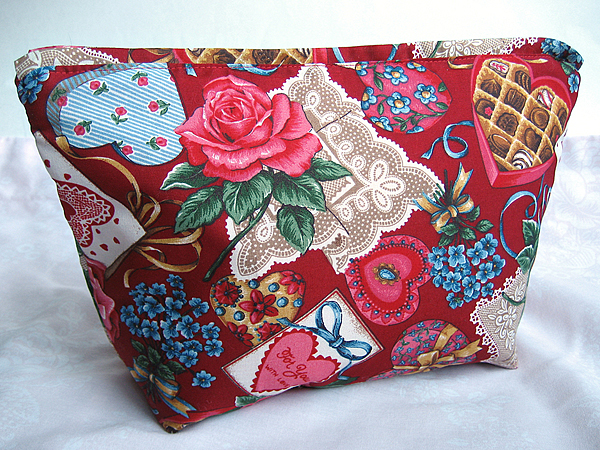
sweetheart zipper bag

sweetheart cosmetic bag

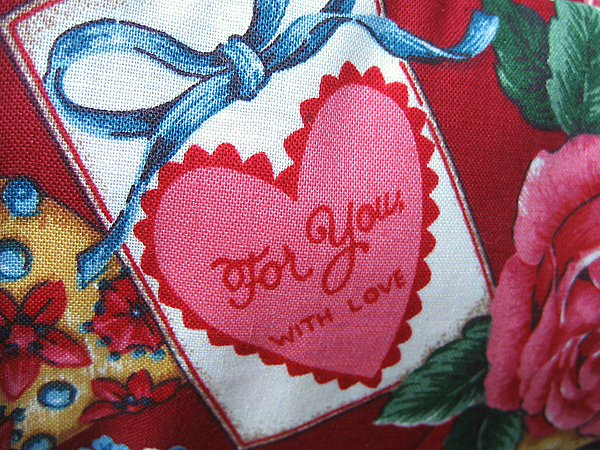
This fabric is a little more kitschy than my usual style, but I really love it. Valentine’s Day is just around the corner and I wanted to make something fun. I couldn’t bring myself to cut into all of those cute hearts, so I used the entire piece for one big bag.

sweetheart cosmetic bag

Some would say it would be great for cosmetics, but it can easily hold two skeins of yarn and knitting/crochet notions. I used fleece for the interfacing, so it stands up on its own, but it’s still soft. I’m tempted to keep it, but right now I’ve got it up in the shop. (I can’t keep everything I make!)

thrifting: This fabric came from The Grandmother Stash, same as the pink eyelet quilt.