mending: t-shirt holes

20130126-144605.jpg

I usually don’t spend time mending holes in my daughter’s shirts. She’s growing so fast that it doesn’t seem to make sense. However, sometimes holes happen to a favorite shirt — one we bought a little big so she could wear it a long time.

Usually, holes show up in sleeves and seams — easy places to hide a few stitches. This one was right in front. I was extra careful, but there was no hiding anything. So I decided to turn it into a decorative element.

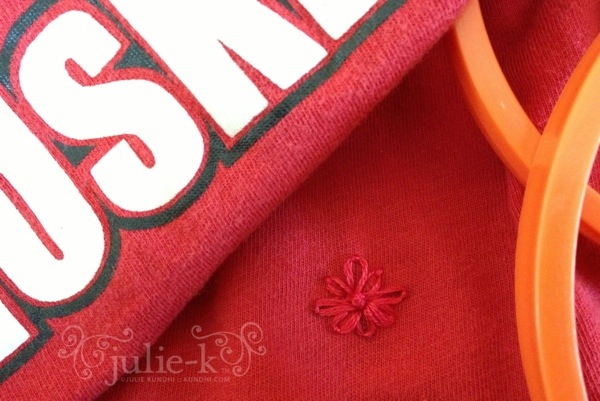
I don’t do a lot of embroidery. I’m not the best at it, but I sewed a little daisy in matching thread. The result is actually kind of cute. I’ve seen people mend holes with a star stitch, but I think this is a little nicer. Of course, it would help if all of the petals turned out the same size!

easy kids bike shorts pattern

wardrobe refashion

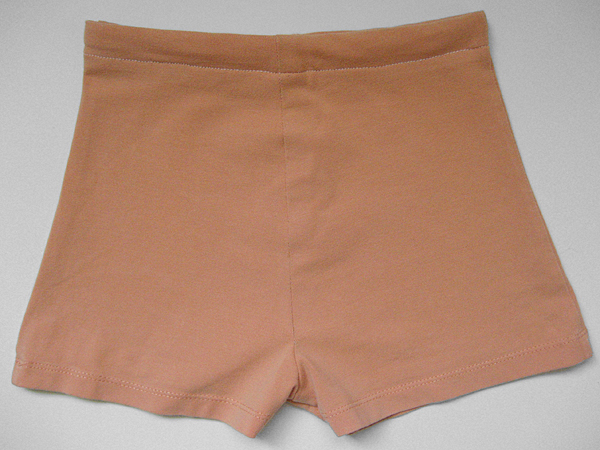
The bike shorts pattern is finished and ready for download! It’s been over two years since my original Easy Kids Shorts pattern and I do a few things differently now.

  • These days I sew the inseams first, then the rise.
  • I almost always use a 1/4 inch seam allowance instead of 1/2 or 5/8 inch, usually because I’m trying to squeeze as much as I can out of a piece of fabric or t-shirt.
  • 3/4 inch elastic seems to be more comfortable around the waist than the smaller widths.
  • Now that I have a serger, I finish my raw edges and just fold the waist over once. You can finish your edges with a zig zag/overlock edge or adjust the pattern to accommodate the double fold waist.

I recommend you pay attention to the type of knit fabric you use. The original piece I traced for this pattern was a tightly-knit jersey. The t-shirt I used was a loosely-knit jersey and the shorts turned out a little big. Not big enough to re-sew, but definitely roomier.

Finally, my daughter is long and lean: 20 inch waist and 14 inches from waist to knee. Adjust seam allowances and elastic size to get a better fit for your child. Want them shorter? Trim off the bottom of the pattern an inch or two.

Please leave any questions in the comments. Download the pattern here. Enjoy!

wardrobe refashion: t-shirt to bike shorts

wardrobe refashion

My daughter loves wearing dresses. She also loves to climb tall jungle gyms and roll around in the grass with her feet in the air. She understands the concept of modesty, but she’s too busy running, jumping and playing to be worried about such things right now. I get it. I want her to have fun and not be self conscious. So the new rule: bike shorts under dresses.

A few years ago, I posted a pattern for easy kids shorts. I followed the same basic steps to come up with the bike short pattern. I had also planned to share the template with you, but it’s gone missing. Whoops!

I have a few more to make, so I guess I’ll be redrawing the pattern. I’ll let you know when it’s posted. In the meantime, I’ll be outside teaching my daughter how to do cartwheels.

stash: One of my t-shirts rescued from the donation bag. Thrifted elastic.

A seriously fast, easy and inexpensive project. Plus, they go under a dress, so they don’t have to be perfect!

ikick freezer paper stencil

A few weeks ago, I mentioned that my first freezer paper stencil was a prototype. Now that the recipient has received his gift, I can show you: iKick!

kids karate freezer stencil tshirt

I used two coats of paint this time and got much better coverage, but it seeped under the freezer paper in some places. Not a big deal for this shirt because I like the edginess it brings to the design. I wonder if I could get better coverage with a smoother edge by using fabric markers instead of paint. Hmm…

stencil art: Karate guy from clip art I had on my computer. Font is Myriad.

Did you happen to catch Apple in the headlines today? It bumped Google out of first for most valuable brand.

wardrobe refashion: t-shirt to little girl’s beach cover-up

I’ve talked about our vacation, but have I mentioned where we’re going?

t shirt to toddler dress

Yep! Can you believe I found this t-shirt? I thought it might make a really cool beach cover-up for my daughter. I just used one of her currently fitting dresses as a pattern.

t-shirt to beach coverup

This should have been such an easy project. The t-shirt was twisted and I had a hard time making the vertical lines look even. Also, the material is really thin and kept getting sucked into my machine. But I loved how it turned out!

t-shirt to beach coverup

So does my daughter. It would be nice if this fits next summer as a dress, but they way she’s growing, it will probably fit in the middle of January.

thrifted and refashioned: 99 cent sale t-shirt.

my daughter’s first necklace

Thank you to everyone who commented about their creative time of day. I’m encouraged that so many of you find the morning hours so productive. I’m definitely going to give it a try. I even went to bed early last night! Of course, that might have had something to do with the major destash and deep cleaning of my creative space. I was pretty exhausted the next day.

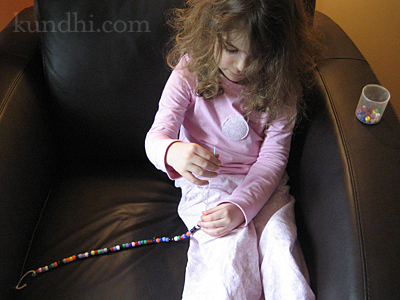
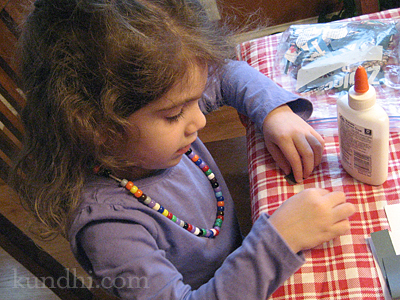
My parents also went home yesterday. The first few days after their visits are always an adjustment, especially getting my daughter back into her routine with some independent play time. Today I got some precious time alone while she strung beads. I helped her get started and then she just took off!

stringing beads

Excuse the jammies, but Fridays are usually our “stay at home” days. I did make her get dressed before lunch, and she spent the rest of her day wearing her new necklace. Here she is crafting at her special end of the kitchen table.

stringing beads

As for me, well, I’ve got a lot of projects that are almost finished. The weather has been kind of glum the past few days. Yesterday we even had snow! I’m hoping for sun this weekend so I can take some pictures for the blog. I’ve got some fun things to share!

stash: Beads are actually from my amigurumi stash. My daughter has been asking to play with them forever. I think they might become her jewelry stash.

how to add adjustable elastic to kids’ pants in 5 easy steps

adjustable elastic kids pants

My daughter is growing like a weed, except she’s only growing up, not out. She’s got 4-5T legs and a 3T waist. That means that most of the pants we find that are long enough won’t stay up.

I try to only buy pants with an adjustable waist, but sometimes I come across a great deal or something super cute that I just can’t pass up. I decided to try adding elastic myself, and you know what? It’s super easy!

You can even do this without a sewing machine as long as you don’t mind a little hand stitching.

Materials
button hole elastic
small, sharp pair of scissors
two buttons that fit through your elastic
Fray Check
needle and thread

Step 1
Starting on the right inside of the waist, snip two holes to create a casing for the elastic. Make sure your scissors don’t go through to the other side! Apply Fray Check to the raw edges.
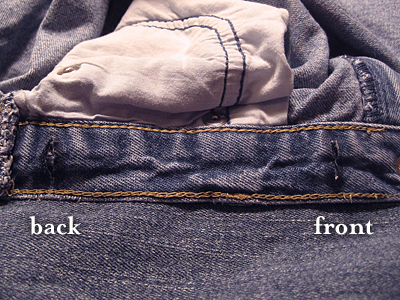
adjustable elastic kids pants

Step 2
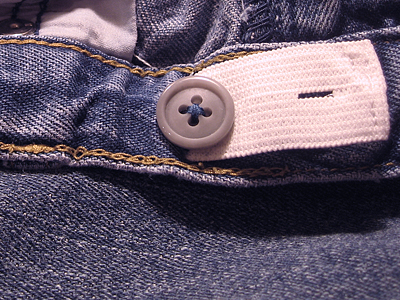
Cut a piece of elastic that’s about one inch longer than between your holes. Fold one edge over and sew. This is the edge you’ll be using to adjust the pants.
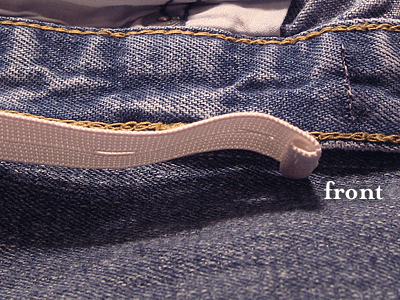
adjustable elastic kids jeans

Step 3
Sew a button in front of the casing you’ve created.
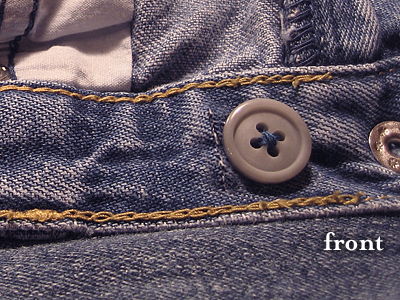
button hole elastic

Step 4
Thread the elastic through the waist casing with the finished edge going through the front. You can tuck the unfinished edge into the back.
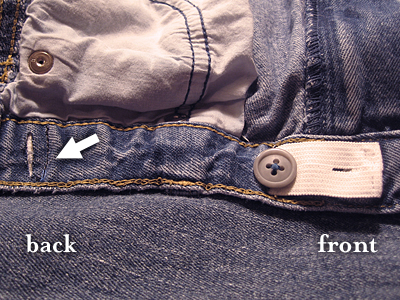
adjustable elastic kids jeans

Step 5
Sew a line of stitches to secure the elastic. See arrow.
adjustable elastic kids pants

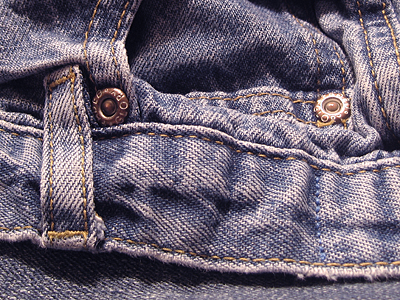
Here’s what you’ll see on the outside of the pants.

Repeat on left inside of the waist.

refashion: The only thing worse than sizing for women’s pants is sizing for kids’ clothes. At least with this little trick, I can just make sure pants look long enough when I buy them. It’s nice knowing how easy it is to adjust the waist. Maybe I should try this on my jeans!
my creative space

adjustable elastic kids pants

In my creative space today is an unfinished tutorial. I was hoping to have it posted this week.

If you follow me on Facebook, you know that was feeling a bit like a mending rock star last week when I figured out how easy it is to add adjustable elastic to kids’ pants.

I took all of the pics—just need to get them in order and write it up. Stay tuned!

In the meantime, head on over to Kirsty’s blog for more creative spaces.

easy kids shorts pattern

from the julie-bird.com archives

UPDATE: Thanks to the Craft Magazine blog for their link to my pattern!

I’ll say right up front, this isn’t an original idea. There are lots of tutorials on the web on how to make kids pants, like here and here. There’s also a cool how-to in The Creative Family.

I also need to note that my daughter really doesn’t need any more pants. She has plenty, and it’s too hot to wear them now anyway. So, I did the next best thing. I made her shorts! (Shhh… she has plenty of shorts, too. I just really wanted to sew these and was looking for an excuse!)

easy kid shorts

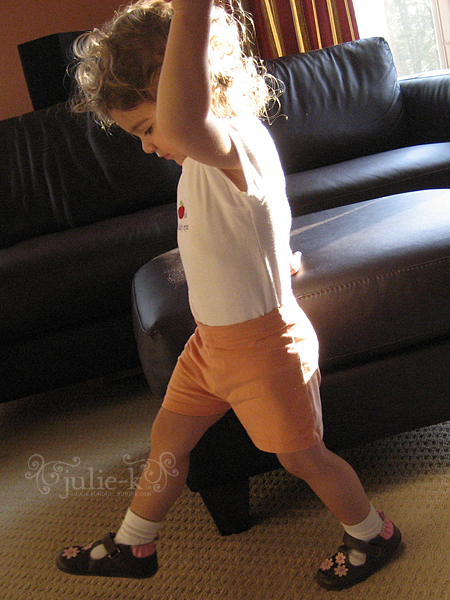
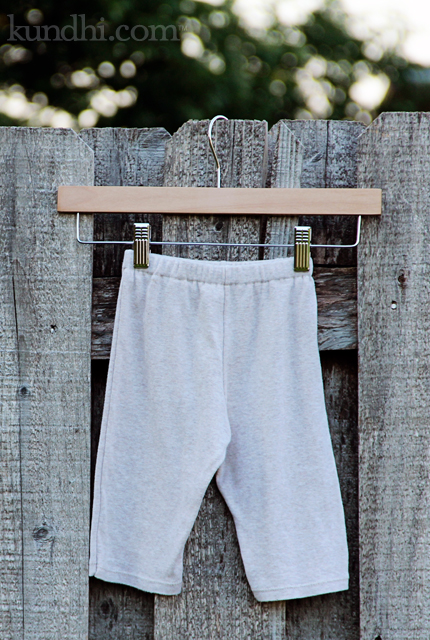
They turned out nice. The t-shirt fabric is from one of my old Gap shirts that has a little stretch to it. I didn’t make them too snug, and hopefully they’ll last through the rest of the season.

easy toddler shorts

I used a pair of her shorts as my pattern and traced them onto paper first. The template fits on an 8.5 x 11 piece of paper, so I figured why not share it with the blog world? You can download it here.

Drop me a line and let me know if you make a pair. I’d love to see a photo if you do! Also, this is my first attempt at writing a sewing pattern. Please let me know if something isn’t clear!

recycle: Use large t-shirts instead of new fabric to make soft, comfy kids clothing.