“batty” halloween desktop background

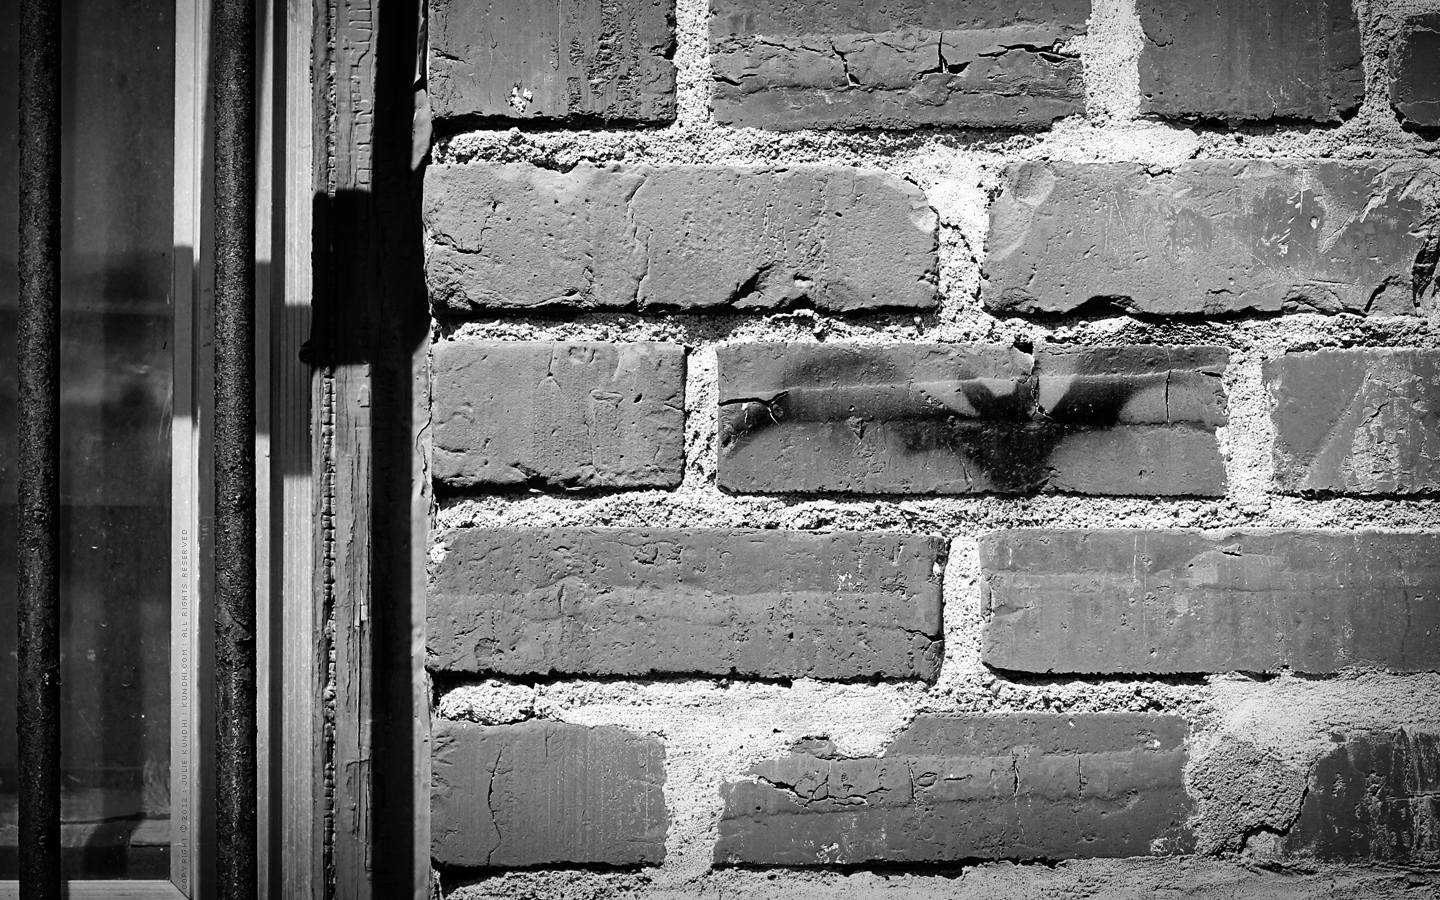
bat on a brick wall

I spied this little bat over the summer in Kearney, Ne. It was the only one I saw in all of downtown. Not sure if there is a meaning behind it or not. Google couldn’t give me any answers.

It makes a nice desktop background for October.

Feel free to download and share.

how to make a cat costume in 3 easy steps

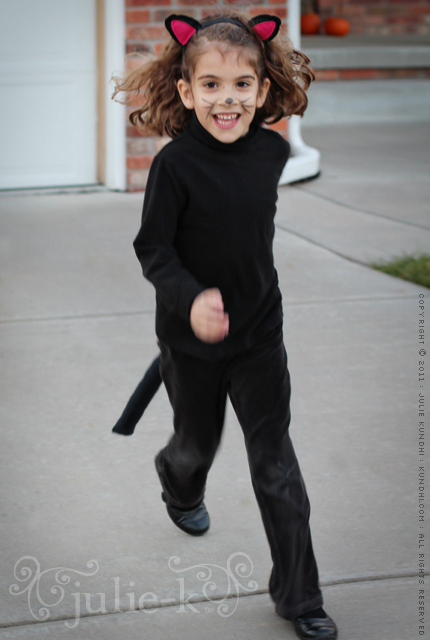
black cat costume

I tried to be proactive this year and started the Halloween costume conversation at the beginning of October. My daughter insisted she wanted to be Abby Cadabby again. I encouraged her to try a different costume and brought it up several times. Nope. She was sure. Abby Cadabby.

So I bought her a bigger pair wings because what I threw together for her last year was just too small. A few weeks later she casually mentioned that she wanted to be a cat. And then she couldn’t decide between the two. After a week of indecision, I finally made a tail and some ears and said, “Great news! You’re going to be a cat for Halloween!”

A cat is a great last minute costume, especially if you have all the materials in your stash. And it’s not just great for kids. The tail is long enough for a mama cat, too!

Step 1
Look through your child’s wardrobe for a monochromatic outfit. My daughter could have been a brown or black cat. I chose black.

Step 2
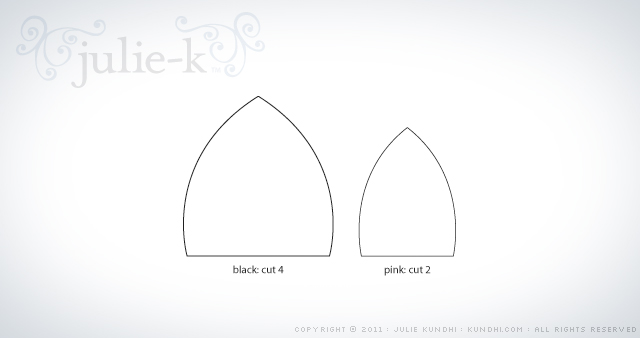
Make some ears. I cleaned up my rough pattern for you. When printed, the larger piece should be 2 1/2 inches tall. Sew pink to black, then black to black. Stuff with a little bit of fiber fil if you like, then stitch onto a headband. (I used a Goody Slide Proof Headwrap.)

black cat costume

Step 3
Make a tail. I used black flannel from my stash and cut a three inch wide strip from selvedge to selvedge. Sew up the sides, turn right side out and stuff. Sew a loop of elastic the size of your child’s waist to the selvedge ends.

That’s it! It took less time to make the costume than it did for my daughter to decide what she wanted to wear. The only thing I had to buy was the liquid eyeliner for her nose and whiskers. I think I’ll use it for some cat eyes on myself tonight.

I’d love to see what you are making for Halloween this year. Share a link in the comments!

halloween crochet fun!

Halloween is in just a few days. Do you need a quick, fun and spooky crochet project? Here are some of my favorites.

crochet pumpkin amigurumi

julie-k tiny crochet pumpkin

crochet spider amigurumi

julie-k tiny crochet spider

glow in the dark ghost

julie-k glow-in-the-dark ghost

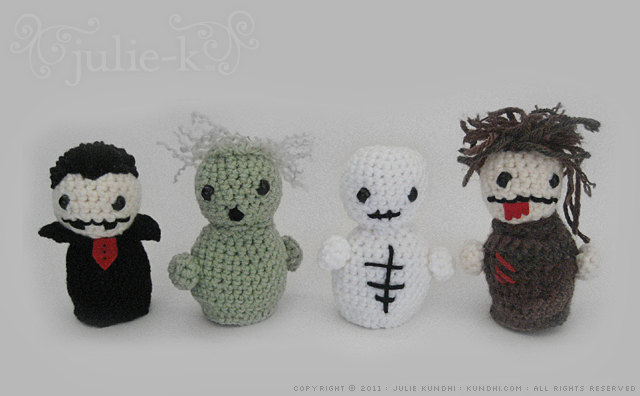
undead dolls

undead gang from Creepy Cute Crochet

Are you making anything for Halloween? Share in the comments!

my creative space

trick or treat bags

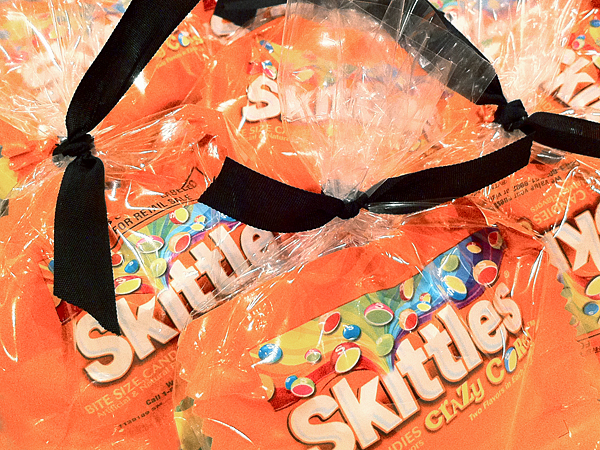
The kids exchanged treats at my daughter’s preschool party today. Thankfully, the Skittles came in an orange package. Paired with a black ribbon, these little bags turned out cute and easy. Good thing about the easy because I had to make emergency fairy wings last night, too.

reuse and repurpose: I bought glassine bags instead of Halloween bags so I can use the leftovers for other projects. The ribbon is vintage seam binding, which you can usually find in bags of assorted widths and colors at thrift stores and garage sales.

tiny crochet spider pattern

crochet spider amigurumi

Thank you for the wonder feedback on my little pumpkin pattern. I’ve received the nicest comments and have been flattered by how many people have linked back to it.

When I sat down a few weeks ago to make some little crochet balls, I didn’t intend to whip up a bunch of Halloween-inspired projects, but you go where the inspiration takes you.

This spooky little spider is fast and easy to make. You still have plenty of time to crochet one (or a few) before October 31st. Have fun!

Spider Legs (make eight)
These are just like the pumpkin stem, only longer.
R1: chain 12
R2: sc in second bump from hook, sc in next ten bumps*

Spider Body
Crochet Rows 1-11 of Tiny Crochet Ball with black yarn.

Before stuffing, attach or embroider eyes. Then attach legs, four on each side. Bury ends inside body.

Stuff and finish off with Row 12.

*Go into the bumps on the back of the chain, not the stitches on the front of the chain.

holiday blur

It’s interesting to view the Fall and Winter holidays through the eyes of a three-year old. There’s all this build up to Halloween and then after one night, it’s all over. After weeks of talking about pumpkins, witches and ghosts, we immediately move into Thanksgiving mode. There are still colored leaves and pumpkins, but now we’re all about Pilgrims and turkeys.

Then, to make things really confusing, people start decorating for Christmas before Thanksgiving. There is a house on our street with pumpkins all along the entryway and snowflakes hanging from the roof.

Even more proof that all of this is confusing to a three-year old: today my daughter asked me if we missed Thanksgiving. I told her no, Thanksgiving is tomorrow. Why on earth would she ask if we missed it? Look at all of the Christmas lights, Mom. Are you sure?

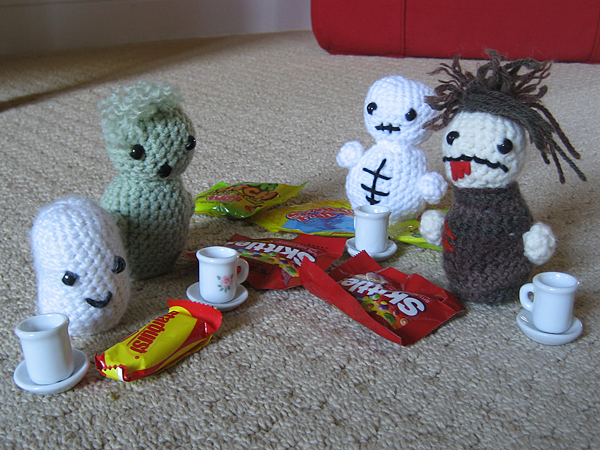
I’m really trying to keep our house Christmas-free until after tomorrow, but my daughter is already asking for her little tree. In the meantime, though, she’s serving tea and candy to her Halloween friends.

undead tea party

Maybe I need to crochet a little turkey for her?

pattern: undead gang from Needle Noodles

handmade, no-sew abby cadabby costume

abby cadabby sesame street

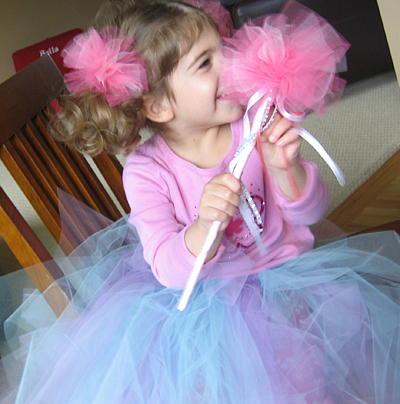
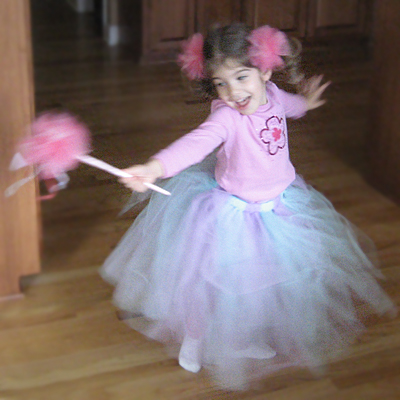
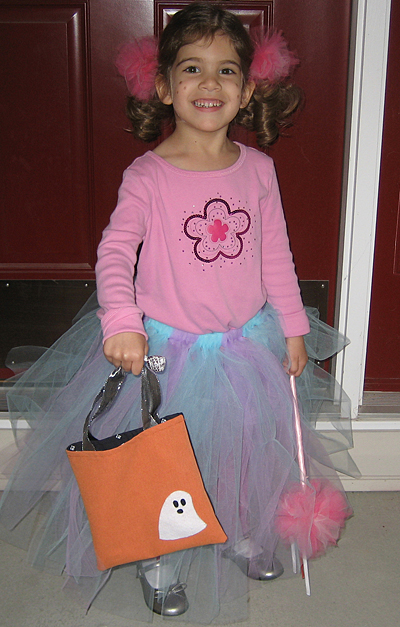
I hope that all of the handmade costumes in my future are as easy as this one. Remember the tulle I found at the thrift store awhile back? Even then I had a feeling it might make its way into an Abby Cadabby costume.

handmade abby cadabby costume

Tutu
I found both of these tutorials very helpful: how to make a ribbon tutu (video) and how to make an elastic tutu. The first one is totally no sew. The second one needs a little bit of hand sewing— you need to sew the ends of the elastic together. I made my strips 40 inches long, so folded and knotted they fell right above the ankle.

Magic Wand
I had never used a glue gun before and borrowed husband’s for this project. Why was I so intimidated by hot glue? It was so easy! I used this tutorial for the wand, and the wooden dowel was the only part of this costume that wasn’t from my stash.

Hair Poufs
These are just smaller versions of the pouf I made for the wand. I tied them to elastic hair bands.

Wings
I didn’t make wings. Actually, I don’t know if my daughter even realizes that Abby has wings. She is all about the magic wand. I figured they’d just get in the way, especially if she wore the costume all day, which she did.

Everything Else
The shirt, pants and shoes all came from my daughter’s closet. The trick or treat bag is from last year’s Halloween crafting.

no sew abby cadabby halloween costume

stash: My whole family was sick the last week in October and I didn’t start this until the night before Halloween. I was thankful that I had everything I needed in my stash, as I was really not up to shopping for costume supplies with a sick 3-year-old. Luckily, we were all well enough to go trick-or-treating on Saturday!

glue stick collages

I’m sure I’m not the only one who needs a little time alone with my knitting needles or sewing machine (or work!). I’m always trying to find non-TV related activities for my daughter so I can get a little bit of work done. The things that have kept her most occupied are crayons, paints and stickers. A lot of times she will sit and “read” books or get absorbed in her train engines.

Lately, it’s been hard to keep her occupied. She always wants to know what I’m doing—always wants to help out (which is sweet, but not always helpful). Today I got almost two hours of productive time. Want to know how? (OK, the title of this post gives it away.) My daughter has discovered the glue stick.

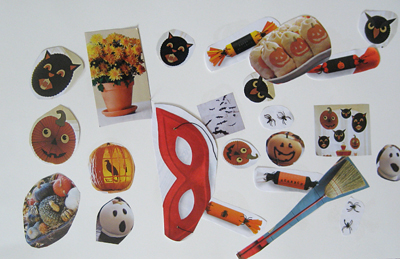
glue stick halloween collage

You know how I say nothing is safe if it fits under my presser foot? Well, not much is safe from my daughter if she can glue stick it to a piece of paper.

martha stewart living magazine

The images are from Martha Stewart’s Living, last year’s Halloween edition.

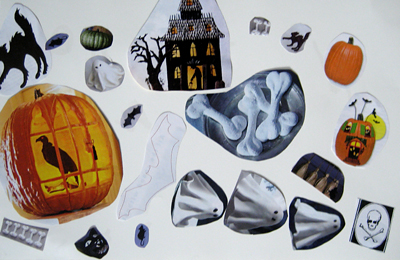
glue stick magazine on poster board

We have big plans for future collages. Thanksgiving and Christmas themes, animals, shapes, letters and numbers…the possibilities are endless.

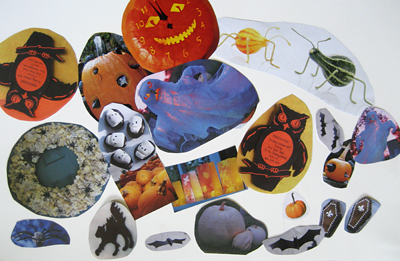
magazine collage

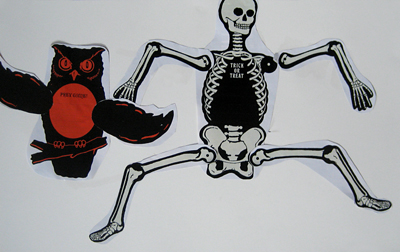
Look, Mom! The owl and skeleton are holding hands!

I remember my friend Barbara telling me how she spent her evenings cutting up National Geographic magazines so her granddaughter could make collages. Such a brilliant and simple idea. I highly recommend it!

recycle: You will be amazed at what you can find in your recycle bin for this project. Don’t overlook catalogs and non-crafty magazines. Pay close attention to ads. Tip: for maximum productivity, cut the pictures out the night before.

ghost of the past: crochet amigurumi pattern

glow in the dark ghost

Tomorrow is the first day of October. Are you ready for Halloween? I posted this pattern on my personal website last year, but I have so many new readers over here, that I thought I’d share it again. I think it would be fun to make a big pile of these and string them on a garland!

Glow in the Dark Ghost with Picot Ruffles

Materials
glow in the dark yarn or any worsted weight white yarn
size G/6 (4mm) crochet hook
two black beads for eyes
black yarn for smile
tapestry needle for beads and weaving ends
optional: polyester fiberfil

sc: single crochet
sl st: slip stitch

R1: chain 2, sc 6 in second chain from hook
mark the beginning of your row, move your marker up on each completed row
R2: 2 sc in each stitch around (12 stitches)
R3: *sc 1, sc 2 in next stitch* around (18 stitches)
R4: *sc 2, sc 2 in next stitch* around (24 stitches)
R5-7: sc around
R8 : sc 9, sc with bead, sc 3, sc with bead, sc 10
R9-15: sc around
R16: *[sl st, chain 3, sl into same st] sc* around for picot edging

Tie off, sew on a little smile, and weave in your ends.

I didn’t crochet a base because of the picot ruffle. Not to say that it couldn’t be done. This is more decoration than a toy, so I stuffed it with fiberfil to give it shape, but it’s open on the bottom.

glow in the dark ghost pattern

A few weeks ago I totally got sucked in by Halloween marketing. “We’ve got glow in the dark yarn!” screamed the ad. “Wow! That would make a cool amigurumi ghost!” I thought. I marched off with my 40% of coupon, got my yarn, and then came home to look for a pattern. But I couldn’t find any I really liked, so I just improvised. You’ve already seen the first one.* I like this one a little better, especially with the picot ruffles at the base. This little ghost is for sale in my etsy shop, but if you know how to crochet, don’t buy it from me unless you’re really busy saving lives or something because it takes no time at all to whip one up. Heck, crochet a whole pile of them and string them together to make a Halloween garland!

*By the way, when T turned out the light and the little ghost started to glow, M handed it right back to him. It’s sitting on my windowsill now keeping my pumpkin and apple company.
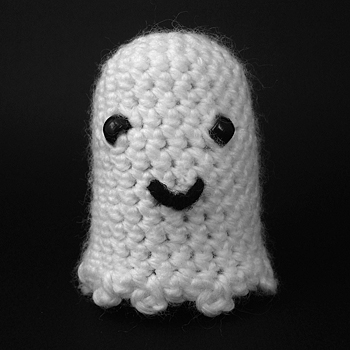
Glow in the Dark Ghost with Picot Ruffles

materials:
glow in the dark yarn or any worsted weight white yarn
size G/6 (4mm) crochet hook
two black beads for eyes
black yarn for smile
tapestry needle for beads and weaving ends
optional: polyester fiberfil

sc: single crochet
sl st: slip stitch

R1: chain 2, sc 6 in second chain from hook
mark the beginning of your row, move your marker up on each completed row
R2: 2 sc in each stitch around (12 stitches)
R3: *sc 1, sc 2 in next stitch* around (18 stitches)
R4: *sc 2, sc 2 in next stitch* around (24 stitches)
R5-7: sc around
R8 : sc 9, sc with bead, sc 3, sc with bead, sc 10
R9-15: sc around
R16: *[sl st, chain 3, sl into same st] sc* around for picot edging

Tie off, sew on a little smile, and weave in your ends.

I didn’t crochet a base because of the picot ruffle. Not to say that it couldn’t be done. This is more decoration than a toy, so I stuffed it with fiberfil to give it shape, but it’s open on the bottom.