how to: my third (and final?) waistband tutorial

20140426-132951.jpg

It’s that time of year again. Spring. When leggings from last Fall are too short, but it’s not warm enough to pair them with sandals and call them capris.

My daughter is a size 7/8 waist and a 9/10 inseam. It’s so annoying.

To the casual observer, it might seem I’m obsessed with waistbands. I’ve already written two tutorials on the subject: taking in the waist on jeans and adding adjustable elastic. But what about comfy pants and leggings? That, my friends, is super easy.

Materials
elastic
small, sharp pair of scissors
pin, needle and thread

Step 1
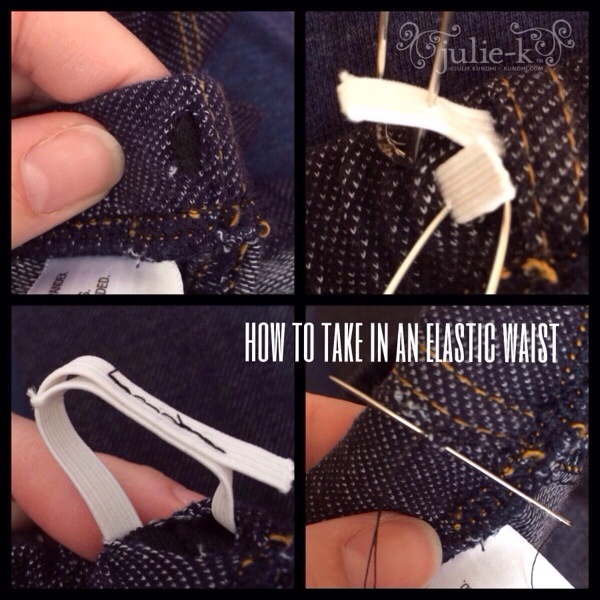
If you can find a seam, grab a seam ripper to open up the waist. So far I haven’t been able to do this. A lot of times the elastic is actually sewn to the fabric. Find an inconspicuous spot and snip a hole.

Step 2
Measure your/your child’s waist size and cut an elastic the same length. Thread it through the casing right along with the original elastic.

Step 3
Overlap the ends about an inch and stitch together—by machine if you’re too lazy to sew by hand, by hand if you’re too lazy to get out your machine.

Now would be a good time to try on and make sure all is good.

Step 4
Stitch up the little hole you made in Step 1. I used to just add a few drops of Fray Check on the raw ends, but my daughter says it’s too itchy.

I’ll be assembly lining a bunch of these tonight. Happy Spring!
diy hair elastic holders

diy hair elastic holders

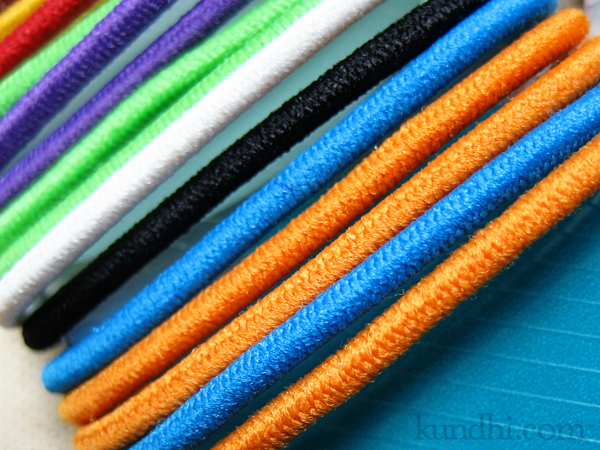
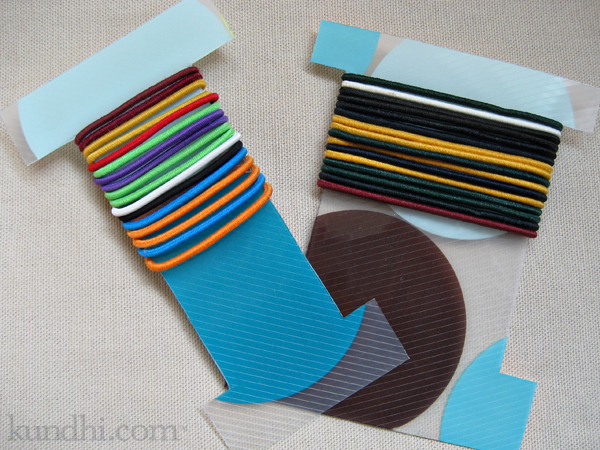
If you have long hair, how do you store your hair ties? I used to keep them on the original cardboards, but they are kind of flimsy and tear easily. I wanted something more sturdy.

Using the plastic leftover from making my place mat sock blockers, I traced the original cardboards and came up with these.

diy hair elastic holders

We’ve been using them for awhile and they are holding up great. It’s really nice to pull them out the basket and not have the elastics fall off. You could use any kind of plastic that can be cut with scissors or even the thick chipboard from a legal notepad.

embarrassing: I went to link to my place mat sock holder post and can’t find it. Did I not share them on the blog? How is that possible? Here’s the tutorial I used. I’ll have to get a pic to share with you.

how to add adjustable elastic to kids’ pants in 5 easy steps

adjustable elastic kids pants

My daughter is growing like a weed, except she’s only growing up, not out. She’s got 4-5T legs and a 3T waist. That means that most of the pants we find that are long enough won’t stay up.

I try to only buy pants with an adjustable waist, but sometimes I come across a great deal or something super cute that I just can’t pass up. I decided to try adding elastic myself, and you know what? It’s super easy!

You can even do this without a sewing machine as long as you don’t mind a little hand stitching.

Materials
button hole elastic
small, sharp pair of scissors
two buttons that fit through your elastic
Fray Check
needle and thread

Step 1
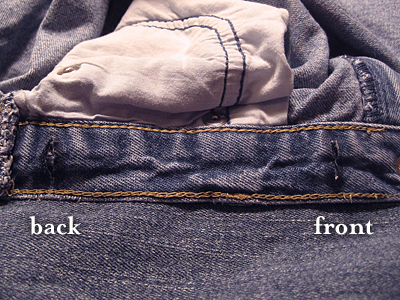
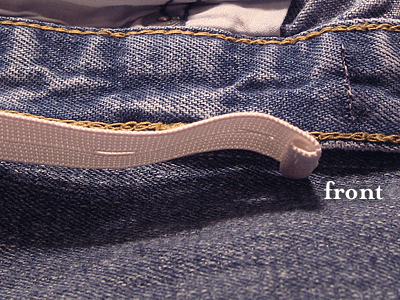
Starting on the right inside of the waist, snip two holes to create a casing for the elastic. Make sure your scissors don’t go through to the other side! Apply Fray Check to the raw edges.

adjustable elastic kids pants

Step 2
Cut a piece of elastic that’s about one inch longer than between your holes. Fold one edge over and sew. This is the edge you’ll be using to adjust the pants.

adjustable elastic kids jeans

Step 3
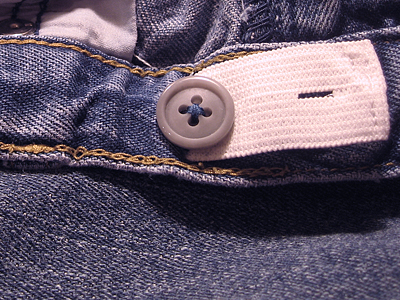
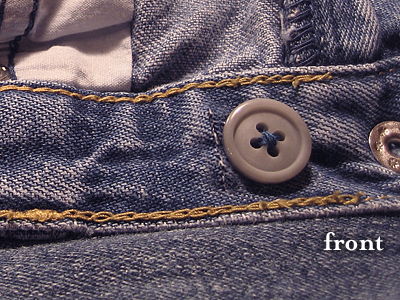
Sew a button in front of the casing you’ve created.

button hole elastic

Step 4
Thread the elastic through the waist casing with the finished edge going through the front. You can tuck the unfinished edge into the back.

adjustable elastic kids jeans

Step 5
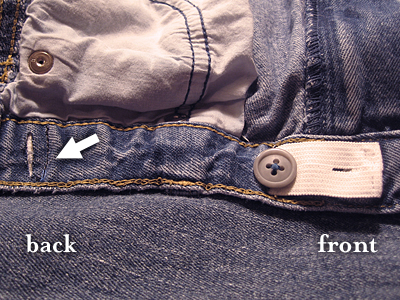
Sew a line of stitches to secure the elastic. See arrow.

adjustable elastic kids pants

Here’s what you’ll see on the outside of the pants.

Repeat on left inside of the waist.

refashion: The only thing worse than sizing for women’s pants is sizing for kids’ clothes. At least with this little trick, I can just make sure pants look long enough when I buy them. It’s nice knowing how easy it is to adjust the waist. Maybe I should try this on my jeans!

my creative space

adjustable elastic kids pants

In my creative space today is an unfinished tutorial. I was hoping to have it posted this week.

If you follow me on Facebook, you know that was feeling a bit like a mending rock star last week when I figured out how easy it is to add adjustable elastic to kids’ pants.

I took all of the pics—just need to get them in order and write it up. Stay tuned!

In the meantime, head on over to Kirsty’s blog for more creative spaces.

how to refashion a dress into a skirt
in five easy steps

Even though I wrote this tutorial for a kid’s size dress, you can do this with adult sizes, too. This is the same way I turned a shirt into a skirt.

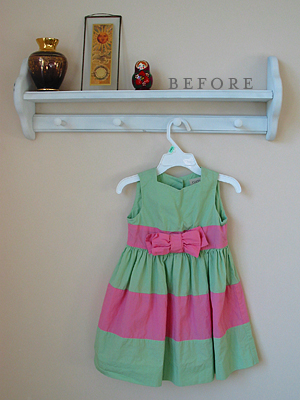
My daughter and I both love this dress. She only wore it a few times last season because it was too big. This year it is too small. It probably would have fit her best when it was 20 degrees outside.

easy kids skirt tutorial

The other day she insisted on wearing it. (Yes, it was still hanging in her closet even though it was too small.) I let her try it on so she would see that the buttons could no longer be buttoned. While she had it on, I realized that it was just the top that was too small. The bottom fit just fine. Hmmm… what if I turned it into a skirt?

easy kids skirt pattern

Step 1
Cut off the bottom of the dress. If your daughter is as tall as mine, use a seam ripper. It takes longer, but she needs every bit of length I can save.

Step 2
Measure your daughter’s waist. Add an inch and then cut a piece of elastic. I used 3/8″ wide elastic.

Step 3
Fold the top edge down 1/4″ and press. Then fold 5/8″ and press.

easy kids skirt tutorial

Step 4
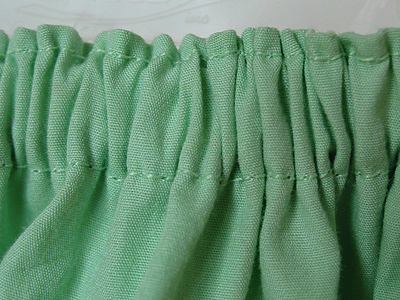
Sew the waist leaving an opening for the elastic. Edge stitch the top to help the elastic stay in place.

Step 5
Thread the elastic through the waist casing, sew elastic ends together with a 1/2″ seam allowance, and close up the waist.

easy kids skirt pattern

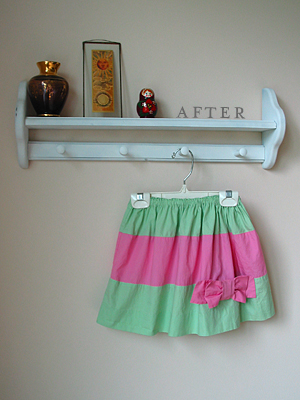
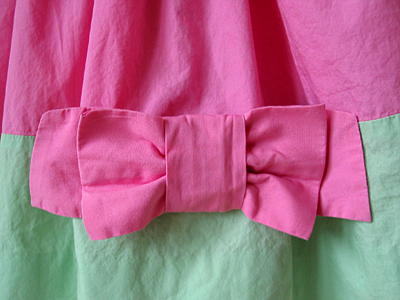
My daughter was so excited to see her new skirt. She especially loves the bow. The original dress had a two inch hem. If she’s still in love with it next season, I guess I’ll be letting the hem down, too.

refashion: Sewing clothes is sometimes easier if you don’t start from scratch. Refashioning a favorite piece of clothing can make you happy, your budget happy and the earth happy.

Thanks to whipup.net for linking to my tutorial and welcome new readers! For more crafty updates, visit my Facebook page!

crafty garage sale finds

crafty garage sale finds

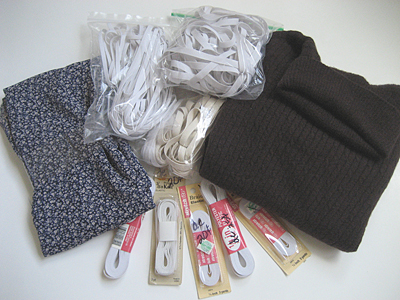
I’m showing some serious garage sale constraint this season because I’ve got a pretty good stash established. However, yesterday morning was beautiful and the next neighborhood over was having their annual sales. I found some fabric for a future skirt, 2 yards for $1. I also found a ton of elastic for my new clothing adventures, $2 for all. I couldn’t pass up this brown wool sweater; it was free!