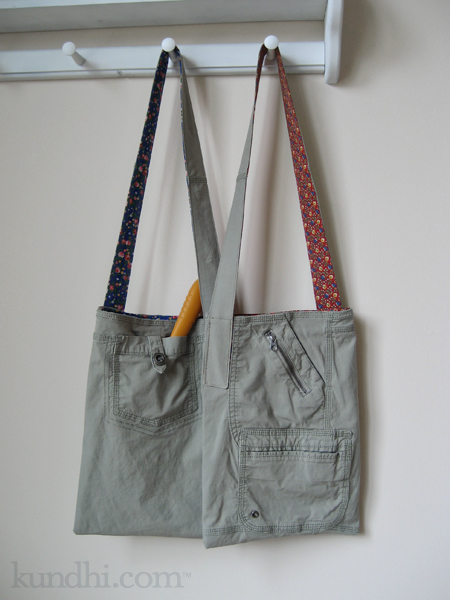
nature hike tote bags

capri pants turned into totes

You knew I was going to turn those capri pants into tote bags, didn’t you? Not just any bags, however, but bags with a purpose: keeping nature out of my pockets and my purse.

I’m sure many of you can relate to this: Mama, can you hold this rock? Here’s a present for you, Mama. It’s a leaf! I’m just going to put this stick in your purse for later. Did you put my feather in your pocket? Later, as you are digging around for latte money, the barista gives you a funny look as random bits of nature fall on to the counter.

I made two of these: one for my daughter and one for her friend. They’re the same except for the lining. Now when we go on walks together, the girls can carry their own bits of nature. There are all kinds of pockets perfect for acorns, rocks, twigs and leaves. The buttoned back pocket is perfect for storing a shovel. You never know when you’ll need to dig for treasure!

I love how these turned out and will be making more. How perfect would they be for a day of garage sailing or thrifting with different compartments for cash, phone, water and a snack! They would also make a cool craft project bag with pockets for all of your notions.

project details: Pants from my closet, lining fabric from my thrifted stash.
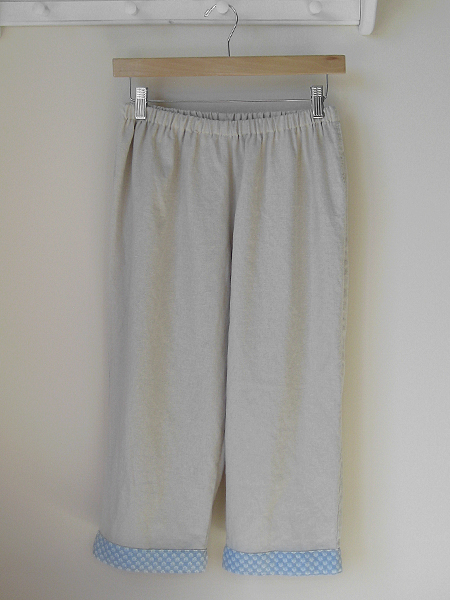
wardrobe refashion: re-sized capri pants

wardrobe refashion: resized capri pants

The summer of skirts has been a success. I’ve been wearing my red, white, linen and denim skirts regularly all season. But ever since I found that perfect pattern for lounge pants, I’ve been thinking about capris. How easy would it be to refashion a pair of existing pants?

I found a couple pairs at the last 99 cent sale (hey, I told you I had good luck that day!) and decided give it a try. Here’s how I did it:

  • Wash and dried them on hot to preshrink.
  • Removed the elastic waistband with a seam ripper.
  • Cut the inner leg seams open. My pattern is only one piece, so I left the outer leg seams intact.
  • Pressed the pants pieces with an iron and laid my pattern on top. I had to fudge a little, but they were pretty close.
  • There was a lot of waist fabric that had to be removed and the new waist ran right over the pockets. I sewed them shut and cut them out.
  • Traced the pattern and sewed the pants back together.
  • Cut off the ugly fringe cuff and added a fabric trim.

The whole process was fast and easy. Most of my shirts come down past the waistband, so they actually look pretty good. I’m sorry I forgot to take a before picture. I had a few free hours for this project and just dove in!

refashion: This pants thing is really increasing my options for clothes. After a few more tries, I might tackle a fitted waist!