valentine’s day heart bunting

Last year I made a paper heart bunting for our kitchen window. When I went to hang it this year, it was gone. Maybe I stored it in a safe place? Maybe I recycled it? I wish I could remember. Anyway, it was a good excuse to make a new one. I forgot to take a before picture of the tea towel I used, but you can see part of it in this creative space.
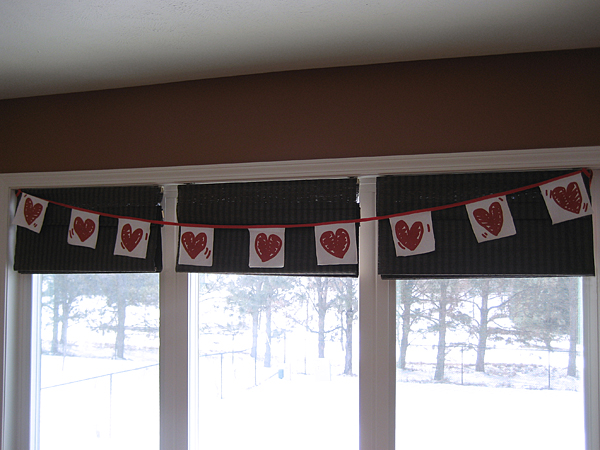
valentine heart garland

It was basically a grid of small and big hearts. I cut along the small hearts and then serged the side and bottom raw edges, trimming the small hearts off as I went along. I folded over some bias tape and stitched in the top edges.
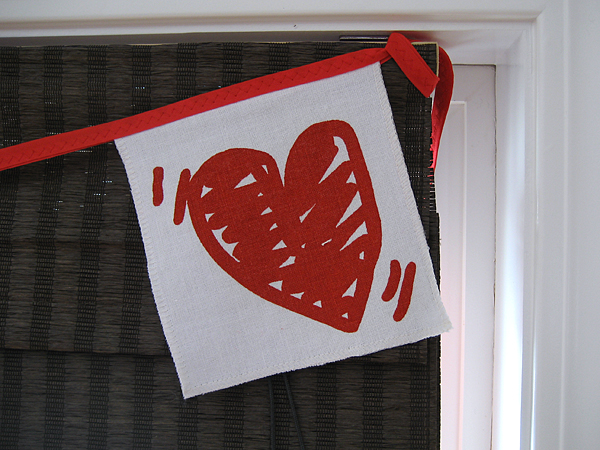
valentine heart garland

I managed to create this from start to finish during my daughter’s “quiet time.” I don’t remember the last time I completed a sewing project so fast. Plus, I think I’m finally figuring out how to master the tension on my serger!

recycle: Garage sale tea towel: 25 cents. Bias tape part of a Goodwill grab bag.
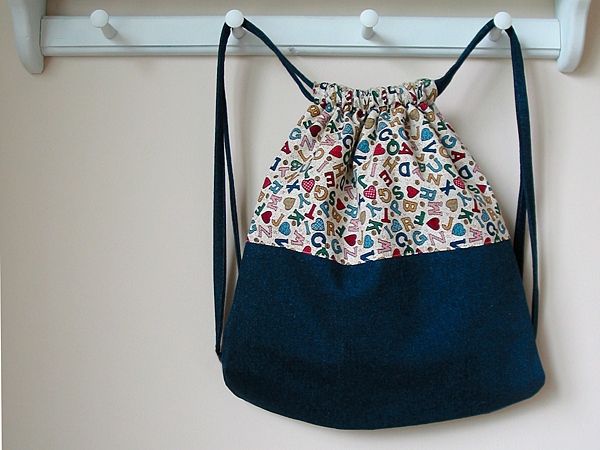
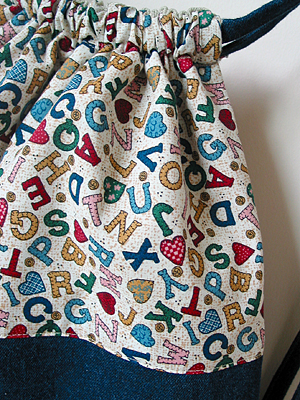
easy backpack with bias tape straps

My daughter starts preschool next week and she needed a backpack. I asked her if she’d like me to make one for her and she said YES!

I let her choose fabric from my stash and helped her with coordinating the colors. I really like how it turned out and she loves it. My only problem is getting her to wear it. Right now, she just wants to carry it by the straps.

martha stewart easy beach bag

I used Martha’s Easy Beach Bag pattern with a few modifications:
• inside is canvas instead of nylon
• inside has two pockets
• used fabric instead of cord for the straps
• serged the raw edges inside

drawstring back pack with lining

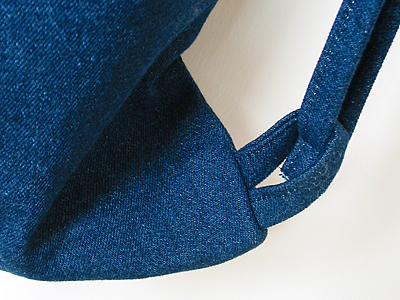
Drawstring Strap How-to:
Feed strips of denim through a 1-inch bias tape maker, fold the tape in half and stitch it together. Once threaded through the loops, sew the ends together because they’ll be too thick to knot.

drawstring back pack with lining

stash: This is one of those occasions that I love having a stash of fabric. It’s so easy to dive right into a project when the motivation strikes! Plus, using a thrifty stash is so affordable. I’m guessing this cost less than $2 to make. Sweet!

wardrobe refashion: t-shirt to cardigan

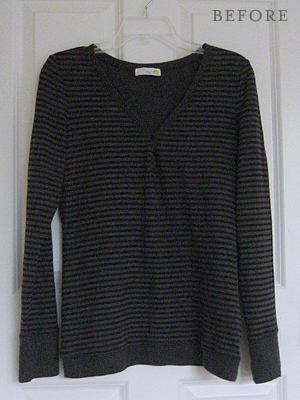
A few days ago I went to straighten up downstairs for house guests and I found this shirt in the closet. I forgot that my mom had left it for me after her last visit. She wasn’t happy with how the v-neck looked. When I tried it on, I thought the same thing. It didn’t look bad; it just didn’t look great. It was a nice size on me, though. I liked the colors and it’s really soft.

t-shirt to cardigan

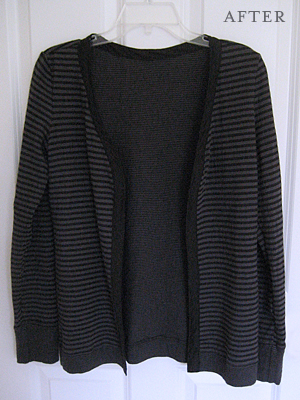
I decided to turn it into a cardigan. I’m always chilly in the summer when I’m inside in the air conditioning. I think this will be perfect to throw over a tank top or short sleeve shirt.

t-shirt to cardigan

How I Did It
• Made the bias tape out of some black cotton from my stash.
• Removed the buttons.
• Cut a straight line from the v-neck to the bottom.
• Sandwiched the raw edge in the bias tape and pinned.
• Sewed all the way around 1/8 inch from the inside edge of the tape.
• Sewed all the way around 1/8 inch from the outside edge of the tape.

I really like how it turned out. I did an ok job sandwiching the edges in the bias tape. I may fiddle with how I do that in the future. Overall, I think my first wardrobe refashion was a success!

refashion: If you have a shirt that you really like, but it doesn’t fit well, turn it into a cardigan. Cotton for bias tape from my stash, shirt from my mom.