finished: baseball bookmarks

baseball bookmarks

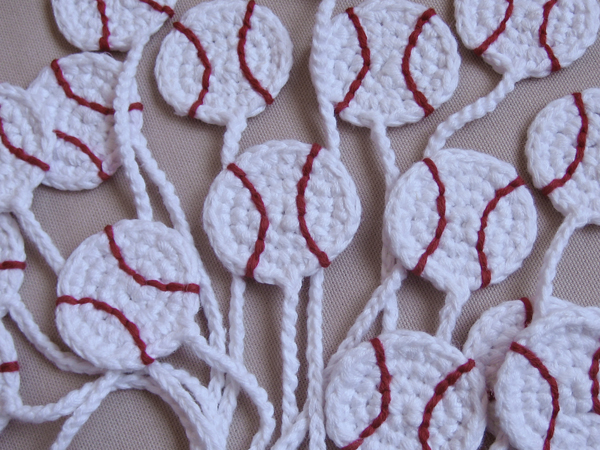
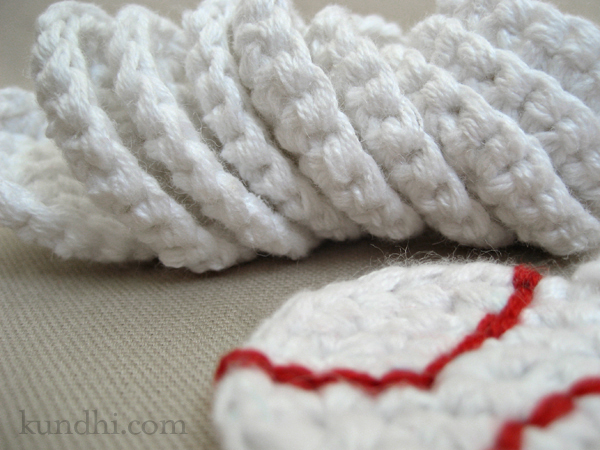
So many little baseballs. Seventeen, in fact. They turned out cuter than I imagined. Don’t you just love when that happens? I first posted about these in my creative space. I haven’t forgotten that I promised a pattern. Maybe by the end of this week? In the form of a Christmas ornament?

recycle: White yarn unraveled from a sweater. Red yarn left over from chromium star blanket.

my creative space

baseball amigurumi bookmark

In my creative space today, I’m slowly getting back into my crochet groove. These little circles are actually baseball bookmarks for party favors. I’m thinking they would make cute Christmas ornament bookmarks — something handmade to go along with a book as a gift. Pattern coming soon.

More creative spaces over at Kirsty’s blog. Enjoy the crafty goodness!

recycle: Bookmarks made from last week’s sweater yarn.

halloween overload

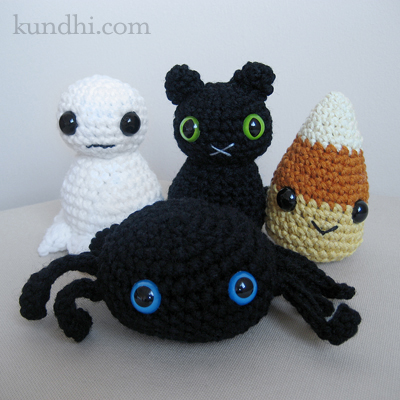
crochet ghost black cat candy corn spider amigurumi

I spent the last few days crocheting up a spooky storm. I think I am finished with Halloween-themed crafts and ready to just sit and eat some candy. Phew!

I stayed up late last night putting the finish touches on these cuties, packaged them up for the mail, and then headed out to the pumpkin patch. It was a beautiful day to be outside with good friends, creepy amusements and funnel cake for lunch.

pumpkin patch

On the schedule for tomorrow: my daughter’s Halloween party at school in the morning and trick-or-treating at the zoo in the evening. When did Halloween become so darn busy?

pattern info: The ghost and cat are loosely based on the Skeleton Bride and Devil patterns from Creepy Cute Crochet. The candy corn began as a free pattern from Lion Brand with added rows and a rounded bottom to match the others. The spider is over here.

tiny crochet spider pattern

crochet spider amigurumi

Thank you for the wonder feedback on my little pumpkin pattern. I’ve received the nicest comments and have been flattered by how many people have linked back to it.

When I sat down a few weeks ago to make some little crochet balls, I didn’t intend to whip up a bunch of Halloween-inspired projects, but you go where the inspiration takes you.

This spooky little spider is fast and easy to make. You still have plenty of time to crochet one (or a few) before October 31st. Have fun!

Spider Legs (make eight)
These are just like the pumpkin stem, only longer.
R1: chain 12
R2: sc in second bump from hook, sc in next ten bumps*

Spider Body
Crochet Rows 1-11 of Tiny Crochet Ball with black yarn.

Before stuffing, attach or embroider eyes. Then attach legs, four on each side. Bury ends inside body.

Stuff and finish off with Row 12.

*Go into the bumps on the back of the chain, not the stitches on the front of the chain.

pattern: tiny crochet pumpkin

crochet pumpkin amigurumi

On Monday I mentioned that I had been playing around with variations on the Tiny Crochet Ball pattern. Hmmm… it’s October. Is it any surprise that I’m making pumpkins? Here’s how you can, too.

Using Tiny Crochet Ball pattern:

Pumpkin
Magic ring, R1-2: brown yarn
R3-R11: orange yarn
R12: brown yarn

Stem
R1: using brown yarn, chain 5
R2: sc in second bump from hook, sc in next three bumps*

Finishing
Break yarn and tie a knot. Using a darning needle, attach the stem at the top and bring the ends down through the bottom. Squinch the ball until it’s pumpkin shaped and tie a knot to hold the shape. Bury the ends inside the pumpkin.

*Go into the bumps on the back of the chain, not the stitches on the front of the chain.

Enjoy!

little crochet balls

crochet amigurumi ball

I started this little guy one day when I needed to cleanse my crochet palette. It’s just a simple ball. Something that will fit in a little hand and is safe for chewing. I blame this project on all of the cute little babies in my life. Maybe I’ll make a whack of them to give as holiday gifts.

stash: aunt lydia’s cotton that’s super soft and machine washable.

my creative space

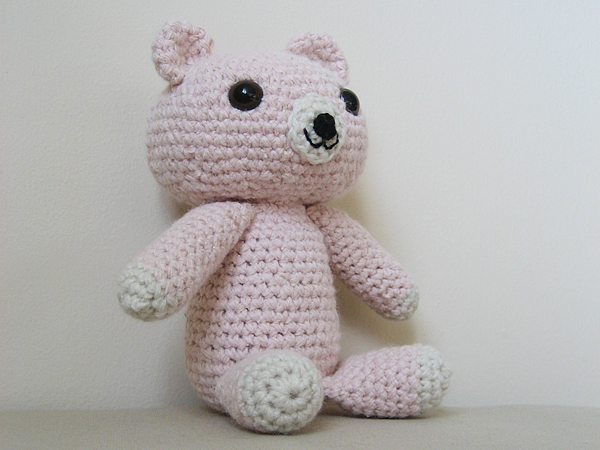
little amigurumi bear

In my creative space today I’m finishing up the details on a few gifts.

First up is this little teddy bear for my friend Lisa, who is expecting a baby any day now. Lisa is all about cute crochet stuffies, so I figured an amigurumi bear would be perfect.

Want to know the coolest thing about this teddy? She’s made completely out of recycled sweater yarn! Don’t you just love her even more now?

The pattern is from the amigurumi volume of Kyuuto! Japanese Crafts! If you are interested in Japanese craft books, but are nervous about following the diagrams, this is a good place to start. It’s translated into English!

I’m off to finish up some more gifts. You should head on over to Kirsty’s blog for more creative spaces!

my creative space

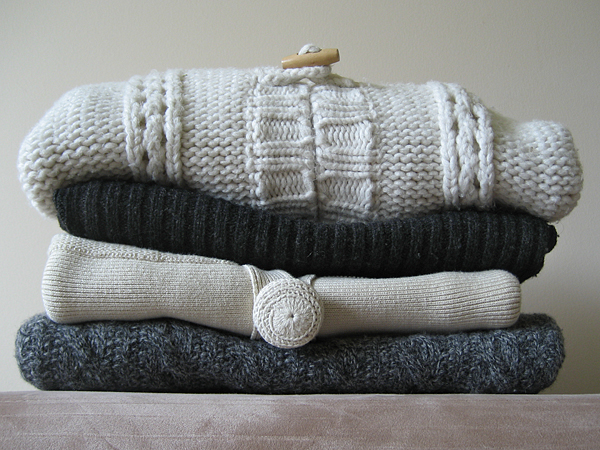
In my creative space today, I’ve been trading work for materials. Last week, a friend saw my happy little airplane and asked if I would make one for her son. “I’ve got sweaters to trade!” She even checked the seams to make sure they weren’t serged.

sweaters for unraveling

The original airplane was really big. Much bigger than I thought it would be. Would it be ok if I made a smaller version? “Deal!”

mini small airplane amigurumi

I find this happens a lot in my circle of crafty friends. We’ve all got items we’re ready to pass along and services to use for trade. It’s a never ending re-cycle.

The list of creative spaces keeps growing! Visit Kirsty’s blog to see them all.

happy little airplane

I attended a Baby Sprinkle over the weekend for Baby D2. It was like a Baby Shower, except when mom has a lot of what she needs from her first baby, you’re supposed to give things like diapers, lotion, baby shampoo, etc.

I didn’t follow directions very well. I believe every baby should have something new, especially when so much is being handed down from his big brother. Better yet, he should have something handmade especially for him.

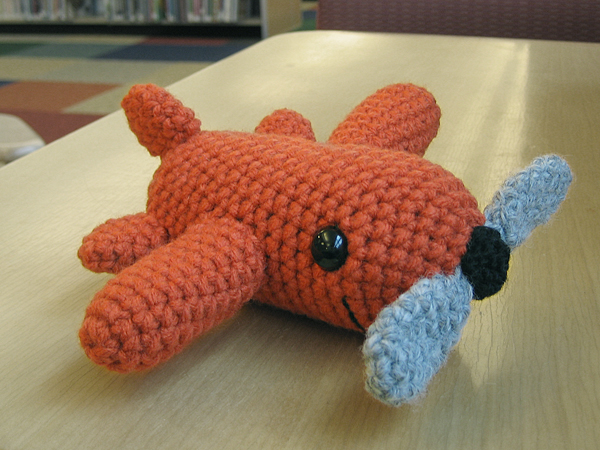
amigurumi airplane

Isn’t this little guy the cutest thing ever? I especially love his smile.

amigurumi airplane

I also sewed him a lightweight blanket that coordinates with the quilt I made for his brother. I forgot to take a picture of that, but it’s a single layer of the same fleece trimmed with the Snoopy fabric. Maybe I’ll get a photo in a few weeks with a cute baby bundled inside? (Hint, hint, Lauren.)

stash: Everything came from my stash of thrifted yarn. The pattern is Happy Little Airplane from Amigurumi Two! by Ana Paula Rimoli.

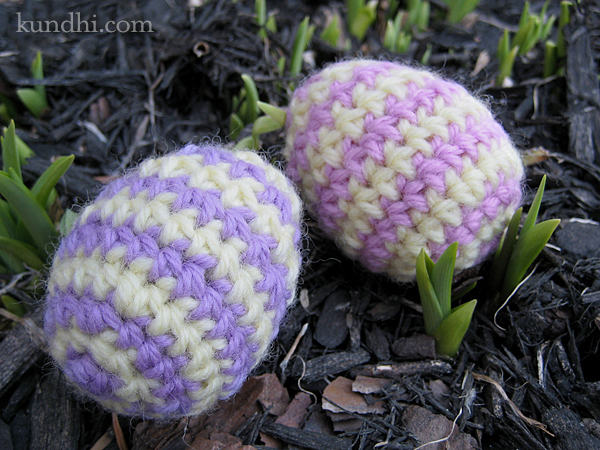
tiny striped egg pattern

tiny crochet striped easter eggs

So here it is! After many eggs, I finally found the right hook/yarn combination that feels right. My first egg used a larger hook and Red Heart yarn. It was too big and looked a little lumpy. I finally settled on Plymouth Galway wool with a smaller hook. Both are labeled worsted weight, but the wool eggs seem less lumpy. Also, I decided on hdc instead of sc because I liked the width of the stripe better. I’m posting this in Ravelry. I can’t wait to see everyone’s eggs!

Tiny Striped Egg
worsted weight yarn
size D/3 (3.25mm) crochet hook
polyfil for stuffing
tapestry needle for weaving ends

ch: chain
hdc: half double crochet
hdcIncrease: half double crochet increase
hdcDecrease: half double crochet decrease
sl st: slip stitch

half double crochet increase: hdc twice in same stitch
half double crochet decrease: yarn over, hook through stitch, yarn over, pull through stitch, yarn over again, hook through next stitch, yarn over, pull through stitch, yarn over one more time, pull through all five loops

I carry the yarn up the inside with out breaking it for each stripe. Change colors at the slip stitch: hook through stitch, yarn over with new color, pull new yarn through stitch.

gauge: not important, but mine are about 1 1/2 x 2 1/4 inches finished

P=purple stripe, Y=yellow stripe

  • Make a magic ring.
  • R1 P: ch 2, hdc into loop 5 times, pull loop closed, join with sl st into second ch – 6 sts
  • R2 Y: ch 2, hdc in same st, hdcIncrease around, sl st into second ch – 12 sts
  • R3 P: ch 2, hdc in same st, hdc in next st, *hdcInc, hdc* around, sl st into second ch – 18 sts
  • R4 Y: ch 2, hdc in same st, hdc in next 2 sts, *hdcInc, hdc, hdc* around, sl st into second ch – 24 sts
  • R5 P: ch 2, hdc around, sl st into second chain – 24 sts
  • R6 Y: repeat R5
  • R7 P: ch 2, hdc, hdcDecrease, *hdc, hdc, hdcDecrease* around, sl st into second ch – 18 sts
  • R8 Y: ch 2, hdc around, sl st into second chain – 18 sts
  • R9 P: ch 2, hdcDecrease, *hdc, hdcDecrease* around, sl st into second ch – 12 sts
  • R8 Y: ch 2, hdc around, sl st into second chain – 12 sts
  • Stuff with polyfil
  • R10: hdcDecrease around, close up with tail, tie off both colors, bury ends inside with tapestry needle