crochet pincushions in spring colors + etsy shop update

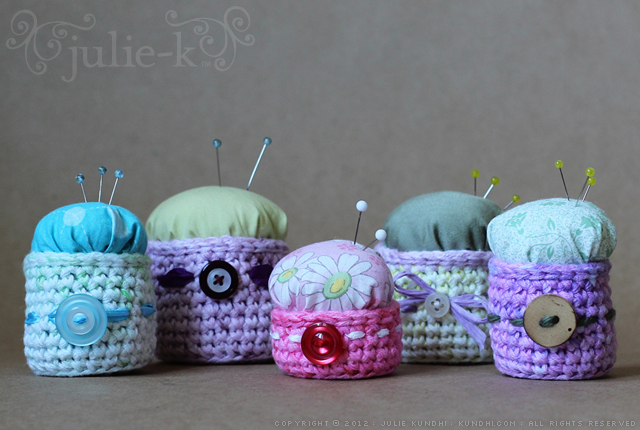
crochet pin cushions in my etsy shop

I had a hard time figuring out what to do with the Easter egg yarn. Once I saw the colors, I immediately wished I had dyed more. I wanted to use every last bit of it, so I decided to make something that I could start from the bottom and go until I ran out.

I love, love, love how these turned out! They were a lot of work, and I don’t think I’ll make them regularly. The pink one with flowers is my favorite.

These are too pretty to just sit around in my “finished” pile of projects so they’re available for sale in my etsy shop.

I also spent the weekend working on a crochet pattern for tiny flowers. Stay tuned!

recycle: how to make felted beads from yarn scraps

I’m going to say something silly, but I’m sure there are others out there feel the same. I have a hard time throwing out wool scraps. I don’t feel the same about cotton or acrylic yarn and I’m not sure why. There’s just something about the wooly ends. It pains me to toss them.

One night after amassing a large pile of granny square ends, I had an idea. I pulled the plies apart, walked over to the sink where my husband was doing dishes, and doused them with hot water. I added a tiny drop of soap and started rolling them in my hands. Within seconds I had the most adorable little felted bead! Just recently, I made some while the camera was out, and decided to take a few pics for the blog.

How to Make Felted Beads

1. Collect your wool ends. Here are a few from recent projects.
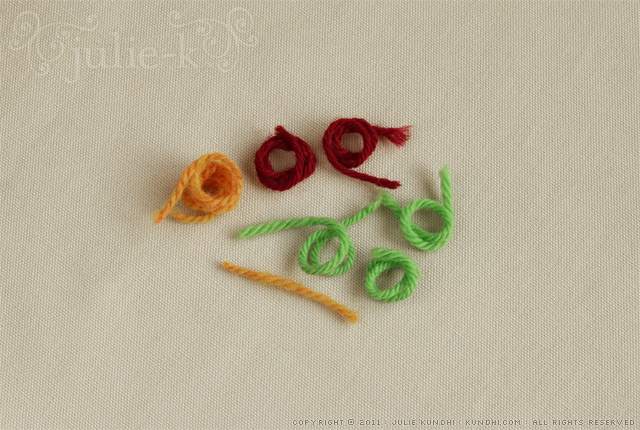
how to make felted beads from leftover wool yarn

2. Separate the plies. Skip this step with single ply yarn.
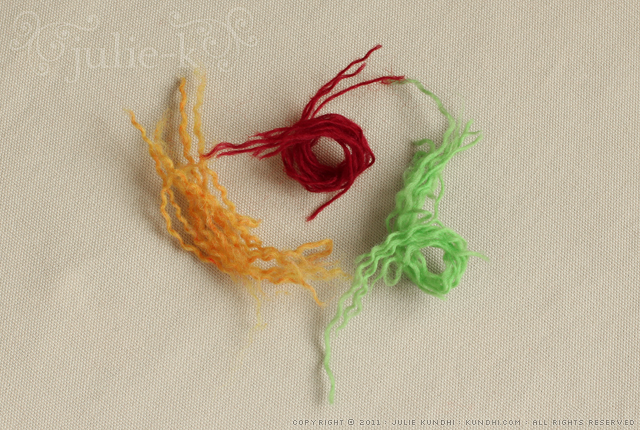
how to make felted beads from leftover wool yarn

3. Pull apart the individual plies until you’ve got a fluffy ball of wool. The fluffier the ball, the more even it will felt.
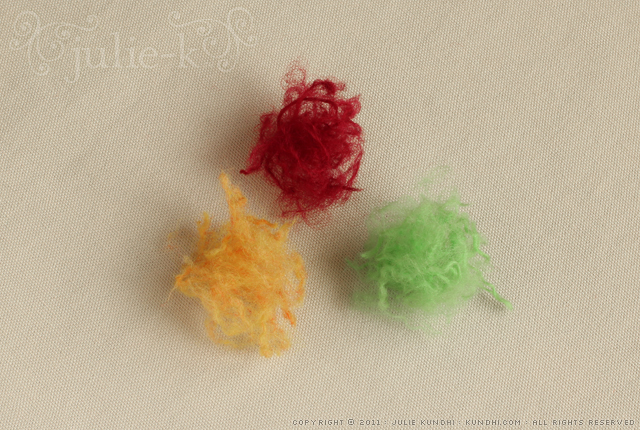
how to make felted beads from leftover wool yarn

4. Felt them by hand. Sometimes I use hot water from the tap. Other times I heat a small mug of water in the microwave. Get the wool wet and then squeeze out the excess water. Roll the wool between your palms until it starts to felt. Sometimes a little bit of soap helps get the process going.

Rinse out the soap and you’re left with these little cuties:
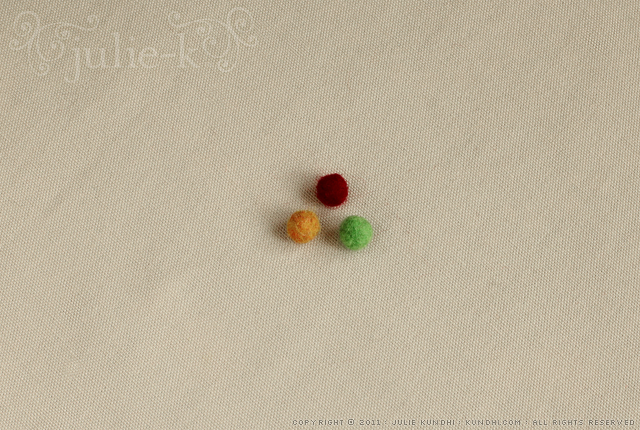
how to make felted beads from leftover wool yarn

I have great ideas for these, but I must admit that they are currently in a jar with a rainbow of other colors. I’d like to make a bracelet or necklace with them. I’d also like to use one as a center for a crochet flower hair tie. In the meantime, I just keep felting and collecting, happy that I’ve found a use for my wooly ends.

What do you do with your yarn scraps?
after: hello kitty lunch bag + some helpful tips

lunch bag refashion

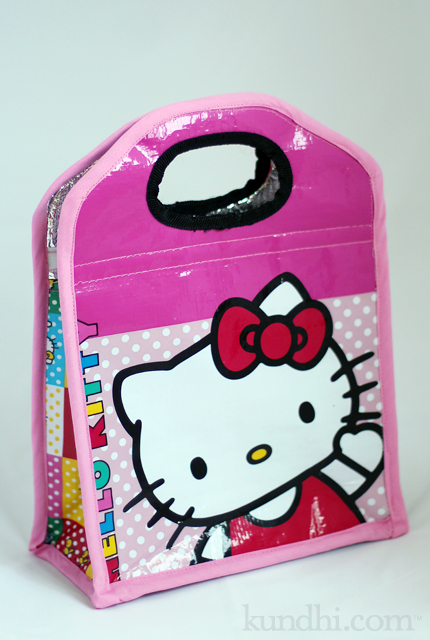
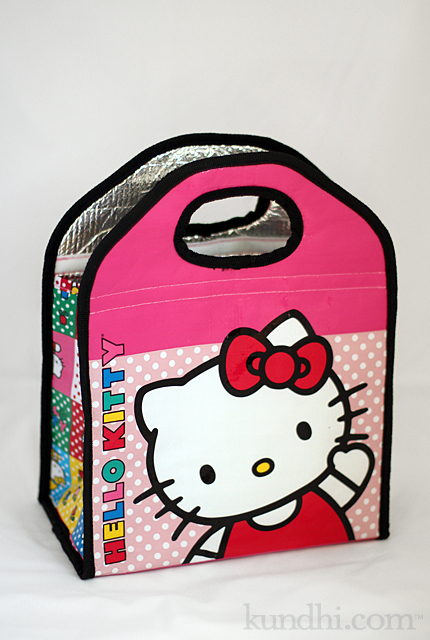
So, I survived this crazy project. Actually, the only thing that was really difficult was the bias trim, especially around the corners. But I’m not very good at bias trim to begin with, so there’s that.

I was surprised how easy this insulated-plastic-foil material is to sew. I picked out the original trim stitches and all of the pieces fell apart. I cut everything down to size and serged around all of the edges, then I serged the pieces back together. I know that sounds like overkill, but the material was made up of three layers and I didn’t want manipulate six layers of slippery stuff when I did the trim.

Some very important things to keep in mind for a project like this:

  • Remind yourself how much you love your child. I found this especially helpful sewing around those corners with the trim.
  • Have a friend close by via text for encouragement. Send her pictures of your bent sewing machine needle just for fun.
  • Keep chanting the mantra: It doesn’t have to be perfect, it just needs to make my child happy.
  • Embrace your organic style as breaking the rules and your wonky stitches as a design element.
  • Remind yourself that some kid in China probably put this together the first time. If she could do it, so can you.
  • Let go of the little things, like matching the black and pink trim in the handle. It’s just another design element.

That’s about all I’ve got to say about this lunch bag. My daughter loves the pink and she stuffed it in her backpack this morning with no problem.

stash: Finally digging into my thrifted stash of bias trim. It’s about time!

before: hello kitty lunch bag

lunch bag refashion

I am crazy. I normally have no problem taking a seam ripper to anything. I cut up stuff and turn it into something new all the time.

Except for this lunch bag.

It fits a little too snug in my daughter’s backpack. Her teacher mentioned a bigger backpack or smaller lunch bag would be helpful. We actually have a Hello Kitty metal lunch box that she can use, but she wants this bag.

“You can fix it, Mama. Just make it a little smaller. Please?

I texted a picture to my friend Kelly. “You can do it!” she said. I told my daughter it might not look exactly the same and I’d have to cut into the picture of the kittens on the back. “That’s ok, Mama. You can do it.” she said.

So I guess tomorrow I’ll be cutting up this cute little bag so it will fit in her backpack. Why won’t she just use the metal Hello Kitty lunch box you ask? Because that’s what she uses for her toy food, silly.

Wish me luck!

re-refashioned tote bag

More sewing! I’m on a roll!

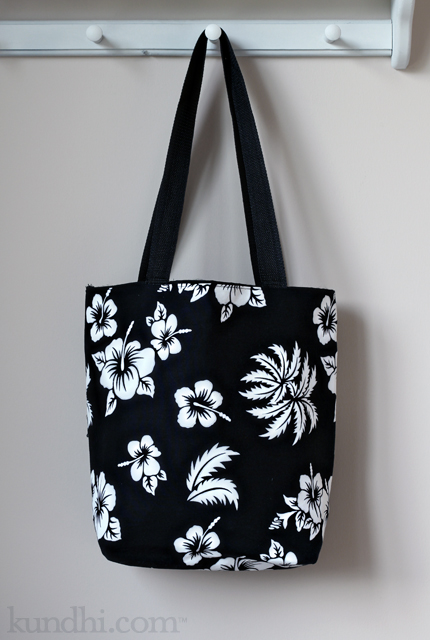
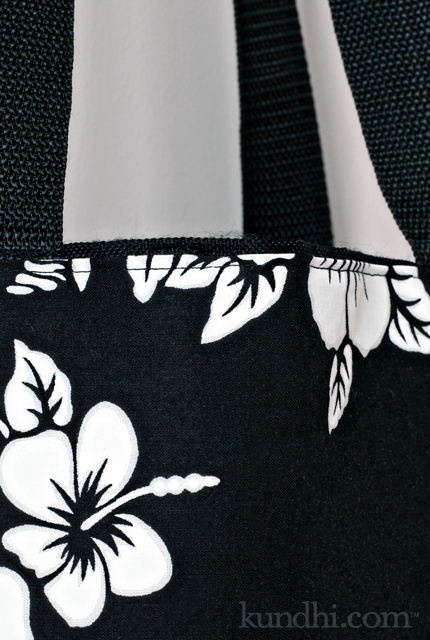
A few years ago I refashioned this conference tote bag* with an old t-shirt. I used it until poor Siouxsie started to get holes. Amazingly, the canvas tote underneath showed practically no wear. I think it might be indestructible.

refashioned conference tote bag

So I re-refashioned it. I have another black tote and I’m thinking of making a set. I really love this fabric.

refashioned conference tote bag

*Wow. Did you click on that link? My blog photos have really improved over the past few years!

diy hair elastic holders

diy hair elastic holders

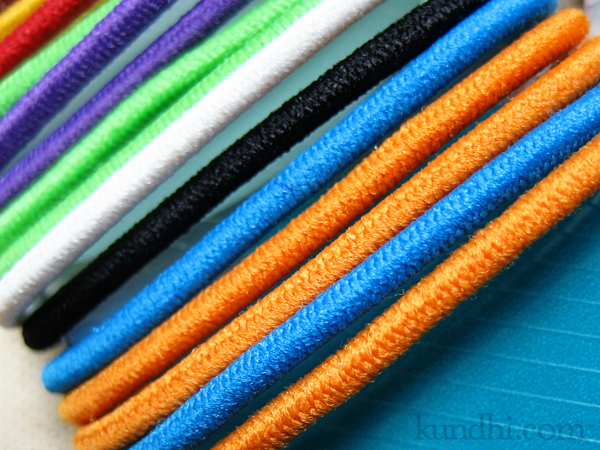
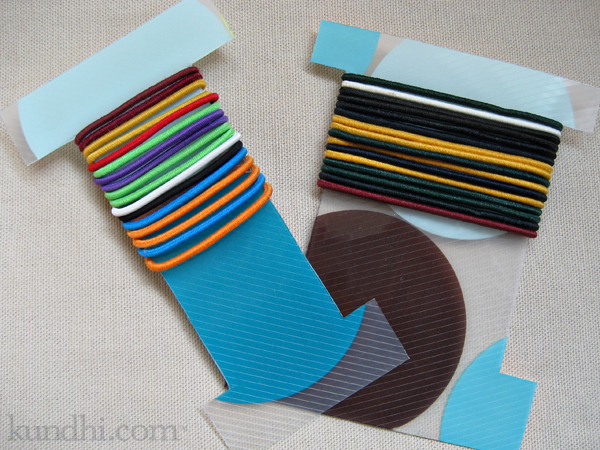
If you have long hair, how do you store your hair ties? I used to keep them on the original cardboards, but they are kind of flimsy and tear easily. I wanted something more sturdy.

Using the plastic leftover from making my place mat sock blockers, I traced the original cardboards and came up with these.

diy hair elastic holders

We’ve been using them for awhile and they are holding up great. It’s really nice to pull them out the basket and not have the elastics fall off. You could use any kind of plastic that can be cut with scissors or even the thick chipboard from a legal notepad.

embarrassing: I went to link to my place mat sock holder post and can’t find it. Did I not share them on the blog? How is that possible? Here’s the tutorial I used. I’ll have to get a pic to share with you.

wardrobe refashion: reverse appliqué saves the day

reverse applique tshirt

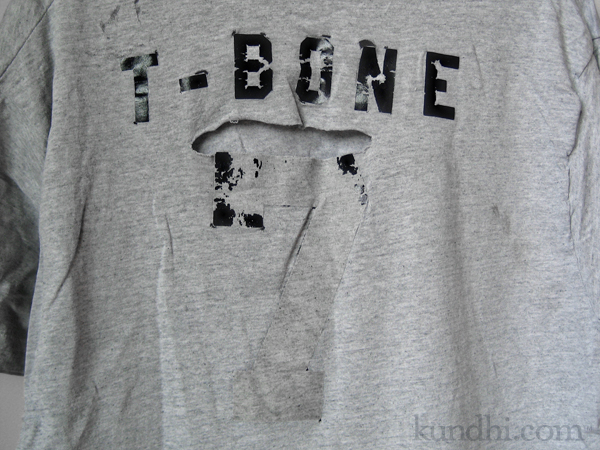
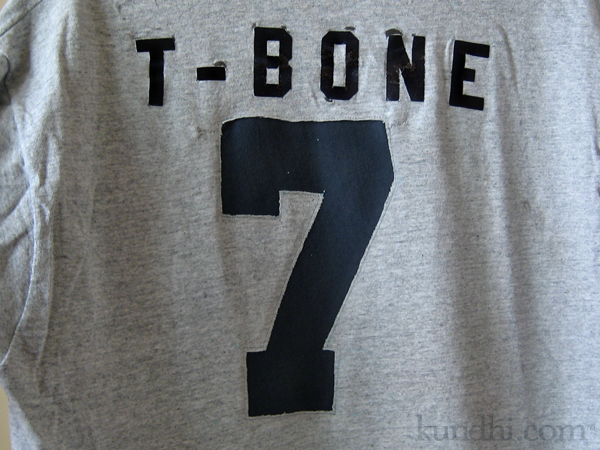
This is one of those shirts that has been saved over the years because of sentimental value. Every time my husband makes a recycle/donate pile of old t-shirts, it always makes the cut — even after the giant hole. I decided I’d fix it up for him. It’s way too thin to be worn much longer, but it can at least be made into something else if he wants.

reverse applique tshirt

Believe it or not, this is the first time I’ve done a reverse appliqué. I figured it would be the best choice because the fabric was already ripped. I filled in the peeling letters with a Sharpie marker. I’m still mending the holes above the letters. (Just when I thought I was finished sewing up holes!)

stash: Blue fabric from another shirt I’m planning to upcycle.

holiday gift idea: sweater sleeve socks

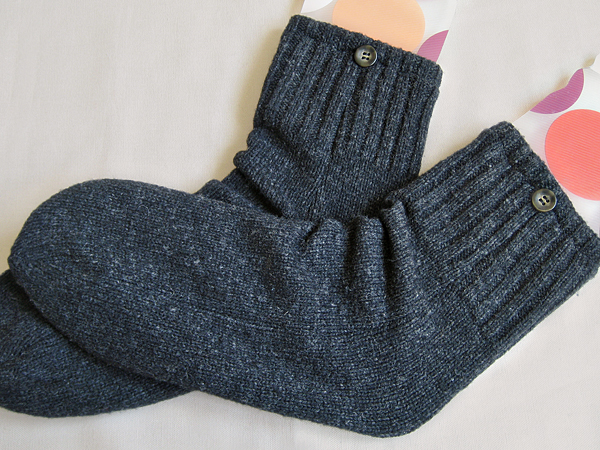
sweater sleeve socks

Ever since I started knitting socks, I’ve wanted to knit a pair for everyone in my family. There’s something about giving a gift of warmth, especially when it’s handmade, that I really like. I just don’t have time to make it happen, so I started to think of alternatives.

One day I was looking through Linen, Wool, Cotton and saw a pattern for socks using angora wool and I got an idea. I’ve got plenty of wool sweaters in my stash. Why not make a pair of socks out of that?

These are basically a tube with one rounded end. I didn’t felt the wool, but used my serger to enclose the raw edges. The cuff has a casing for elastic to help them stay up. The button is just for decoration.

I see more of these in my future. I’ll be looking for superwash or wool blend sweaters so they can be machine washed. I’m also thinking about stripes, fair isle and cables. The possibilities are endless!

alternatives: If you don’t have a serger, you could felt the sweaters first so the edges don’t unravel or try the zig zag stitch on your machine. Felted socks may be too thick to wear with shoes, but would make great slipper socks for lounging around.

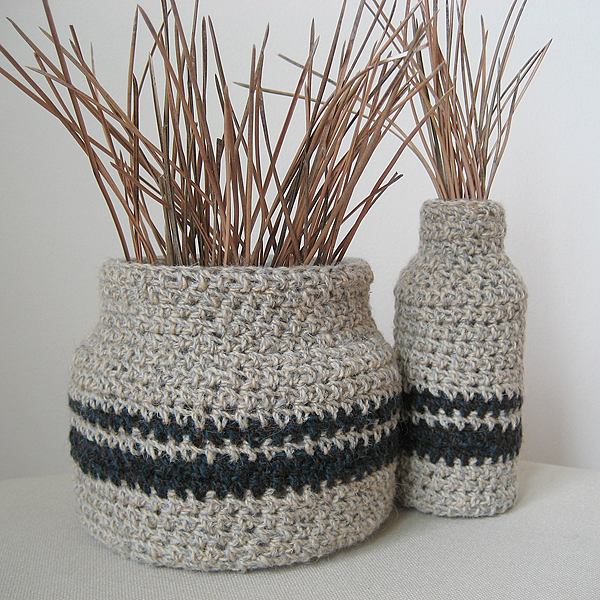
shop: set of upcycled crochet covered vases

set of two upcycled crochet covered vases

They’re finally here! I think I love these too much to list them, but I can make more. Lots more, actually. I used wool from the big spool and clear plastic containers handpicked out of my very own recycle bin. More photos and all the details are in my shop.

Have a great weekend everyone!

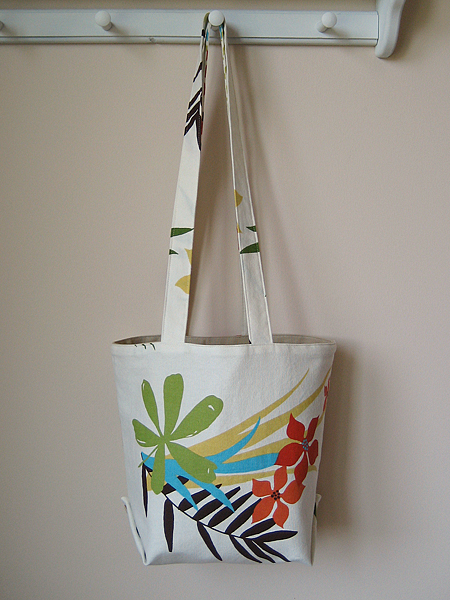
custom bag: tropical lunch tote

tablecloth lunch tote

When I posted pics of my Tropical Tablecloth Tote, I received a request for a lunch tote. The bag is a little smaller, but a lot wider to hold lunch containers and a water bottle. I think it’s pretty darn cute!

There are two more totes worth of fabric cut and waiting to be sewn. I admit that I wish I had this idea on my own. Anyone out there looking for the perfect tropical bag? Let me know!

. . . . .

Thank you for all of the great suggestions on the sweater upcycle. I’m seriously considering pillow cushions now, too!