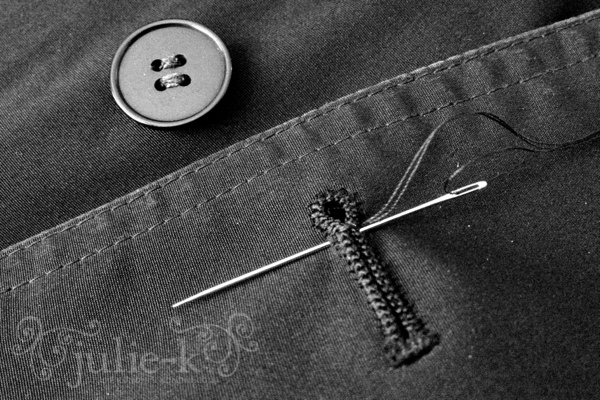
satin stitch: making a buttonhole smaller

20121109-141844.jpg

A few years ago I found a really nice raincoat at a garage sale. It’s got a removable, quilted lining that makes it extra toasty on cold days.

I love everything about it except one thing: the buttons. They’re always popping out of the holes. I chalked it up to the fabric being slippery, but one day while I was complaining about them, my daughter said: Why don’t you just make the buttonholes smaller? Upon closer inspection, I realized they are bigger than necessary.

Smart kid!

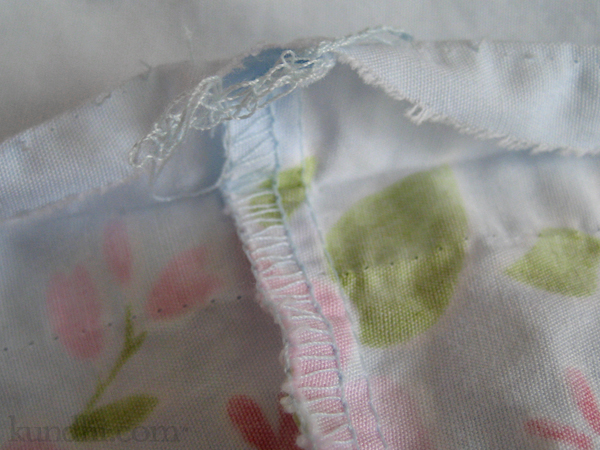
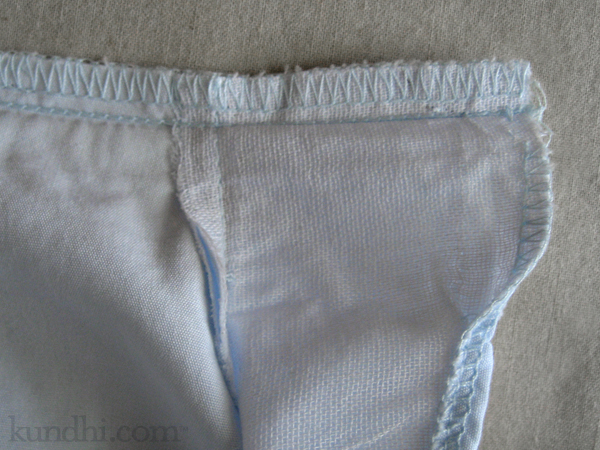
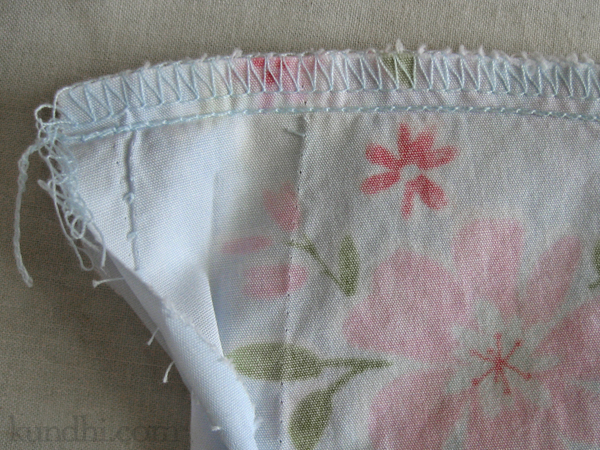
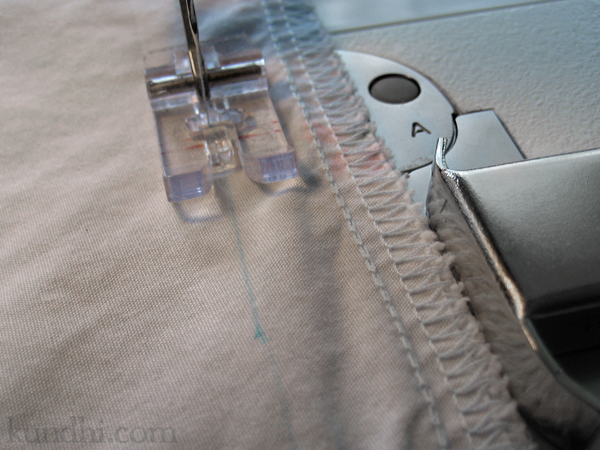
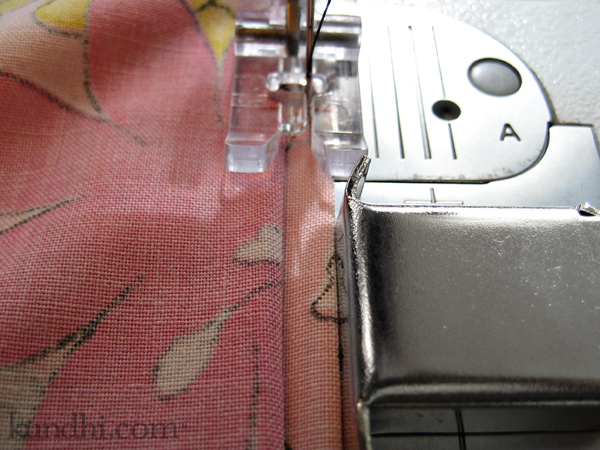
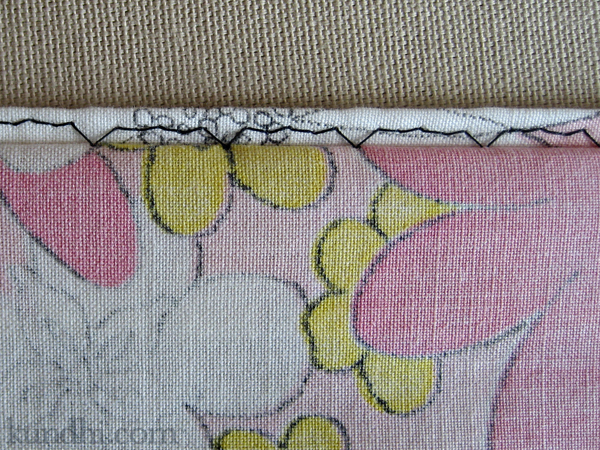
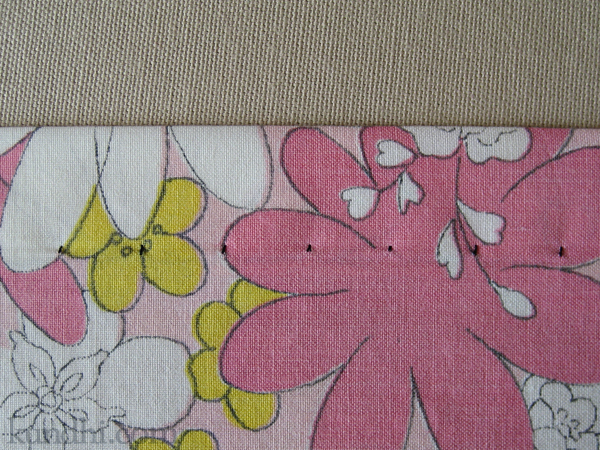
I’m closing them up with a little bit of satin stitch on the side of the hole that will be hidden when buttoned. I’m ready for the cold, rainy autumn days ahead — if we ever get any.

how to: adjust the side seams of a dress in
4 easy steps

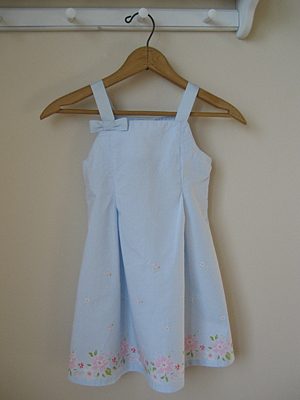
how to alter little girl dress

I’ve been waiting for this dress to fit my daughter for two years. When she tried it on this Spring, it was just above her knees, but still too big in the body. The only way she would be able to wear it would be if I took it in at the sides. It was actually very easy. All you need is a seam ripper and some matching thread.

Step 1
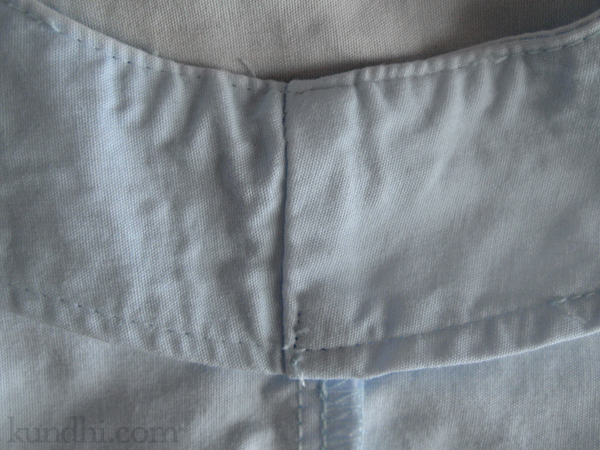
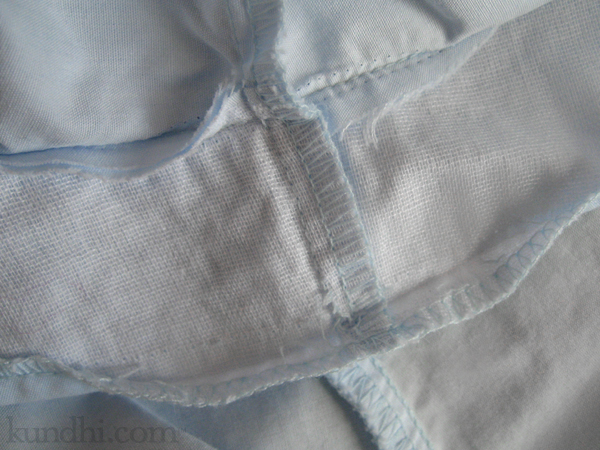
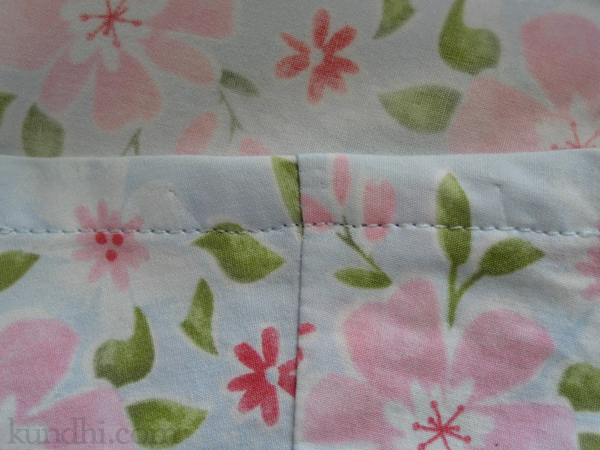
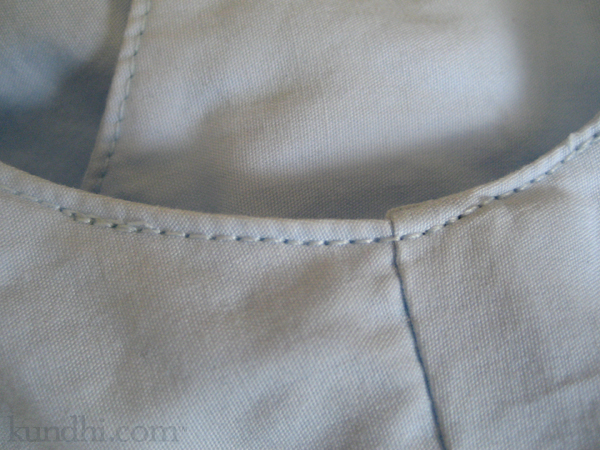
Unpick the facing under the arm and the bottom hem a few inches on either side of the seams.

how to alter little girl dress

how to alter little girl dress

how to alter little girl dress

Step 2
Unfold the fabric. Press the facing and hem flat.

how to alter little girl dress

how to alter little girl dress

Step 3
Mark the new seam and stitch. (My daughter is kind of squirmy. I measure in thumbs, not inches. I took this dress in one thumbnail on each side.)

how to alter little girl dress

Step 4
Re-fold the facing and hem. Stitch over the original holes.

how to alter little girl dress

how to alter little girl dress

See? Really easy! I didn’t even trim the new seam allowance. The edges were already finished with a serger, so I just pressed them toward the back of the dress before stitching everything back together.

I have a feeling I’ll be doing this to a lot of my daughter’s dresses this Summer. Let me know if you try it!

how to: blind hem stitch without a special foot

Last week I had to hem a pair of pants and I was so excited to use the blind hem stitch for the first time. I checked out a few online tutorials and everyone started out with the same thing: you’ll need a blind hem foot, switch to your blind hem presser foot, first you’ll need a blind hem foot that has a guide.

Huh? When the women demo’d the blind hem stitch to me on my machine, she did not use a different foot. So, I did a little bit of experimenting with some practice fabric. Here’s the hem.

blind hem without a blind hem foot

Here it is folded back. I pinned it in place.

blind hem without a blind hem foot

I did some practice stitches to figure out where the fold should be positioned for the best result. I used a magnetic seam guide to mark the best position. Painter’s tape would work just as well.

blind hem without a blind hem foot

What you want is for the hem stitch to just barely catch the fabric…

blind hem without a blind hem foot

…so when you look at the right side, the stitches are small little dots. When you use matching thread, they’ll become practically invisible.

blind hem without a blind hem foot

And that’s it! No special foot needed. I took a picture of my guide position for future reference. You could write it in your manual or just leave the painter’s tape on your machine if you are going to do a lot of hemming.

resources: This video does a good job of showing how to fold your fabric before hemming. This is a great tutorial for hand-stitching a blind hem, which is a nice alternative if you are in the mood for a little bit of hand work.

my (not so) creative space

car cover mending

Severe weather is finally here in Nebraska and my creative space is filled with some not-so-creative sewing.

In the Spring, we stuff blankets under this cover to protect our car from hail. We got lazy last winter and left it on all year. The Nebraska winds nearly shredded it to pieces.

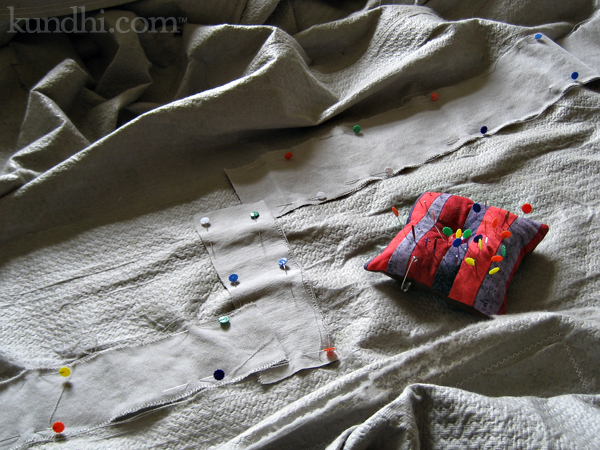
Now the weather radio alarm is going off and all we’ve got is a giant rag. I grabbed some canvas from my stash and started sewing patches. I gave up after fixing the biggest holes. It’s good enough to hold some blankets in place. That’s about it.

My husband asked if I could use the old cover as a pattern to sew a new one. Ha! I’ve taken on some crazy projects, but I think I’m going to pass on this one.

garage sale find: The canvas came in a tub with a bunch of muslin. I almost tossed it because it had spray paint stains on it. Now there’s hardly any left. I’ve made all sorts of heavy-duty patches with it.

Creative Spaces have a new home. Stop by and play along!

my creative space

fairy dress

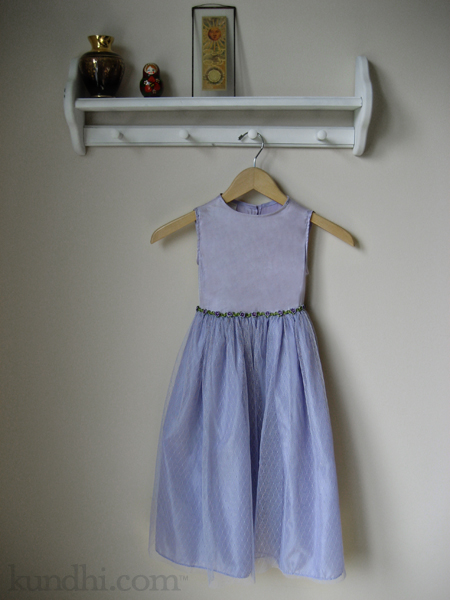
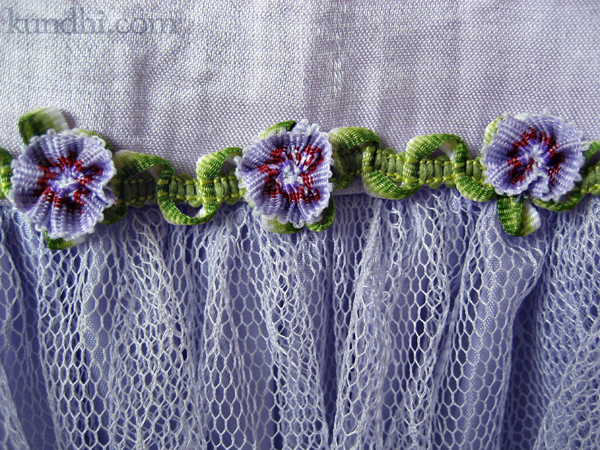
In my creative space this week, I altered this cute dress to fit my daughter. She hasn’t been that interested in dress up clothes, but there were a few times at the children’s museum that wore a dress almost exactly like this.

I snagged this one at the thrift shop, even though it was a few sizes too big. I took in the shoulders and body, but left the skirt as is.

fairy dress

She was really excited when I brought it home and couldn’t wait until it fit. Now, of course, she doesn’t want to wear it. Maybe I should call it a Fancy Nancy dress instead. If that doesn’t work, it can always be transformed into a twirly skirt.

What’s happening in your creative space this week?
Play along over at Kirsty’s.

heading back into the closet

wardrobe refashion linen skirts

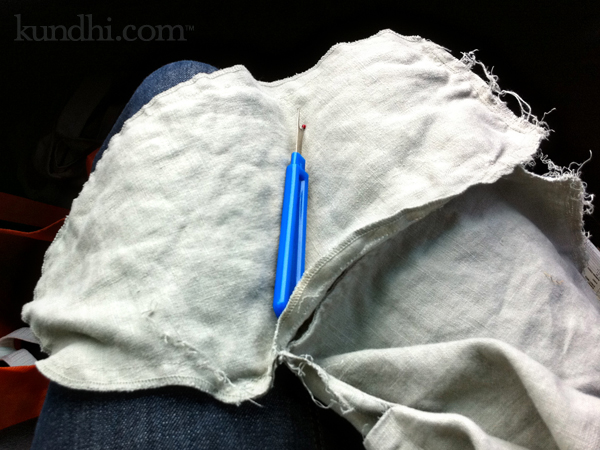
The Thrifting Fairies must have been on Easter vacation last weekend. I did a lot of trying on and left with a lot of nothing. It made me think that refashioning what’s in my closet might be a better way to spend my time. So, on a trip up to Omaha, I grabbed two skirts and my seam ripper.

First to come out were the bulky pockets. Then I unpicked the waist and elastic casing. This week I’m going to take in the sides and insert a zipper (yikes!). Currently on the chopping block are these two linen skirts. Stay tuned!

finished: lots of waistbands

princess and the pea

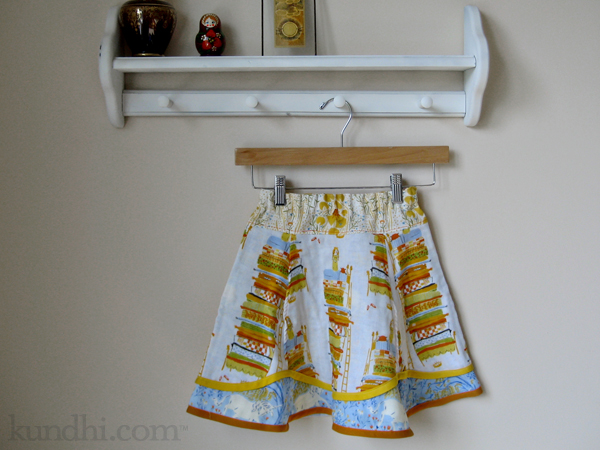
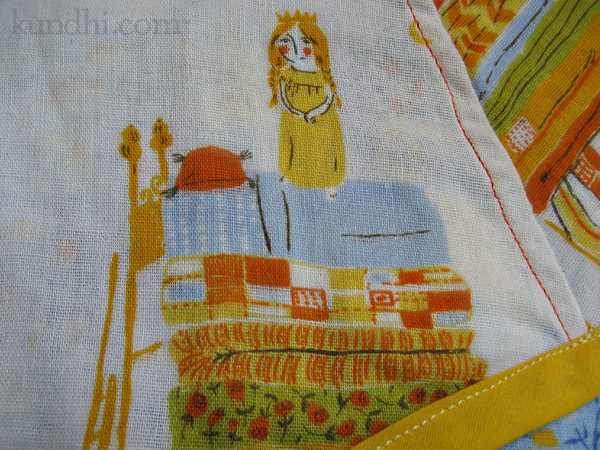
I’ve been going through skirts and adjusting elastic waistbands today. It doesn’t make for interesting blog or picture opportunities. However, I did adjust the waistband in one of my daughter’s new twirly skirts and it is pretty darn cute. Don’t you love the fabric?

princess and the pea

Yesterday we spent some time at the library and I found an Easy-to-Read version of The Princess and the Pea. I have a feeling it’s going to become a favorite around here.

What did you finish this week?

skirt: My friend made this for her daughter and it turned out too small. We are very lucky and grateful that she passes these cute things on to us.

wardrobe refashion: reverse appliqué saves the day

reverse applique tshirt

This is one of those shirts that has been saved over the years because of sentimental value. Every time my husband makes a recycle/donate pile of old t-shirts, it always makes the cut — even after the giant hole. I decided I’d fix it up for him. It’s way too thin to be worn much longer, but it can at least be made into something else if he wants.

reverse applique tshirt

Believe it or not, this is the first time I’ve done a reverse appliqué. I figured it would be the best choice because the fabric was already ripped. I filled in the peeling letters with a Sharpie marker. I’m still mending the holes above the letters. (Just when I thought I was finished sewing up holes!)

stash: Blue fabric from another shirt I’m planning to upcycle.

finished: a whole bunch of holes

mending holes

I’m really excited to finish off a large portion of the big to-do pile, although it doesn’t make for exciting blog material, that’s for sure. How on earth my family manages to put so many holes in our clothes I’ll never know.

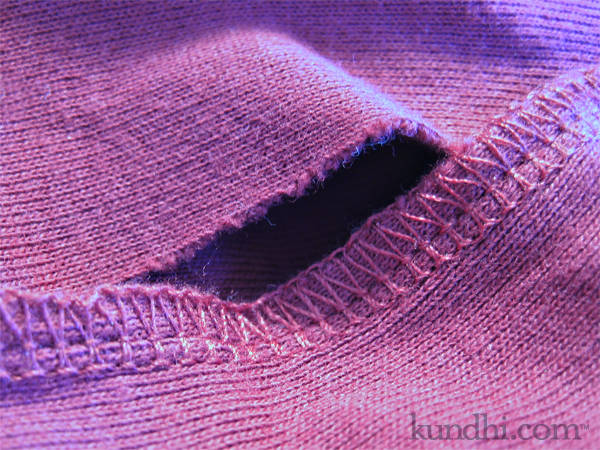
The photo is actually a friend’s shirt. This is the second time someone has asked me to fix the same kind of hole on a new shirt. It’s like the manufacturer didn’t have the ends held together while sewing up the sleeve.

Is it just a coincidence that I’ve seen two of these shirts recently? It’s been so long since I’ve bought a brand new t-shirt that I just don’t know. I would expect a $22 t-shirt to be made with a little bit more quality control, wouldn’t you?

the little engine that could : season three

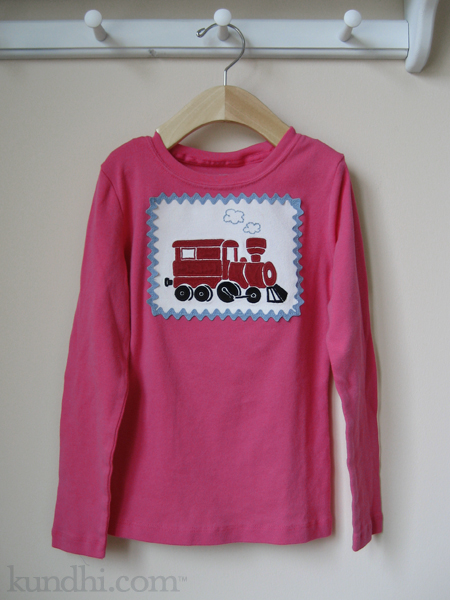
handmade train applique

I know I’ve complained about this before, but why do manufacturers make train, car and dinosaur shirts so gender specific? My daughter loves all three and she loves red, pink and purple. I hit the jackpot a few years ago when I found a white, new with tags, gender neutral train shirt at a garage sale. It was a size too big, but she wore it all the time with her sleeves rolled up. The next year it fit perfectly.

This year, it’s too small. I suggested maybe we pass it on to one of her friends who loves trains. “But Mama, can’t we just sew the train on to another shirt?”

I put this project off, but she kept bringing it up. I may be finished with it, but my daughter isn’t ready to give it up. In fact, she art directed the whole project, choosing the pink shirt and suggesting the border. After she got over her disappointment that I didn’t have any pink ric rac in my stash, she picked blue to match the puffs of steam.

She’s very proud of her new shirt. I’m happy that she’s happy. I think this might be the season finale for this little engine, though. After this, it’s going on a tote bag.

project details: I positioned the ric rac in place with a glue stick before stitching it on, which allowed me to fudge the corners so they matched. Worked like a charm! Also, I didn’t fold over the ends. Just lined them up and sealed them with a little bit of fray check.

almost two years ago: My tutorial on ruffling up a boy’s t-shirt. I wish this would have worked for the train shirt, but my daughter is growing too fast!

behind the scenes: I’m finally seaming the baby blanket. Can’t wait for the big reveal!