When I was playing around with my TKD Girl idea, I grabbed an image off the Internet to mock up some ideas. Once I realized I was actually going to do something with it, I needed to create artwork of my own.
Making silhouettes isn’t hard. In fact, technology has made it much easier than when I first started my career in graphic design.
1. Find an image.
That used to mean heading to the library and photocopying something out of a book. Now you can just print something off of the Internet.
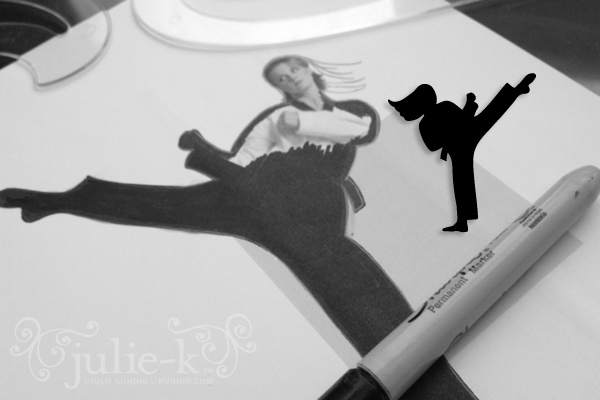
2. Trace the image.
I like to start with pencil. I trace around the important details while adding some of my own (see the long hair above). Then I outline the edges with a fine point sharpie and fill in the rest with a regular sharpie.
3. Scan and clean up the image.
Before programs like Illustrator, I used to fine tune my images with opaque paint. The elbow that looks awkward? Paint over it with white, let dry, try again with black. Now I just scan my drawing into the computer and edit the vector artwork.
The upside of silhouettes is that you don’t have to worry about details like drawing a face. Without the context of clothing, however, the shape might look lumpy in the wrong places. I had to fiddle around with the outline of TKD Girl’s jacket so her shoulders, elbow and waist looked more balanced and natural.
See? Easy peasy lemon squeezy. Now go make some art!
Really helpful! Thanks for posting.