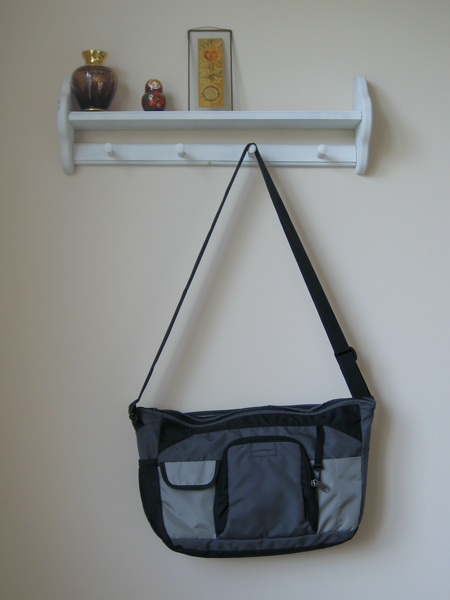
It’s taken me awhile to write about this project because it’s not just a set of simple instructions. It’s more of a guide to what is possible. Before you rip one seam or sew one stitch, I recommend you sit down in a quiet place with pen and paper to plan. I know this is hard for some — it’s hard for me! I don’t even really like following patterns. When you are working with an existing bag, once you cut you can’t go back. You can’t buy more fabric and start over.
So that’s how I started this project — with paper and pen. Below are before and after pics with my thoughts and ideas. I hope you give this a try. There are so many “almost perfect” bags out there. Visit your local thrift store or garage sale and give them an “absolutely perfect” life outside of the landfill.
Materials
seam ripper
good scissors
heavy duty needle
matching thread
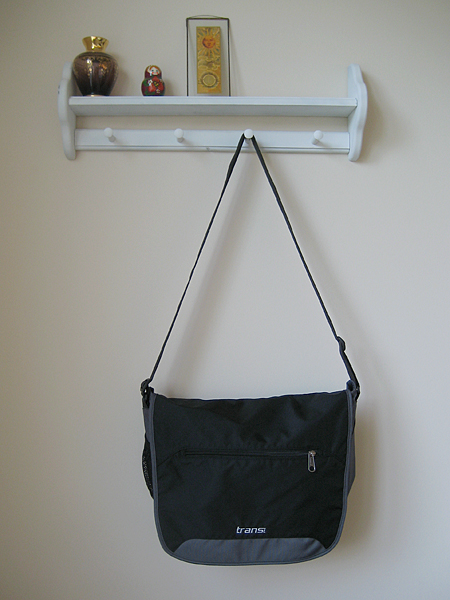
Here is the original bag. Carrie didn’t want the fold over flap. She asked me to replace it with a zipper.
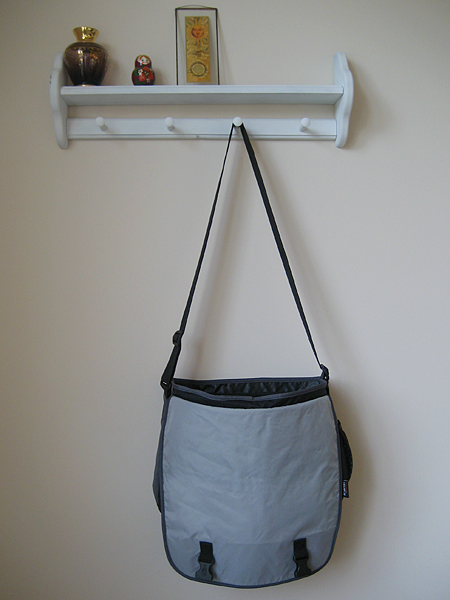
Because she didn’t want the flap, she didn’t need the big plastic clips either. I carefully removed them with a seam ripper. The ones on the flap were easy.
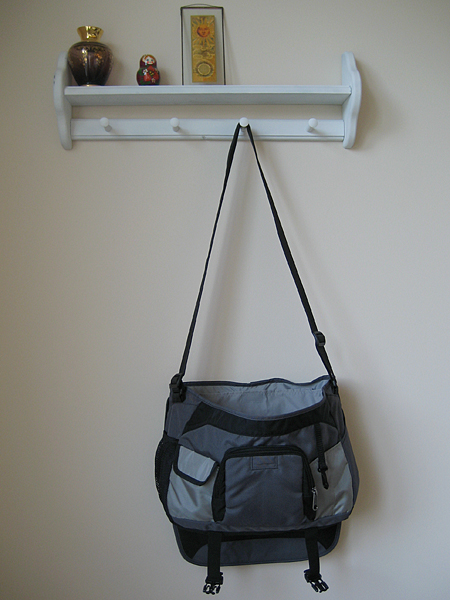
The ones on the bottom were sewn into the seams of the bag so I had to carefully pick them out and resew the bottom seam.
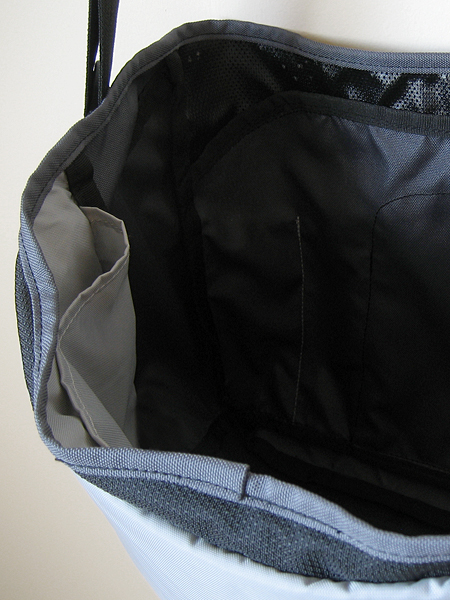
She was happy with the pockets on the outside, but she wanted more pockets on the inside. Most important was having a big pocket to keep her knitting projects safe.
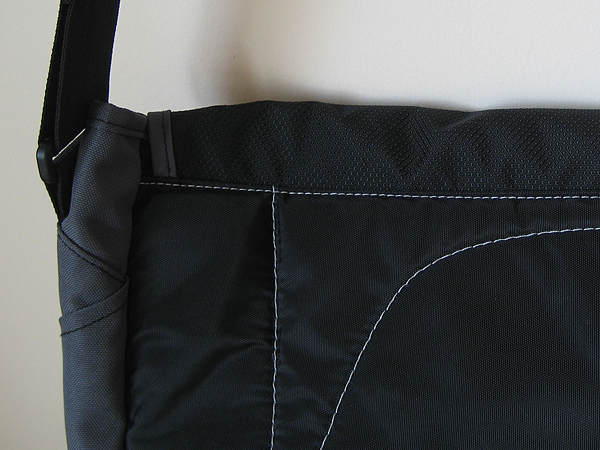
When I opened up the seam to take out the flap I got a nice surprise: another pocket! The only issue was the unfinished edges. I decided I could cover them with the trim from the flap.
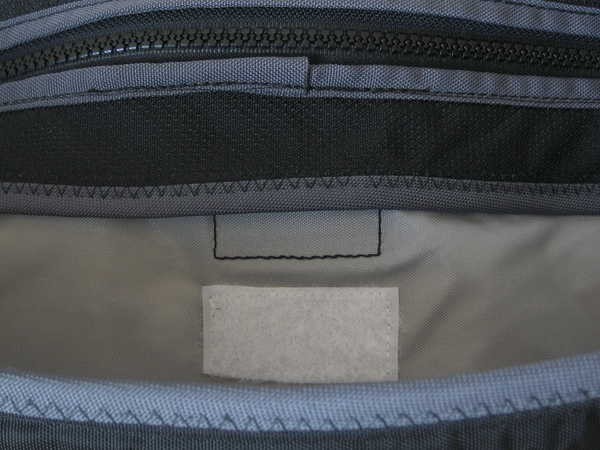
Here is the new pocket finished with the trim from the flap. It was too difficult to sew this with a straight stitch and get it even, so I zig zagged it instead. I added velcro and voilà: an easy access pocket for knitting projects!
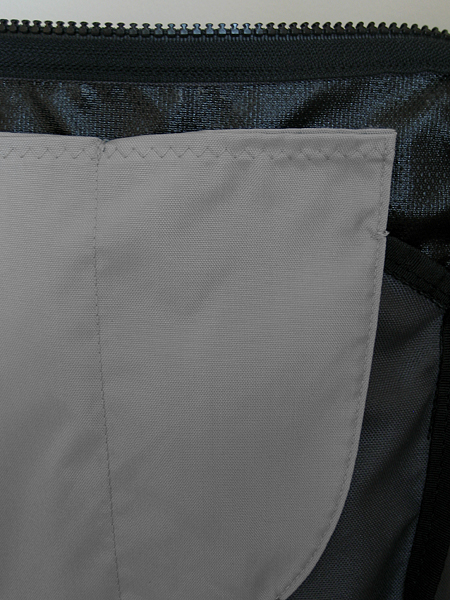
I decided to use the gray fabric from the messenger flap for the inside pockets. There wasn’t a lining in this bag, so I couldn’t sew the pockets directly to the fabric — the outside pockets were in the way. I decided to make the pockets independent of the bag and then just anchor them at different places where the stitches wouldn’t show on the outside.
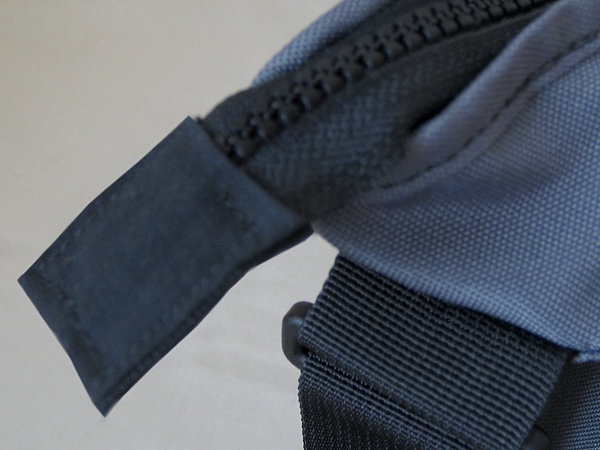
I saved the zipper for last. I just followed the stitch line on the existing trim when I sewed it in. Instead of anchoring the zipper end to the inside, I finished it off with a fabric tag. It felt a little more sporty that way and was also easier on my sewing machine!
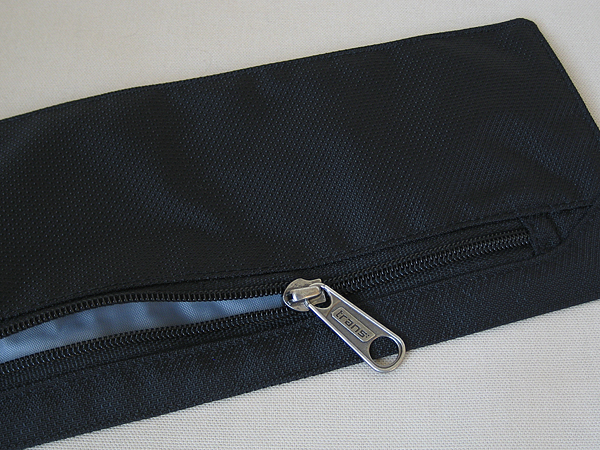
If you’ve been reading my blog for awhile, you know I hate to let anything go to waste. It took a little bit folding and unfolding, but I figured out to make a zipper pouch out of the remaining piece of the flap. Cool!

Here’s the after picture again. I hope this “how to guide” is helpful. If you have any questions, let me know. Carrie loves her bag, by the way. Yay!
This is just great, Julie! I am working on a messenger bag from old jeans and you have given me some ideas to incorporate into mine. I was sewing this morning and thinking “something” was missing…you solved it! I just love it when that happens…
IMPRESSIVE! Out here in awe.