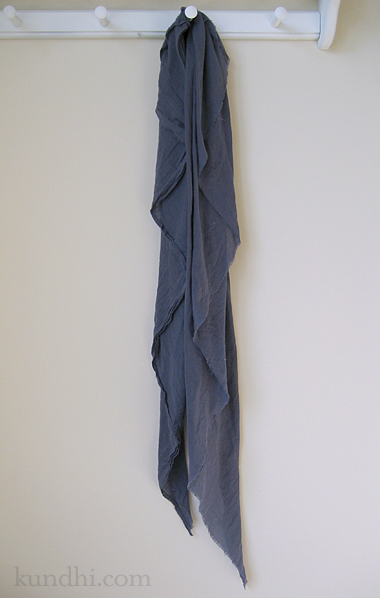
The other day I saw a woman wearing a cotton scarf that was layered and unfinished in the most beautiful way. She looked like she just walked off a catalog shoot. I’ve never been able to pull off that “I just threw it on and it looks perfectly ruffled” look, so I decided to design one that made it easy.

Step 1
Cut a large triangle of fabric on the bias. I chose a lightweight cotton, but anything with a nice drape would work. (Flannel would be nice for Fall.) My piece measured 80 inches across the base and 32 inches high. Run it through the washer and dryer to fray the edges.
Step 2
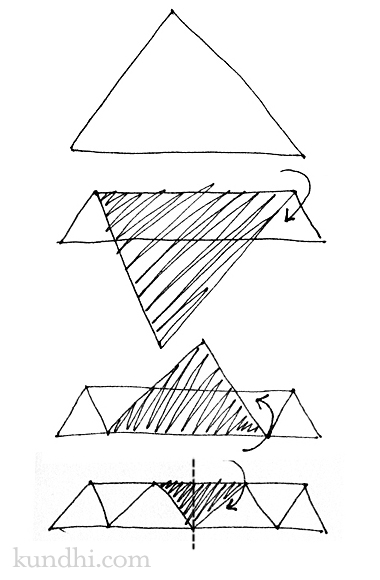
Fold the ruffles. I figured a diagram would be easiest to understand. I folded mine 8 times, but you don’t need to see that many steps to get the idea.

Step 3
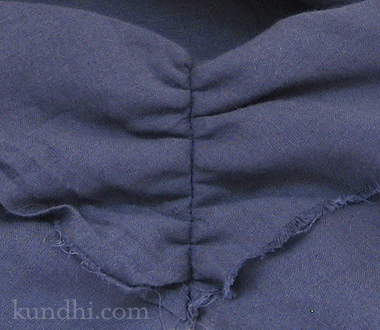
Stitch the ruffles in place. I didn’t back tack and pulled on the threads to create a little gather before I tied them off.

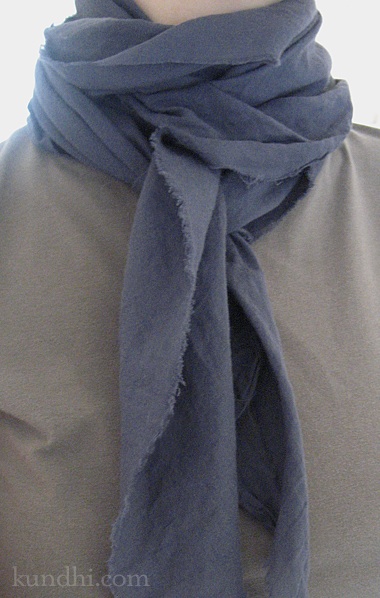
That’s it! You can wear it with the ruffles hanging down or wrap it around a few times with the ruffles facing out for that perfectly unfinished look.

Stunning! I’m going to make one.
I’m don’t sew very well, but this looks like something I can do.
Love it!
Jennifer
Wow, that is so cool. I love the look and how easy it is. Thanks so much, I’ll be linking.
i will try it!
That’s fantastic! I’m headed to my stash right now to find the perfect fabric for this. LOVE it!
I love this scarf! Just wondering if you think it’ll work with a silk chiffon-y type fabric?
This is beautiful! I would love to make it but I am wondering about how much fabric I will need to make mine similar to the size you made. thank you for the wonderful tutorial.
This was on One Pretty thing and it’s perfect for a rookie seamstress who luvs scarves.
What a great scarf! Thanks for sharing!
Thanks for a great tutorial! How wide are the folds?
This is Brilliant!!!! I love the way you explained it. I can’t wait to pull out my sewing machine. :0)